This post is also available in: Français (French)
WARNING, this guide isn’t up to date, read it [here] in English!
![]()
First published on the 7th of April, 2018, updated on February 22 2020
Welcome to the Combat Guide!
This role will require some “Skill” to master: the Elite: Dangerous – Fighter.
Vanquish your enemies, steal their goods and protect your allies.
This will be useful to all fighters, bounty hunters, guardians, or else if you like to PEW PEW or DAKKA DAKKA 😉
Other guides: Explorer | Miner | Trader | Pirate | Liner | AX Combat
Summary:
The role: Fighter
First of all, note that the following tips are from my experience, my opinion and the feedback I have been given to improve this article. There are so many gameplay, builds, strategies, ships that not everyone can be 100% satisfied. However, this is a solid foundation to understand combat; To lear and enhance your experience.
As a fighter, your roles can be multiple and your intentions different. Are you a mercenary making contracts in conflict / war zones or hunting bounties? An assassin looking for a dangerous fugitive? A guard, protecting traders? A pirate stealing from the weakest? A veteran fighter for your Powerplay Power?
Know that everything is possible. There are no key builds: only your ship’s abilities, your pilot skills and your way of playing the game.
▲ There are various combat archetypes, among others:
- Fighter
- Versatile, large shields, nimble, mainly energy weapons.
- For example with a Python, aChallenger or Krait MkII so you can stay in combat for a long time without having to repair between engagements.
- Tank
- A ship with the highest armour & shields values in order to absorb a lot of damage during a long fight.
- For example with a fGunship, Anaconda or iCutter in order to exhaust the opponent (and destroy his morale if in PvP) while inflicting constant damage.
- Hunter
- A very strong striking force characterizes them as well as excellent defenses. The engagements are relatively short.
- For example with a Viper MkIII, iCourier or Fer de Lance so that you can outmaneuver your targets and be untouchable while inflicting great damage.
- Stealth
- Little seen as this gameplay has been nerfed lately (gameplay & night vision). The goal is to be invisible to the eyes of the enemy wether on the radar or direct visual.
- For example with an Eagle MkII, Diamondback Scout or fAssault in order to hit a target without being spotted and to make locking on you very difficult.
- Interceptor
- Equipped for the interception of targets in supercruise, they generally have weapons inflicting colossal damage at the cost of a great consumption of energy.
- For example with an aChieftain, iClipper or Mamba in order to easily catch your targets and make hit&run maneuvers with Alpha strikes.
- Torpedoes
- Equip your ship with various effects on your torpedoes in order to break the target’s shield generator, destabilize its FSD and inflict significant damage.
- For example with a Cobra MkIV, Asp Explorer or Type 10 in order to have as many Class 2 and Class 1 hardpoints as possible to equip torpedoes and missiles.
- Support
- Equipped with modules such as Drones for Repairs, Decontaminations or even Lasers with experimental effects of regeneration / reconstitution of shields.
- For example with a Keelback, fDropship or iCutter in order to support your teams thanks to your locations of specific modules and weapons.
▲ These methods are used by different pilots roles:
- Pirates: They mainly attack the traders ships to steal their commodities and sell them to the black markets. You have to be precise to quickly recover the commodities before the police arrive. To do this, you have to attack the target’s cargo hold with your weapons or cargo hatch breaker limpets … or simply demand your target some of their resources.
- Mercenaries: They perform combat missions to help the factions, for example in conflict zones. Mercenaries can be loyal to a faction or perform all the missions, regardless of factions.
- Assassins: They hunt down and destroy dangerous fugitives (alone or in squads) to claim their bounties. This can be considered as a mix of mercenaries and bounty hunters. More risks, more rewards. An Assassin can also be a PvP player prepared for duels.
- Bounty Hunters: Many missions available, but also directly into space, beacons, resource extraction sites, … in short all the places where possible targets could be found. They scan their targets from afar before destroying them in order to claim the bounties. Bounties on PvP players are limited at 2M Cr max.
- Guardians: What I call Guardians are the representatives of Powers or Factions. They play in Open and must outfit their ships to fight over a long period. They can protect their systems from other powers and factions, especially from other PvP players protecting their interests/assets. PP Bounties max = 6M Cr (with a Kill Warrant Scanner).
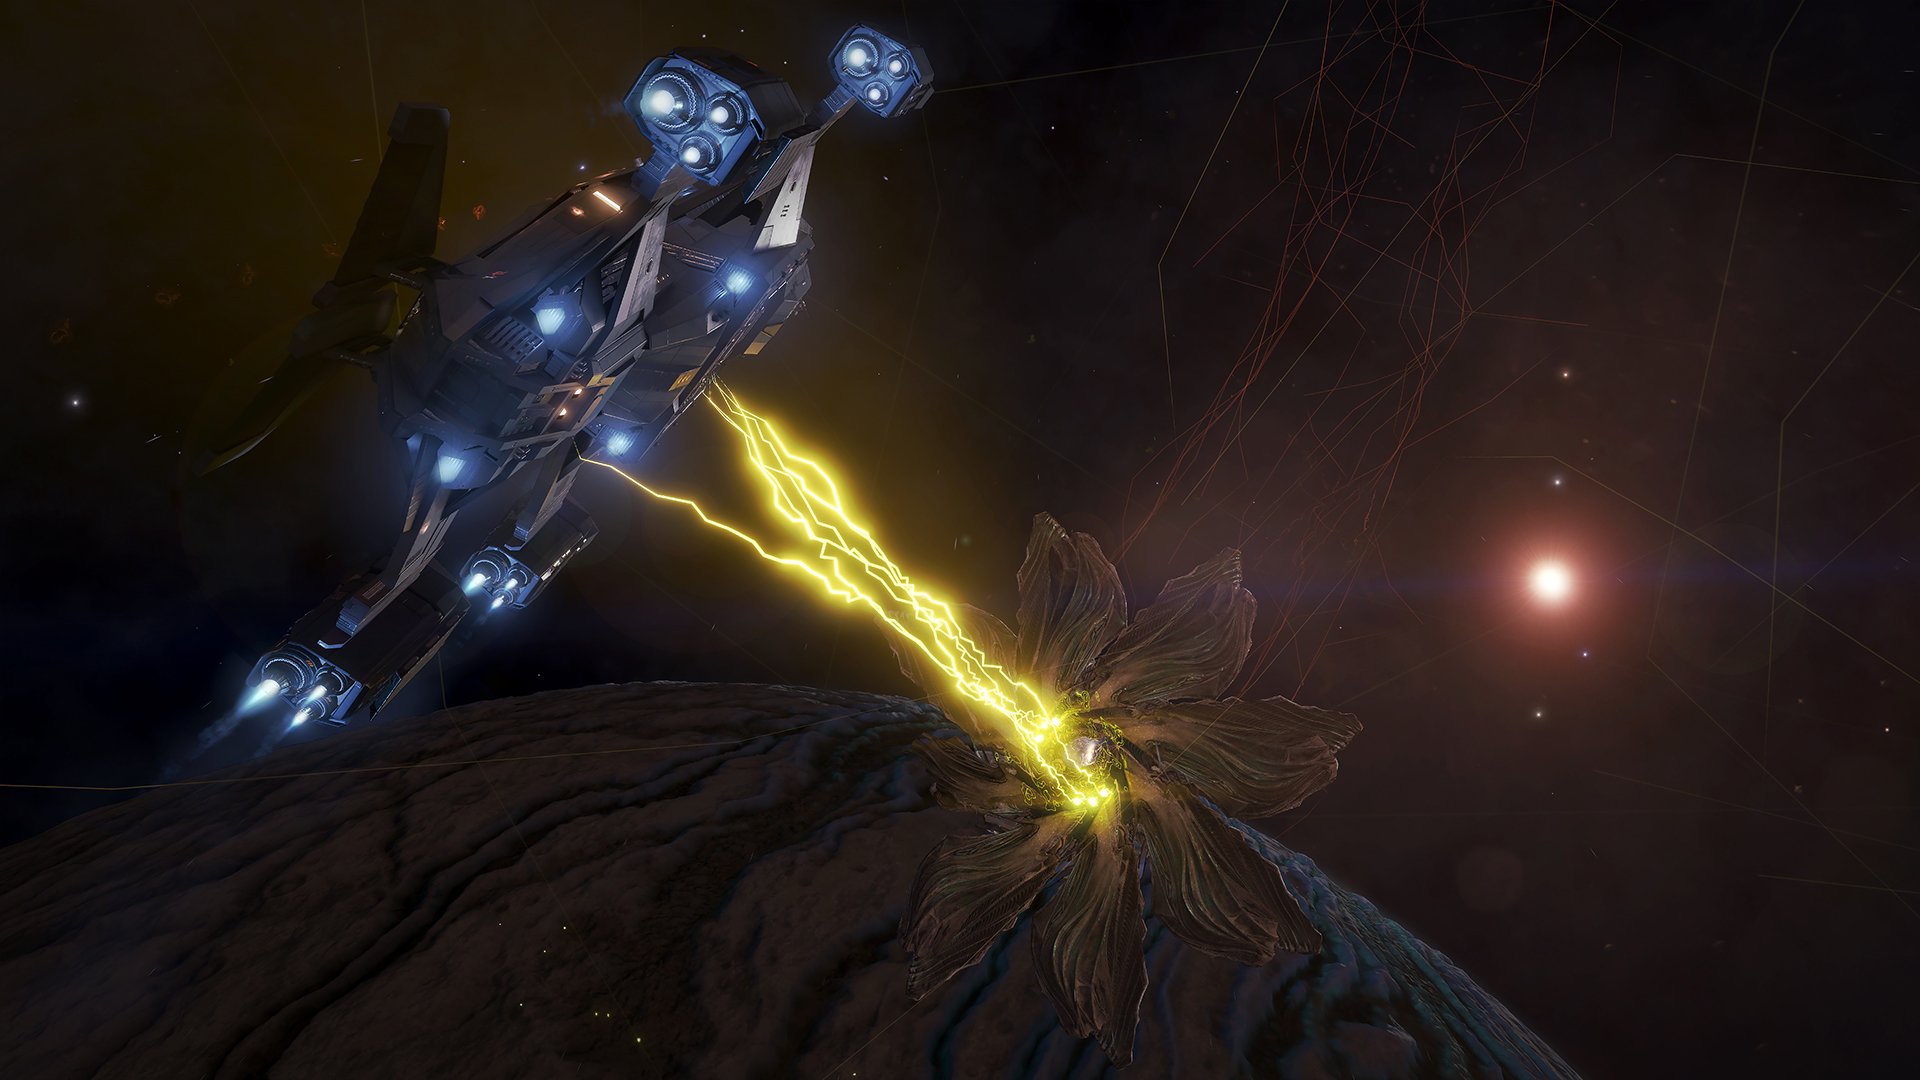
- AX Fighter: Fitted to hunt down Thargoids, an agressive alien species.

Ships and Modules
Any ship can fight and fulfill all the fighters roles… but some are more advantaged than others.
Let’s see what Elite: Dangerous offers to get the most out of the ships in combat.

Here’s how to choose and equip your ship:
- Count your credits assets. A battleship costs two to three times its base price for medium equipment. A full-fit outfit can go from seven to more than ten times the price of the ship alone! For example a top equipped Eagle MkII can reach 2 million credits.
- What will be the use of your ship: Missions? Assassination? Powerplay? Conflict Zones? Bounty Hunting in extraction zones, beacons, interdictions? Piracy? Player vs. Player?
- Role and use determined, choose your ship via the list below, sorted by price.
- Equip it depending on your combat archetype & role. Do not be afraid to test out modules.
- You can find a few builds examples below in this article.
- Sidewinder MkI – 32 000 credits
- Notes: Familiarize yourself with this ship if you start the game. It’ss inferior to the Eagle MkII in combat, so remember to upgrade as soon as possible! Its two small weapons and internal modules allow you to learn the game without getting swamped. Some expert players can do wonders with just a well fitted sidewinder, so take your time with the ships and do not rush to the bigger ones, because you will be disappointed.
- Uses: Hunter
- Roles: Mercenary, Bounty Hunter
- Eagle MkII – 44 800 credits
- Notes: With 3 small weapons and excellent agility, the Eagle MkII is doing wonders! It has a small jump range and is very fragile, so I recommend a shield and a Shield Cell. Do not engage targets larger than you can eat. For the hardpoints, it is common to see two multicannons below and a laser beam on the top.
- Uses: Hunter, Stealth
- Roles: Mercenary, Bounty Hunter, Assassin

- Adder – 39 993 credits
- Notes: 2 small weapons below and 1 medium on the top. The Adder is rather agile and can even propose some cargo. Very popular with novice pirates.
- Uses: Hunter
- Roles: Pirate, Mercenary, Bounty Hunter

- Imperial Eagle – 110 825 credits
- Notes: 2 small weapons below and 1 medium above. Faster than the Eagle MkII, more armour, more power for the shields but much less nimble.
- Uses: Hunter
- Roles: Mercenary, Bounty Hunter, Assassin
- Viper MkIII – 142 931 credits
- Notes: 2 small weapons above and 2 medium below. The weapons are packed, the ship light and very agile, the shields are excellent which makes it a formidable hunting ship! Cons are its heat dissipation, its Power Plant and its relatively short jump distance. Apart from that, I have had a fantastic combat and piloting experience with it.
- Uses: Fighter, Hunter
- Roles: Mercenary, Assassin, Bounty Hunter, Guardian, AX, Pirate
- Cobra MkIII – 379 718 credits
- Notes: 2 small weapons below and 2 medium above. The Cobra could be the Adder’s big brother. It is very versatile and also has some cargo space. His armour is high but his shields rather weak. Note that it has a much lower top speed than the Viper but it is better when boosting. So think about installing a powerful Power Plant. The ship is flat and wide, which makes it a difficult target to hit from the front and from behind… however when it turns around and offers its back and stomach, it is easier to hit so be careful. There is a Cobra MkIV version far too rare because it is reserved for players who pre-ordered Horizons, it’s been years and all former players use other ships now.
- Uses: Stealth, Hunter, Interceptor
- Roles: Pirate, Mercenary, Bounty Hunter, Assassin
- Viper MkIV – 437 930 credits
- Notes: The Viper MkIV is a Viper MkIII with less speed, shields and maneuverability… but with more armour and much more power; This allows the MkIV to equip better Class 5 shields and equip larger modules. Its gameplay changes radically from its predecessor, but it remains an extremely interesting ship due to its low price and its capabilities. Kinetic weapons are encouraged because like the Mark III, it dissipates heat rather poorly.
- Uses: Fighter, Hunter, Tank
- Roles: Mercenary, Assassin, Bounty Hunter, Guardian, AX, Pirate
- Diamondback Scout – 564 329 credits
- Notes: 2 small and 2 medium weapons on each side at the front of the ship. Widely used in stealth (Silence Running), the DB Scout is a real hornet stinging its target while orbiting around it. It is one of the most manoeuvrable ships ingame (with the Eagle, the Vulture and the Asp Scout if I dare say) and this for each of its thrusters and in every way. The weapons are very well packed and centered, the heat dissipation is also excellent, which makes it a suitable ship for fixed weapons such as railguns for example.
- Uses: Stealth, Tank, Hunter, Interceptor
- Roles: Assassin, Bounty Hunter, Pirate
- Imperial Courier – 2 542 931 credits
- Notes: 3 medium weapons placed under the nose of the ship and in front of each of the lateral reactors. The big pros of this ship are its shields, its weapons and its maneuverability for a ship of this size. In addition to being one of the prettiest ships in the game, the Imperial Courier turns out to be an fearless opponent. To counter the courier, make it use its ineffective lateral and vertical thrusters. The Imperial Courier is reserved for the Empire at the rank of Master.
- Uses: Fighter, Assassin, Interceptor, Hunter
- Roles: Bounty Hunter, Pirate, Guardian
- Keelback – 3 126 150 credits
- Notes: Yes, the Keelback remains a fighter, especially since it’s the smallest ship able to launch its own fighters (x2 max simultaneously)! It has a large cargo and 4 hardpoints: 2 small and 2 medium. We are not there for its prowess in combat or its defenses, but the ship can be quite useful in a wing and its hardpoints placements are interesting. If you plan to fight and collect loot, this may be one of the best medium ships. Did I mention it has a Fighter bay?
- Uses: Hunter, Fighter, Torpedoes, Support, Tank
- Roles: Pirate, Guardian

- Asp Scout – 3 961 150 credits
- Notes: The Asp Scout is the AspX’s little brother. As its name says, it’s a scout so it proposes a great jump range and it has 4 weapons: 2 medium and 2 small. It keeps its high armour & hardness in order to take less damage from small and medium weapons, trademark of the Asp, and it also has a great maneuverability, one of the best in the game with 165 points (188 being the max and 48 the minimum) and excellent heat dissipation. Weak point, it has only 2 utility points though… It is unfortunately extremely little used because of its too low speed, which makes it an easy target. I think it should have kept the hardpoints of his big brother, that is to say 2 medium and 4 small… this is not a bad ship, but we can do much better for less with other ships of its class. Its mass is very well balanced however, and it remains maneuverable at all speeds. Its cockpit offers an excellent view … what? I love this ship I am trying to save it! :p
- Uses: Hunter, Stealth, Tank, Torpedoes
- Roles: Pirate, Mercenary, Assassin, Bounty Hunter
- Vulture – 4 925 615 credits
- Notes: 2 large weapons, boom! The imposing Vulture is very popular with former Viper players because it has the same strengths and the same weaknesses. Very handy, very powerful, very fast, excellent lateral/vertical thrusters but little power in the power plant and a low jump range. You will have to make sacrifices and equip only what is necessary for a specific task… unless you mod it, and it will be the best small combat ship in-game.
- Uses: Fighter, Hunter, Interceptor
- Roles: Mercenary, Assassin, Bounty Hunter, Guardian
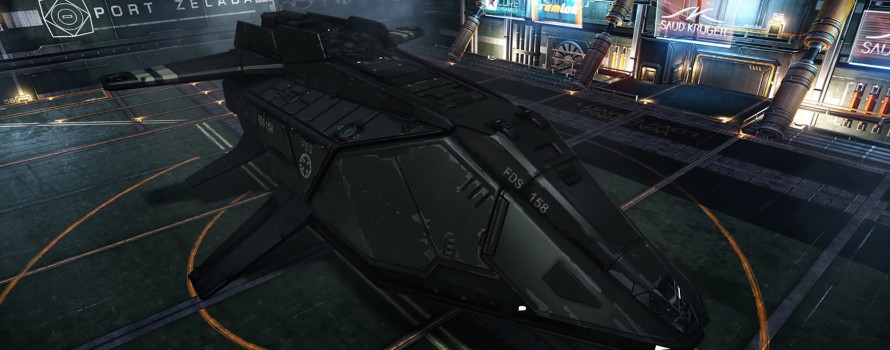
- Federal Dropship – 14 314 210 credits
- Notes: 4 medium weapons and 1 large. The Federal Dropship is heavy, however it has a little cargo which makes it appreciated as a general-purpose or pirate ship. It excels in wing fights if a few allies can cover you! Its weapons are perfectly aligned for head-on combat. In addition it is very heavy, with a lot of armour, and can ram its enemies easily. The Federal Dropship is reserved for the Federation at the rank of Midshipman.
- Uses: Tank, Fighter
- Roles: Pirate, Mercenary, Bounty Hunter
- Alliance Chieftain – 19 382 250 credits
- Notes: 3 small weapons + 1 medium + 2 large. The Chieftain has many similarities to its neighbor below, the Federal Assault, however it should be noted that the latter has its weapons mainly under the ship while the Chieftain has them on top: which make it easier to open fire! The Chieftain is slightly faster than the Assault but slightly less tanky in armour. Its shields are relatively weak, so count mainly on your hull. Unlike the Federal Assault, it has better internal modules and can at least boost its shields more if you wish. Unlike the FAS who likes to boost very regularly, the Chieftain prefers to play in the blue speed zone. An excellent ship and very popular with PvP players.
- Uses: Fighter, Tank, Hunter, Torpedoes, Interceptor
- Roles: Mercenary, Assassin, Bounty Hunter, Guardian, AX
- Federal Assault – 19 814 905 credits
- Notes: 2 medium and 2 large weapons. The Federal Assault is much more maneuverable and faster than its cousin the Dropship. It has a much more “aerodynamic” model and fewer superfluous modules in order to make it a ship specialized in combat. Very effective when you keep your thrusters open and you boost regularly to take advantage of its great maneuverability. Note that it has trouble dissipating heat and therefore should not be overloaded with energy weapons. The Federal Assault is reserved for the Federation at the rank of Chief Petty Officer. Popular with PvP players for its speed, maneuverability, armour and weapons placement.
- Uses: Fighter, Tank, Hunter, Stealth, Interceptor
- Roles: Mercenary, Assassin, Bounty Hunter, Guardian, AX
- Imperial Clipper – 22 295 860 credits
- Notes: The Imperial Clipper has 2 medium and 2 large weapons. This ship is extremely fast and has a very large cargo which makes it a popular pirate. Its weak points are its left/right thrusters and its widely spaced weapons which prevents it from effectively using stationary weapons. Its shields are also weak. Count it more like a freighter with combat capabilities. The Imperial Clipper is reserved for the Empire at the rank of Baron.
- Uses: Pirate, Tank, Interceptor, Support
- Roles: Pirate, Mercenary, Bounty Hunter

- Alliance Crusader – 26 675 231 credits
- Notes: A good choice of modules with an optional Class 6 Shields followed by a Fighter Bay in Class 5 and then you fill it with Hull Reinforcements. Currently a very good ship if you focus on fighting with Fighters. These count as an additional C3 weapon, which is in addition to the ship’s Large x1, Medium x2 and Small x3 weapons. Not bad, with its special gameplay.
- Uses: Tank, Fighter
- Roles: Assassin, Guardian
- Alliance Challenger – 28 982 604 credits
- Notes: What is this? Two C6 slots in Optional Modules? The 1st welcomes a Shield yes but the second? Impossible to use it well because the Hull Reinforcements stop at the Class 5… and yet that’s exactly what the Challenger needed: a Class 6 Hull Reinforcement; Armour is its gameplay. Also after the two optional Class 6, we get tossed directly to 2 Class 3… utter bullshit. Not a bad ship, but that’s not it and would need a rebalance pass like the AspScout and Clipper…
- Uses: Fighter, Hunter
- Roles: Assassin, Bounty Hunter, Guardian


- Federal Gunship – 45 814 000 credits
- Notes: 2 small weapons, 4 medium and 1 large; the Federal Gunship is a big and slow tank (with turrets, it’s great). It is one of the ships with the most armour and mass in-game for its size, which makes it a formidable fortress. The Gunship does not have a large jump range. It is very effective in wing combat if it is not the primary target. The Federal Gunship is reserved for the Federation at the rank of Ensign. It has a fighter bay. Similar to the Crusader, it is made to engage slower and larger targets.
- Uses: Tank, Torpedoes
- Roles: Mercenary, Bounty Hunter, Guardian
- Krait Phantom – 37 472 254 credits
- Notes: Actually LE kitting ship thanks to its hardpoints, speed and its very thin profile, the Phantom allows you to attack your target from afar while flying backward (reverski). Your target won’t be able to retaliate.
- Uses: Interceptor, Hunter
- Roles: Pirate, Mercenary, Assassin, Bounty Hunter
- Fer de Lance – 51 567 040 credits
- Notes: 4 medium weapons and 1 huge, the Fer de Lance is a fantastic heavy combat ship and it is extremely maneuverable for its size. Its shields and its armour are not its strong points but if you know how to pilot this nimble ship and that you’re great with FAOff, go for it! Generally the Fer de Lance is played with gimballed weapons but if you master the beast, do not hesitate to play only with fixed weapons in order to unleash its true potential!
- Uses: Fighter, Hunter, Interceptor, Stealth
- Roles: (Pirate en Escadrille, manque de cargo), Mercenary, Assassin, Bounty Hunter, Guardian
- Mamba – 56 329 581 credits
- Notes: It is not a bad ship, but compared to its brother the Fer de Lance, it has two big cons: it maneuvers badly and it has less shields. Dueling is often based on who turns best, and the Mamba is bad in this sense. In addition, it has poor heat management… but it is a good ship if we equip it smartly; For example with Long Range Beam Laser with the Experimental Effect “Thermal Vent” to reduce your heat and inject it into your target.
- Uses: Hunter, Interceptor, Torpedoes
- Roles: (Pirate en Escadrille, manque de cargo), Mercenary, Assassin, Bounty Hunter
- Python – 56 978 179 credits
- Notes: 2 medium and 3 large weapons. The Python is for me THE ultimate versatile combat ship. It’s not “the best”, it all depends on its builds, but it’s a very good challenge to play and to fight. Extremely modular, very powerful shields, interesting thrusters, judicious placement of weapons, great armour, ok jump range, a very large cargo and a Power Plant allowing you to use everything you want! Its weak point could be its speed and its ability to return to the charge quickly. It will take a lot of training and a mastery of FAOff to best manage this beast. The Python is a medium ship.
- Uses: Fighter, Tank, Support
- Roles: Pirate, Mercenary, Assassin, Bounty Hunter, Guardian

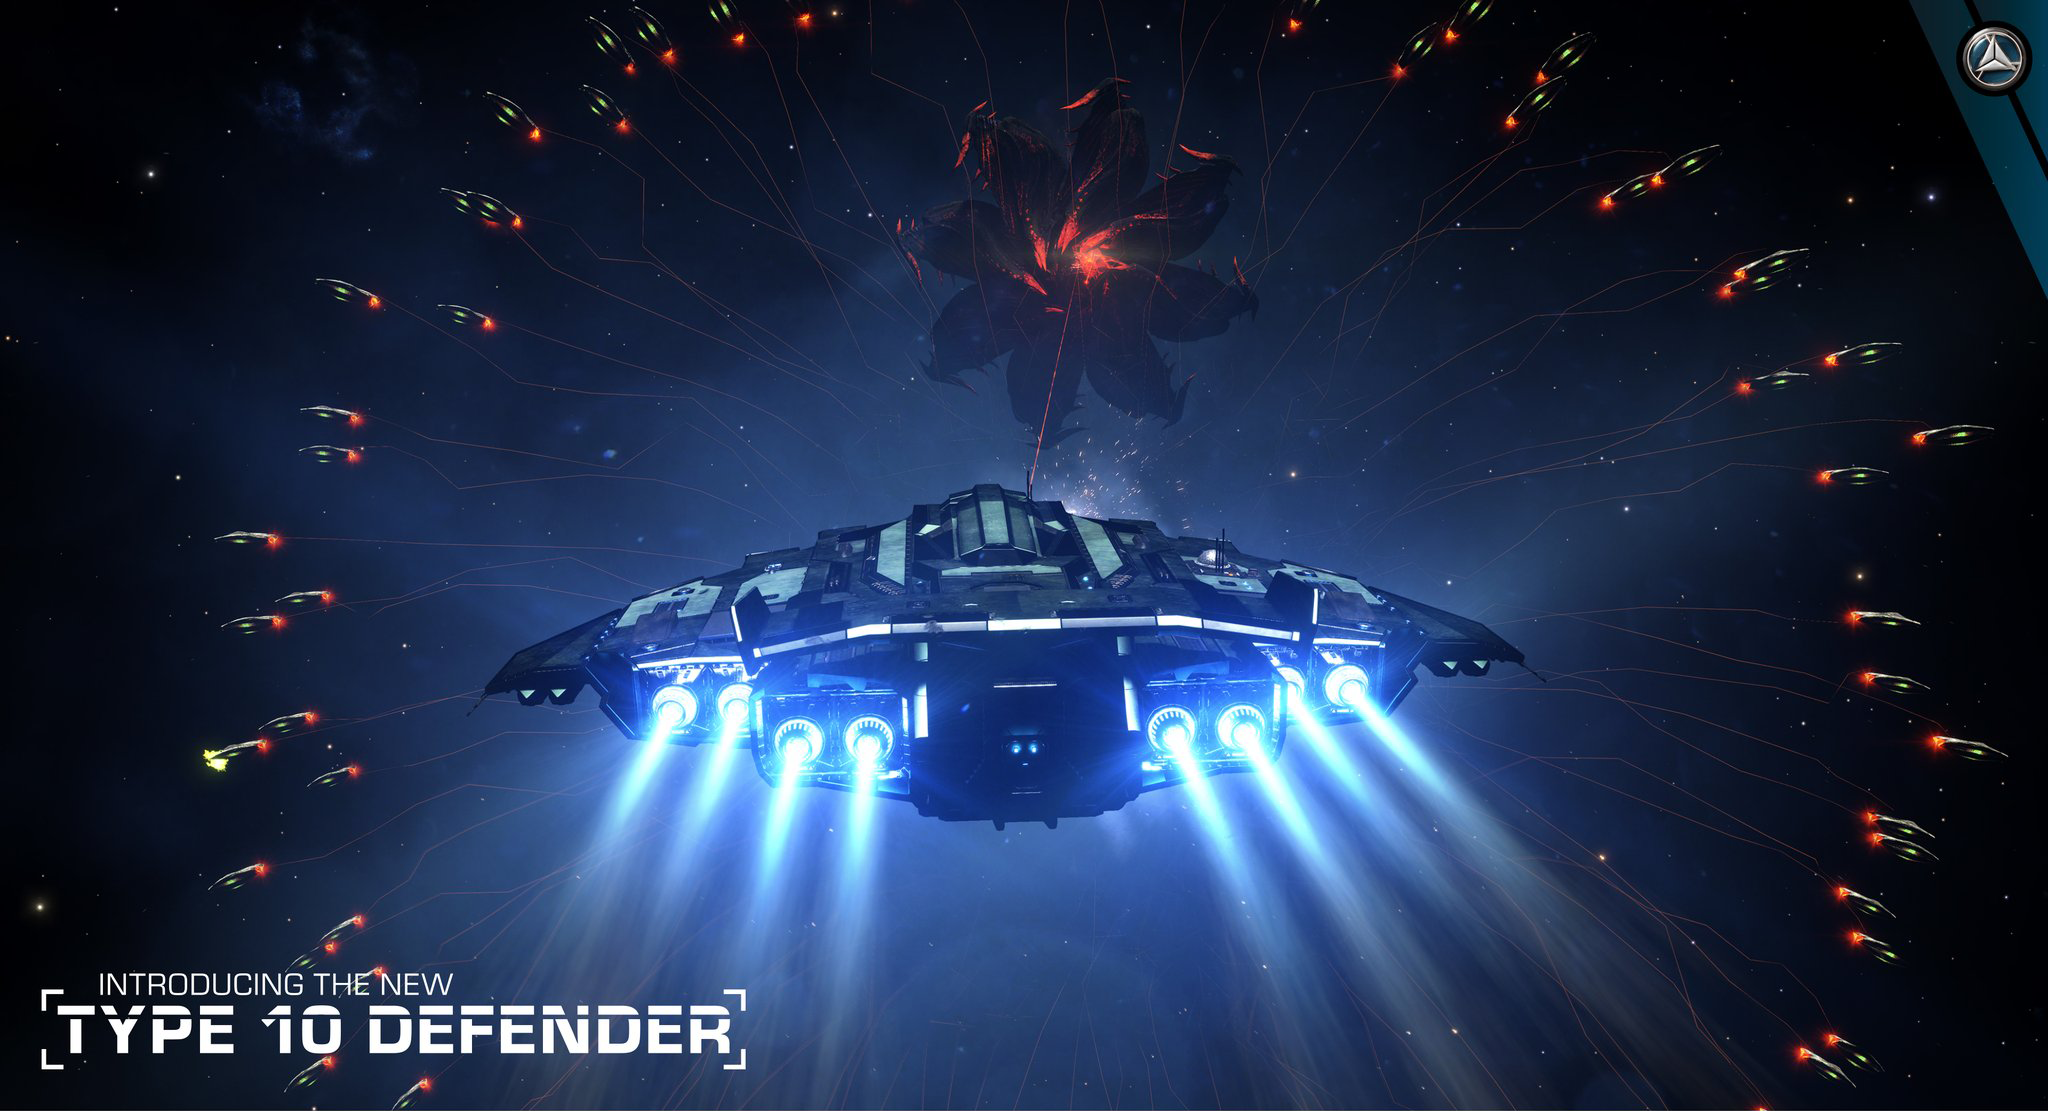
- Type 10 Defender – 124 755 342 credits
- Notes: If you like big slow ships, very sturdy with weapons in every directions, you will be delighted: the Type 10 Defender has NINE hardpoints! With the biggest possible DPS of the game if played correctly, the Type 10 can cause very heavy damage and scare away Cutters if it wishes. Its shields can rise very high thanks to boosters, its hull and armour are one of the biggest in-game but obviously it is very slow. Stay in the blue zone to keep a decent turn-rate. Its power Distributor is quite weak, modify the capacity/regen Rank V or put a Guardian distributor in there (though, it heats more). It has a fighter bay and is the most tanky wide heavy ship thanks to its hull. Frankly, there is something to do with it, but it is generally little used because way too slow and the meta being on agility, it doesn’t help.
- Uses: Fighter, Tank, Torpedoes, Support
- Roles: Mercenary, Bounty Hunter, Guardian, (AX en Support)
- Anaconda – 146 969 472 credits
- Notes: The maintenance and modules of the Anaconda are very expensive but once properly equipped, you can easily attack several targets at once and use gimballed weapons or turrets. Be careful not to lose it because its insurance is very high; to fly carefully if you know your limits perfectly. The Anaconda has some problems with turning quickly, so you need to regularly use a boost to place your ship correctly in order to engage your target. With so many weapons, the Anaconda can retaliate easily, but against it I would advise you to attack it from below, towards the rear. Feel free to use turrets when playing an Anaconda and consider equipping powerful C4 and C3 fixed weapons under the nose of the ship. It has a fighter bay and is the most versatile large heavy ship. It is slower than Cutter and Corvette, is slower but has more armour. Its weapons are well placed.
- Uses: Fighter, Tank
- Roles: Pirate, Mercenary, Assassin, Bounty Hunter, Guardian, AX

- Federal Corvette – 187 969 450 credits
- Notes: It’s heavy and long, this federal ship is unlockable at the rank of rear admiral. It is the only ship in-game able to equip two huge class 4 hardpoints as well as 1 large, 2 medium and 2 small. Its maneuverability is high but its lower speed only slightly exceeds the Type 10’s. It is slower than the Anaconda because of its mass. Other than that, its jump range is ridiculously low and it can take a very long time to move it through several systems. Its armour and shields in combat are extremely effective but to have an excellent ship, you have to spend a lot of credits… this is therefore a ship for the richest players. It has a fighters bay. It is slower than the Cutter but faster than the Anaconda, it is the most maneuverable of the three and generally has good armour.
- Uses: Fighter, Tank
- Roles: Mercenary, Bounty Hunter, Guardien
- Imperial Cutter – 208 969 451 credits
- Notes: The most expensive ship in the game right now, up to 1 billion credits and more! The Cutter is basically a transport-oriented ship with its maximum cargo of 792u, so it is very well suited for trading. Often used in combat for its gigantic defenses, its weapons (1 huge, 2 large and 4 medium that are however, badly placed for most of them) even if it can deals quite a punch in favourable conditions. The Cutter is incredibly sturdy and its shields are known to be invulnerable with Prismatic. It has a fighter bay and is the fastest large heavy ship. It is faster than Anaconda and Corvette, turns slower than the two of them and has the most shields.
- Uses: Fighter, Tank, Interceptor
- Roles: Pirate, Bounty Hunter, Assassin, Guardian, AX

▲ Suggested modules according to roles:
In red, the mandatory modules for your roles.
- Pirate: FSD Interdictor, Manifest Cargo Scanner, Kill Warrant Scanner, Wake Scanner, Chaff, Heatsink, limpets Collector and/or hatch breaker
- Mercenary: Shields Boosters (if not stealth), Chaff, Heatsink (if stealth), Hull reinforcements
- Assassin: FSD Interdictor, Kill Warrant Scanner, Shields Boosters (if not stealth), Chaff, Heatsink (if stealth), Point Defence
- Bounty Hunter: Interdicteur de saut, Kill Warrant Scanner, Wake Scanner, Chaff, Heatsink Shields Boosters (if not stealth), Chaff, Hull reinforcements
- Guardian: FSD Interdictor, Shields Boosters, Chaff, Heatsink, Countermeasures ECM, Fuel Scoop, Hull reinforcements
If you can’t afford a A rated module, buy a C rated one as it is balanced “Power/Mass/Power Drawing/Integrity”. The D rated modules are very light and unfortunately very fragile, while the A rated ones are sturdy, powerful and very expensive.
► Equip your ship for a given task and role! ◄
About Fighting
Offensive and defensive modules are available in game.
We will discuss their uses in detail in order for you to best equip your ship according to your gameplay.
→ Learn more about the Shield Generators.
→ Learn more about the Damages
Mark Allen, Programmer for Elite: Dangerous, gave us some details about the mechanics that helps calculating the “Damages” during combat.
1) The first step is to multiply the damage dealt by the armours’ defences as for shields.
2) There’s a second step in damage reduction that’s used only for hulls – Hardness. Each armour has a Hardness value and each weapon has a Piercing value, all damage is multiplied by:
Min(1.0 , Piercing / Hardness)
So a small pulse laser (20) would deal full damage to a sidewinder (also 20), but less than a third damage to an anaconda (65). The main intent of this mechanic is not to penalise small ships, but to make large weapons effective against large ships without one-shotting smaller vessels – they don’t actually do that much more flat damage than a small weapon but by piercing much better are far more effective against the harder target.
3) Next we decide if the shot has penetrated the armour. This is a random chance that scales with current hull health. The exact values vary per weapon though a typical example is 40% chance when you have full health, 80% when close to death. If the penetration roll fails then we deal all damage to the hull and skip to step 8.
4) Every ship has a Hit Layout of internal and external modules:
These spheres are used in two ways, if the point you hit is inside an external (blue) sphere then that module is the one that was hit, skip to step 7. If you missed, then the internal spheres will be used in the next steps.

5) If the shot has penetrated and not hit an external module we need to know how far it went into the guts of the ship. Each ship defines a standard penetration depth (usually 75% of its height), which is then modified up and down by weapons. Aside from the ever-powerful railgun which will go all the way through any ship currently in-game (but still can’t hit a second ship!).
In the current live build (1.3.07) there’s a bug where this penetration distance is much larger than intended, which has been fixed internally for 1.4.
6) Given where it hit, the shot direction and how far it penetrated we can draw a ray through the ships’ internal layout to check what may have been hit. This ray is compared against all the internal (yellow) spheres and any that intersect are candidates – one of which will be picked at random weighted by how dead-on the hit to its sphere was. If nothing was hit, skip to 8.
7) Whether internal or external we now know that you’ve hit a module. The damage dealt will be split between the hull and this module in a ratio determined by the weapon – most of them deal the majority (80%+) to the module. There are no further defences applied at this point, as the Hull armour has already done its work (even for external modules, they’re assumed to have toughened outer surfaces). It’s at this point the module may also malfunction if it has taken enough damage.
8) Whatever damage that wasn’t dealt to a module is now dealt to the hull.
9) After dealing damage there’s one final step of applying secondary effects to the ship and/or modules hit. This encompasses options like heating up the ship or forcing additional malfunctions.

Weapons
These are your hardpoints, allowing you to deal damage to your enemies. There are three categories:
- Fixed // Straight shots, efficient on very nimble ships, great damage
- Gimballed // Guided shots, help shooting sub-modules and maintaining aim, normal damage
- Turrets // 360° shots, reduced damage
I will not discuss about Powerplay or Guardians weapons in this guide.
▲ Thermal Weapons
- ✔ Thermal weapons don’t need ammunition or reloading time. Thermal damage.
- ✘ It consumes a lot of power from your Generator.
- Pulse laser
- Ammo / per clip: ø
- Against Shields: 0 1 2 3 [4] 5 6
- Against Hull: 0 1 2 [3] 4 5 6
- Power Draw: 0 1 2 [3] 4 5 6
- Heat Generation: 0 1 [2] 3 4 5 6
- Notes: It is possible to maintain the Pulse laser during a long time as it doesn’t draw a lot of energy from your distributor. The penetration score is interesting and you get a great deal of damage against shields and hull.
- Burst laser
- Ammo / per clip: ø
- Against Shields: 0 1 2 3 4 [5] 6
- Against Hull: 0 1 2 3 [4] 5 6
- Power Draw: 0 1 [2 3] 4 5 6
- Heat Generation: 0 1 [2 3] 4 5 6
- Notes: Between the Pulse and the Beam, the Burst laser is an excellent weapon to eat hull and shield if you can afford to hit with the three round burst and if you have enough power.
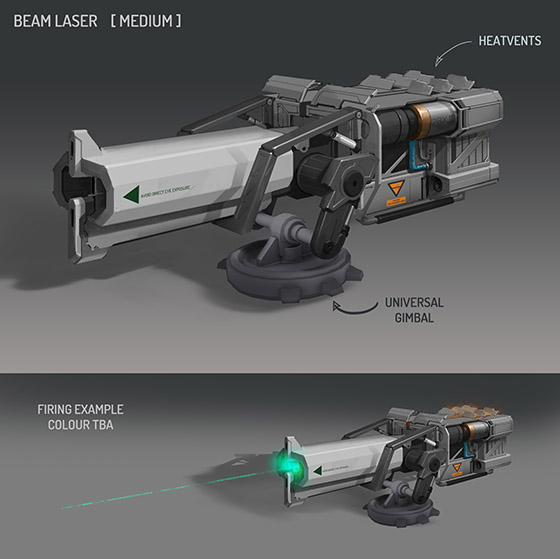
- Beam laser
- Ammo / per clip: ø
- Against Shields: 0 1 2 3 4 5 [6]
- Against Hull: 0 1 2 [3] 4 5 6
- Power Draw: 0 1 2 3 [4] 5 6, depends how long you fire. You will have to maintain the beam, it will cost a lot of power.
- Heat Generation: 0 1 2 3 [4] 5 6
- Notes: Very powerful against shields, you can also completly melt small ships with this. It generates a lot of Heat and you will need a lot of capacity and regeneration in your power distributor. It doesn’t penetrate well, it is more to spread heat and kill shields.
▲ Balistic weapons
- ✔ The balistic weapons doesn’t draw that much power. Kinetic or Explosive damage.
- ✘ They have limited ammunition and ammo per clip, they need to be reloaded.
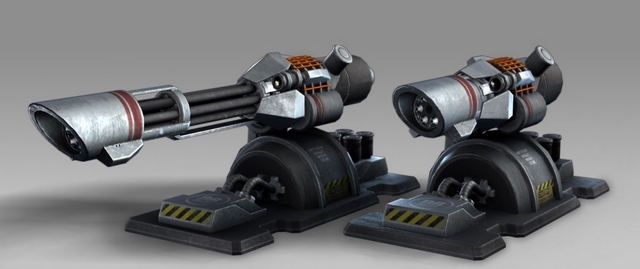
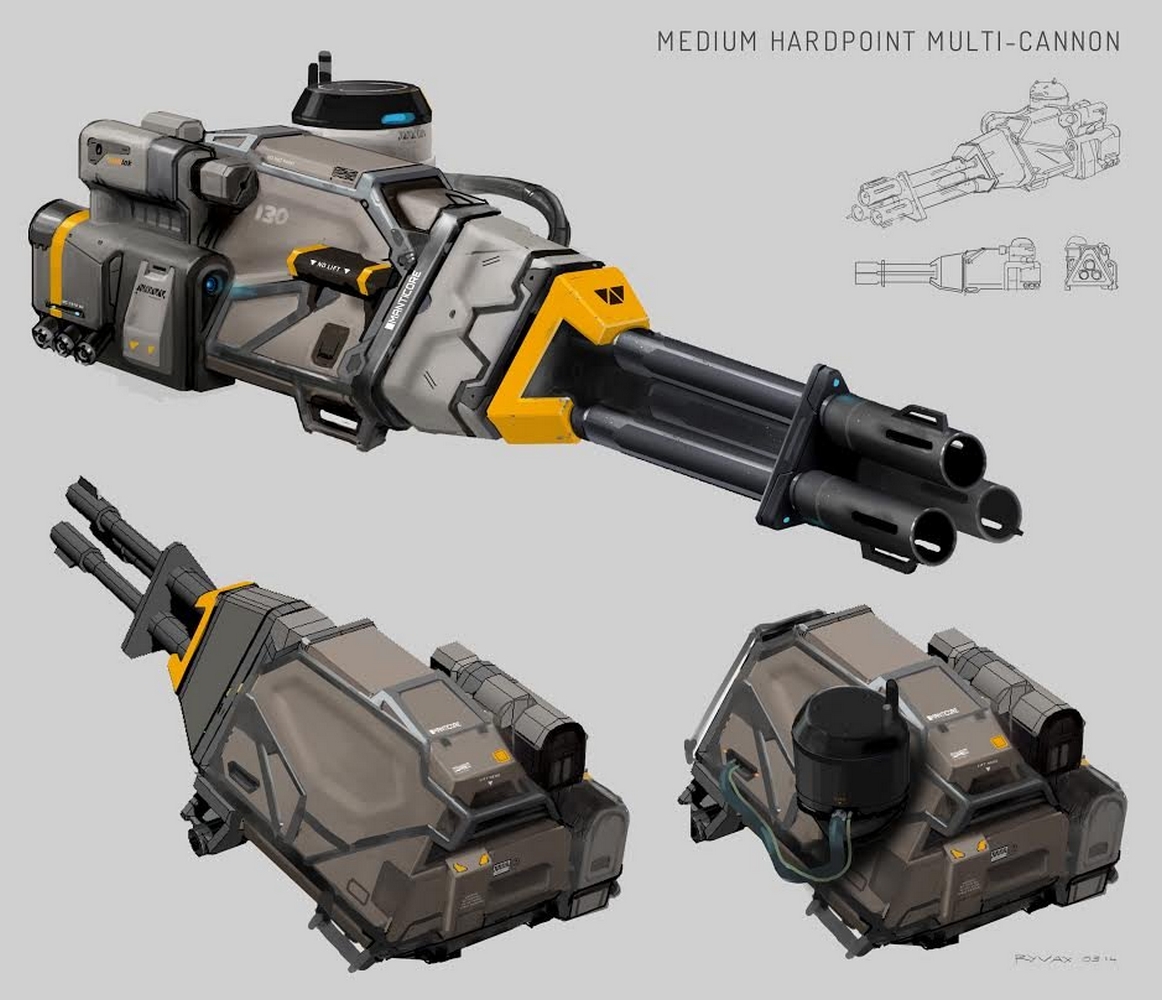
- Multicannons
- Ammo / per clip: 2 100 / 90
- Against Shields: 0 [1] 2 3 4 5 6
- Against Hull: 0 1 2 3 4 [5] 6
- Power Draw: 0 [1] 2 3 4 5 6
- Heat Generation: 0 [1] 2 3 4 5 6
- Notes: Efficient against the hull and great at aiming given sub-modules. It’s almost useless against shields, but it costs quite nothing from your Power generator.
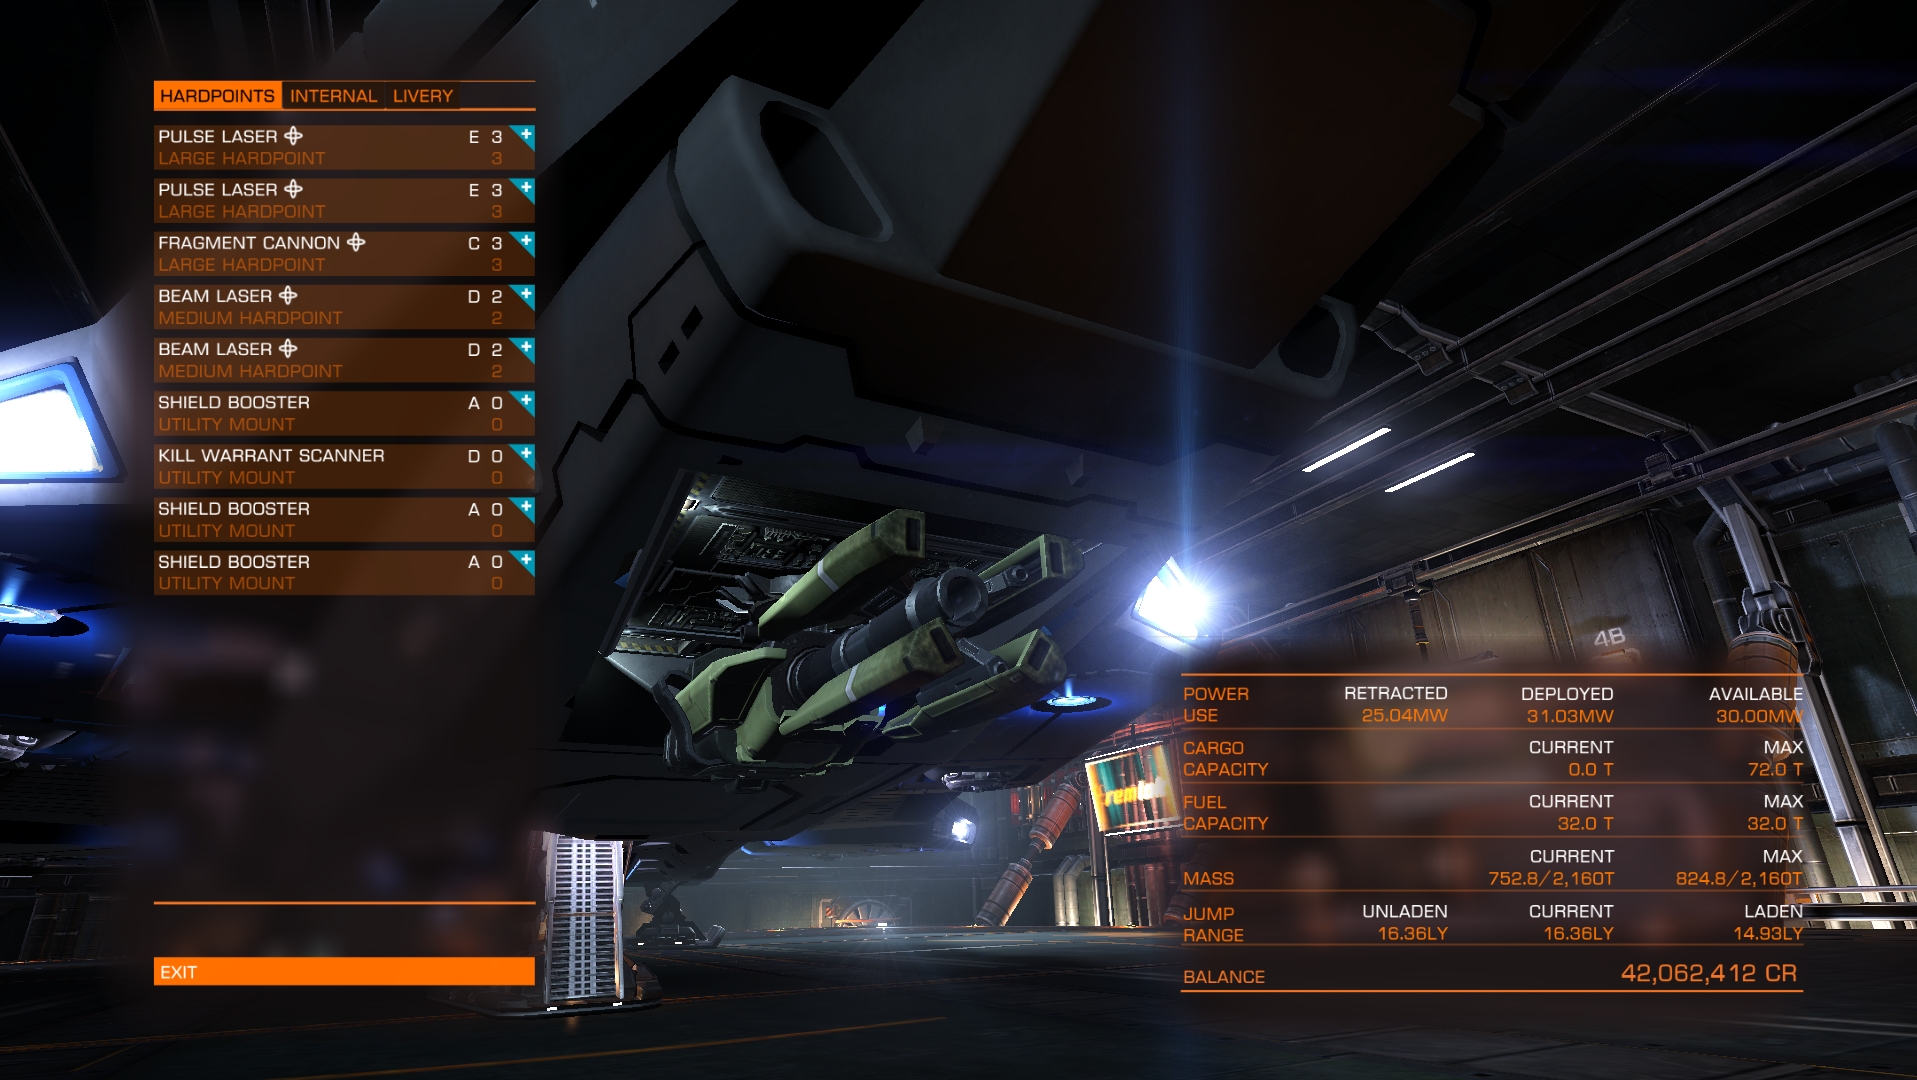
- Fragment cannon
- Ammo / per clip: 90 / 3
- Against Shields: 0 1 2 3 [4] 5 6
- Against Hull: 0 1 2 3 4 [5] 6
- Power Draw: 0 [1 2] 3 4 5 6
- Heat Generation: 0 [1] 2 3 4 5 6
- Notes: Really dependent from your attack angle, it can cause massive damage to multiple modules and hull. You will have to be close to your target. Very good against the hull of small and medium ships, great against shields.
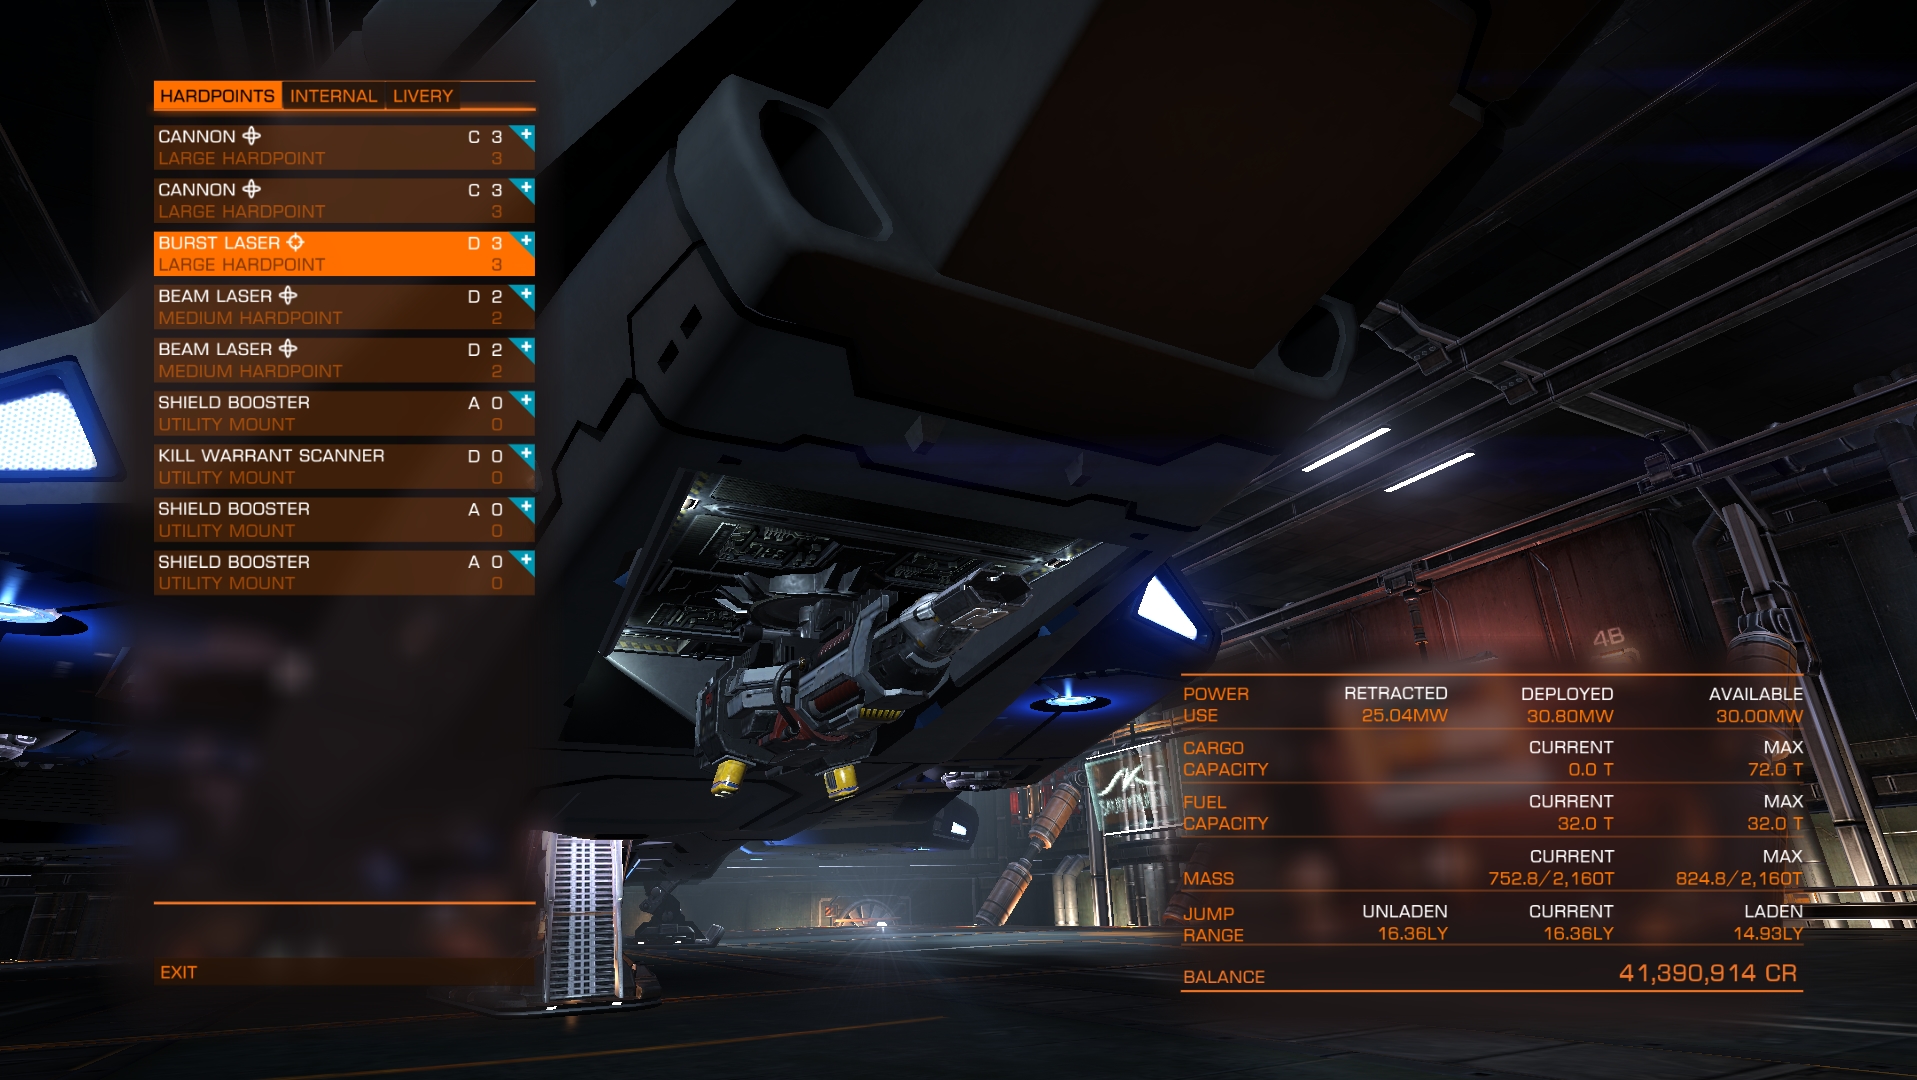
- Cannon
- Ammo / per clip: 100 / 5
- Against Shields: 0 [1] 2 3 4 5 6
- Against Hull: 0 1 2 3 4 5 [6]
- Power Draw: 0 [1 2] 3 4 5 6
- Heat Generation: 0 [1] 2 3 4 5 6
- Notes: Excellent penetration, it is used to snipe down given modules. The shell are slow so you need to prepare your shots.
- Missile rack (Explosive)
- Ammo / per clip: 16 / 8 or 24 / 12 rockets || 6 / 12 or 6 / 18 guided
- Against Shields: 0 1 2 [3] 4 5 6
- Against Hull: 0 1 2 3 [4] 5 6
- Power Draw: 0 1 [2] 3 4 5 6
- Heat Generation: 0 1 2 [3] 4 5 6
- Notes: There are two sorts of Missiles racks: Seekers and Dumbfire for guided or rockets-style. Large explosive damage in a sphere and can damage multiple modules. Useless against shields. Be careful about Point Defence and Countermeasures, they will destroy or destabilize them.
- Torpedo pylon (Explosive)
- Ammo / per clip: 1 or 2 maximum
- Against Shields: 0 1 [2] 3 4 5 6
- Against Hull: 0 1 2 3 4 5 [6]
- Power Draw: 0 1 [2] 3 4 5 6
- Heat Generation: 0 1 2 [3] 4 5 6
- Notes: Increased penetration, speed, damage. Focus a submodule like the generator, it will cause massive damage! Be careful about Point Defence and Countermeasures, they will destroy or destabilize them during a short time before it acquires lock again.
- Mines launcher (Explosive)
- Ammo / per clip C1 || C2 : 36 / 1 || 3 / 72
- Against Shields: 0 [1] 2 3 4 5 6
- Against Hull: 0 1 2 [3] 4 5 6
- Power Draw: 0 [1] 2 3 4 5 6
- Heat Generation: 0 [1] 2 3 4 5 6
- Notes: This is not played a lot, it depends your gameplay if you use a very fast ship Fire & Forget to create clusters of bombs. Be careful, you can also take their damage.
▲ Hybrid weapons
- ✔ The hybrids weapons draw a LOT of power. Thermal, Kinetic and Absolute damage.
- ✘ It needs to be reloaded quite often.
- Railgun
- Ammo / per clip: 90 / 1
- Against Shields: 0 1 2 3 4 [5] 6
- Against Hull: 0 1 2 3 4 [5] 6
- Power Draw: 0 1 [2 3] 4 5 6
- Heat Generation: 0 1 2 [3] 4 5 6
- Notes: Size 1 or 2 only however their damage/penetration counts as a size n+1 for the statistics. Gigantic armor penetration, you can literally penetratres through internal modules with well placed shots.
- Plasma accelerator
- Ammo / per clip: 100 / 5
- Against Shields: 0 1 2 3 4 5 [6]
- Against Hull: 0 1 2 3 4 [5] 6
- Power Draw: 0 1 2 3 4 [5] 6
- Heat Generation: 0 1 2 3 [4] 5 6
- Notes: The most powerful weapon (besides new Guardians weapons), exists in size 2 and 4. Its power comes from
great responsibilitiesits absolute damage, ignoring ships’ resistances.
Defenses
Utility modules to further specialize or defend your ship.
- Chaff launcher
- Greatly disturbs gimballed weapons during the temporary chaff.
- Electronic countermeasure
- Misunderstood, they are quite easy to use actually. You can destabilize missiles and torpedoes shot against you on a given range. Everything around you is hit! Charge it, release it.
- Heat sink
- Used to absorb your ship’s current heat. It helps disturbing gimballed weapons and keeping your profile hidden from the radar.
- Point defense
- Efficient against mines, torpedoes and missiles if they aren’t in great numbers. It automatically shoots them down.
Also count as Utility modules
- Cargo Manifest scanner
- Used to discover the contents of a target’s cargo ship. Often used by pirates. If the target holds illegal commodities, they will be flagged as Wanted. The targets are always alerted when scanned.
- Frame Shift wake scanner
- Used to calculate the jump coordinates of a ship using the wakes left behind when jumping. It is used to hunt down targets. Often used by pirates.
- Kill Warrant Scanner
- Display all bounties on a given ship.
- Shield Booster
- Used to passively enhance the power of your shields for a fixed rate of energy when activated.
Outfitting Build Examples
Here are some Combat Builds examples:
- Viper MkIV (406m/s → 511m/s, Intercepteur PvP) – 9M 925k Crédits
- Extremely fun to play with its 4 Multicannons and Rapid Fire under thermal and corrosive effects! It’s very fast and extremely agile which allows you to always choose how you will engage your targets. It can compete against large vessels, if it’s not a large overmodded one
- Standard Shields and Cell but this Viper MkIV mainly plays with its hull. It doesn’t heat up a lot, so remember to switch to Stealth whenever you can/want.
- Diamondback Scout (475m/s → 475m/s, Furtif PvP) – 8M 577k Crédits
- Its profile and weapons placements allow the DBS to strike powerful blows at its target while remaining stealthy. You can replace the two Multicannons with two railguns if you prefer. Specialist in small and medium engagement, no one will know where you are! With the latest updates, the Stealth is not an optimal choice especially since we see you in night vision, so you better avoid it at the moment.
- Full focus on armour and stealth. Even your weapons are barely visible when you fire them so you can remained concealed. You will regularly use Heatsinks which can also play a role of decoy because once released they will illuminate a corner of space… where you will not be anymore thanks to your high speed.
- Asp Scout (327m/s → 446m/s, Chasseur PvE) – 22M 951k Crédits
- Yes, I dared you with an Asp Scout build, sorry! ^^ Initially, this ship turned out to be a real beast countering 100% of enemy resistance thanks to its absolute damage. It balances its poor top speed with incredible armour and hardness for a ship of this size. Its shields recharge very quickly thanks to the Bi-Weave fast charge effect.Aim well, and this toy will do wonders against medium and small targets.
- Your gameplay is in Alpha strike, each shot must hit in order to inflict damage, make your enemy lose the lock on you and disturb its non-fixed weapons each time time. As soon as you see Shield Cells launched: Railgun! They are modded to inhibit enemy Cells. Once the shields have collapsed, target modules such as the Power Plant or the Thrusters. You are slow, but extremely maneuverable and your shields recover in just 30s.
- Your weakness will be kitting and reverski, the action of attacking you from a longer range than yours by keeping you at a distance. As your speed is relatively low, you will be knocked down easily.
- Vulture (337m/s → 546m/s, Combattant PvP) – 42M 767k Crédits
- I pointed out that the Vulture was the best small combat ship, here it is at the height of its power. Two Plasma Accelerators, breathtaking large hardpoints for a small ship, and great speed/defenses. It has everything you need, where you need it.
- You can also use Advanced Plasma Accelerators for a better effect.
- Vulture (323m/s → 523m/s, Chasseur PvE) – 22M 118k Crédits
- Two C3 Corrosive and Incendiary Multicannons on a very comfy ship.
- Federal Gunship (257m/s → 423m/s, Tank PvE) – 178M 129k Crédits
- Choose your combat zone and release your two Ship Launched Fighters. The weapons and mods of this Gunship offer incredible firepower, coupled with two fighters played by humans you will be a real titan in your category. Each fighters add C3 weapon power, potentially making it a ship with 3C3, 4c2 and 2 C1! You are slow, but your role is not to chase your target: you are there to secure an area. If need to chase, communicate it to your two fighters controlled by your friends.
- You are very sturdy and your shields can replenish themselves after only a minute once collapsed.
- Alliance Chieftain (370m/s → 530m/s, Combattant PvE) – 108M 159k Crédits
- With two Pacifiers (Slow Multicannons with large calibers), a gimballed Multicannon applying the Corrosive effect and 3 Cytoscramblers, you will have enough to protect your system by repelling your enemies and staying during a long time in combat. An excellent Powerplay combat ship.
- Krait MkII (382m/s → 525m/s, Intercepteur PvE) – 282M 039k Crédits
- A long-range interceptor that will stick to its target to deal continuous heavy damage.
- Krait MkII (382m/s → 525m/s, Chasseur PvP) – 281M 842k Crédits
- Playing prismatic in Class 4 only, you will benefit from the large capacity of these green shields and very high resistances, as well as immense Shield cells: a duo of Class 6.
- Full Double-Shots Fragmentation Cannons, you play in close combat. If you want a little more distance, mod them in Overcharged instead of Double Shots. Bear in mid it’s still melee.
- Federal Assault (331m/s → 552m/s, Furtif PvP) – 112M 672k Crédits
- As I like it: Stealth, Frag Cannons, Armour, to play at the shortest possible range, ie between 800m and 1.5km maximum
- Fer de Lance (402m/s → 542m/s, Chasseur PvP) – 213M 391k Crédits
- More Frag, my favourite weapon. 4C2 Frag well centered on the top in Thermal Overcharged mods, and we offer a C4 Overcharged Corrosive Multicannons as well.
- Shields are your best defense using the high base value of the FdL shields to place a C4 Prismatic and a C5 Cell coupled to no less than 6 Shield Boosters.
- You can also do the same with Gimballed Multicannons.
- Mamba (480m/s → 589m/s, Chasseur PvP) – 217M 762k Crédits
- To engage the bigger ships only, you offer 1C4 Multicannon and 2C3 Multicannons in Incendiary mods. The 2C1 Railguns are used to inhibit the Cells launched by your target who wanted to recharge their shields. Nope, cells denied!
- Once again, the combo Prismatic C4 and Cell C5 with no less than 5 Shields Boosters and 1 Heatsink.
- Anaconda (277m/s → 370m/s, Combattant PvE) – 826M 269k Crédits // Variante Rayons Laser
- It has everything you need where you need it. The Pulse Lasers may be the first weapon you get when you start the game, but they are very powerful when well modded thanks to their damage and low power drain. In addition, they have excellent penetration as an energy weapon. Build adaptable to a Federal Corvette.
- Anaconda (276m/s → 369m/s, Combattant PvP) – 827M 346k Crédits
- My Anaconda, the Fragda: Fragmentation Cannons and tanky enough to counter large ships in PvP. Not to be used against medium agile ships, it has special anti-large gameplay.
- Anaconda (275m/s → 367m/s, Torpilleur PvP) – 818M 309k Crédits
- 1st double bursts of 8 Reverbarating Cascade torpedoes to destroy the Shield Generator, followed directly by double salvos of 8 Penetrator torpedoes targeting the Power Plant, then your Seeker missiles. Rockets are used to cancel your target’s FSD to prevent them from fleeing. Remember to launch your Heatsinks before firing the Torpedoes, as it heats up a lot. The goal is to counter the heavy shields, reduce the amount of power of the enemy ship to make it inoperable and then finish it with the missiles destroying the external modules.
- Federal Corvette (287m/s → 373m/s, Tank PvP) – 979M 657k Crédits
- With a large number of ammunition in your Multicannons and Cannons, your goal is to exhaust the target with your large defenses. You must absolutely keep your shields active because your Power Plant is Modded Overcharged, and it is therefore fragile. If the enemy targets it it will quickly be done with you. As always in PvP, the Railguns are to counter the enemy recharging their shields with Cells.
- Federal Corvette (287m/s → 373m/s, Chasseur/Combattant PvE) – 986M 519k // Variante sans Chasseurs // Variante Zone de Conflit
- A sturdy build to quickly destroy the NPCs.
- Type-10 Defender (253m/s → 310m/s, Support PvE) – 742M 849k Crédits
- You can swap your Laser’s effects to Sequences (Regeneration/Concordant) if you need to heal your allies’ shields. I don’t really recommend the Type 10, but if you want to play it, here is a solid build.
- Type-10 Defender (256m/s → 313m/s, Torpilleur PvP) – 696M 785k Crédits
- Piloted by the infamous CMDR Albatar, The space bastard: obliterate two large ships in this truely true torpedo boat.
- Cutter (304m/s → 486m/s, Combattant PvP) – 1B 292M 371k Crédits
- Kinetic weapons in group 1 and energy weapons in group 2. A sturdy fighter with a gameplay centered on its shields.
► Share your best builds with us!
Different Gameplay Types
Like I explained earlier, there are different gameplay types. Let’s dive in a little bit more, shall we?
→ Don’t forget that since 2.1, you can add Experimental Effects to your weapons and now to your modules since 3.0. Thanks Mrs and Mr Engineers!
→ The Engineers allow you to even more customize your ship to reach the desired gameplay.
► Collect the Crafting Materials ◄
Summary of some gameplay types :
These are only four common examples, you could play as a Support regenerating your teammates’ shields, a sniper with long distance railguns, a huge battery of missiles/torpedoes/rockets/pack-hound, a versatile ship, an impaler with a great mass ramming targets, … the choice is yours, and the limit is your imagination.
By far, the most complicated of all as you will need to use Silent Running while not frying your ship and your pilot down, flying with Fly Assist Off, aiming at your target… yup, you need to master your art!
Going Silent Running will close your heat vents allowing for the heat dissipation from your ship. The sensors, scanners and gimballed/turreted weapons will loose track of you, you will go off radar. The heat from your ship will increase as time goes, and it will increase even faster if you use modules and weapons until your re-open your heat vents. Stealth players need to use multiple Heatsinks.
This stealth is ineffective if you are within 300 meters of your enemy with a small ship (Ex: Diamondback Scout). It will take 550 meters for a ship as wide as a Python. From these distances, there are two variables:
- The attacker targeted you when you went into silent mode: After 7 seconds, he will lose your signature on the radar (300/550 meters)
- The attacker did not target you when you went into silent mode: You become immediately invisible on the radar (300/550 meters)
Play well away from your opponents, between 500 meters and 1.5 kilometers at the most.
Switching to silent mode cancels your shields, which is why stealth hunters do not use shields. You will need to count on a good armour and a very agile ship. Exercise your FA off by maneuvering around an asteroid or a friend of yours. Use your side and vertical thrusters!
|| Example: Diamondback Explorer VS Python (beginner) ||
[youtube]0HsT2MfN01M[/youtube]
|| Example: Diamondback Scout VS Imperial Clipper ||
Fighters are hunters based with excellent shields and their great firepower to get the enemies down before losing their shields or too much hull. They are quite nimble and are designed to fight for a long time without the need to reload or get ammunition on a station. Energy weapons are therefore their favourite, but mixtures can exist.
The engagement distance of your enemies is something you must know so you don’t get outturned in melee (<500m) or inefficient at long range (>2km). Lasers are more effective when they are close. From 3 km you can hit your target but from 1.5 km the damage will become much heavier on your target. Try not to get too closed as I said, especially if your enemies are small because they will surely be more agile than you and you will not have a great angle to fire at them.
Learn how to properly manage your thrusters and FA off. That’s an excellent offensive and defensive bonus. Some ships like the Fer de Lance are excellent at 50% speed in a fight most of the time, others like the Federal Assault Ships are better if they boost quite often to help with their masses. Of course… don’t overheat!
|| Example: Fer de Lance or Vulture. Powerplay or even conflict zones ||
There are not many tanks in-game as this usually requires a team to coordinate. Your role will be to be a bait, a threatening bait with no shields. You will attract the enemies, but what a chance, you’re deeply packed with resistances, hull and modules reinforcements. The enemies will have a tough time killing you or understanding that you should not be the priority target, thus losing time during the fight.
Great shields / bi-weave, are interesting, but what you are looking for is mainly in the structure of your ship. You could do both, it all depends your gameplay, for example my might Anaconda is a heavy tank with excellent shields, modules, resistances, 2 fighters, turrets, fixed, gimballed, … well yeah ok it’s a complete Anaconda. You need deep armour plates, which will reduce your maneuverability. Class A modules are therefore to be expected, especially for the power plant because if you loose your power, you’re out.
Do not be afraid to ram your target. The tanks have a very strong armor and a heavy ship absorbing damage without problem. The Federal Gunship has excellent engines which allows it to turn around very quickly if it keeps its speed within the maneuverability limit (blue zone).
Keep in mind that you will be very unwieldy at high speed and that you will not be able to run after a target. If it disengages you, you are unlikely to catch up. So take your time, walk around at a good speed and enjoy the show by shooting at will.
|| Example: Federal Gunship or Imperial Clipper. Long combats and conflict zones ||
Hunters represent the standard attack ships. These are specialized in maneuvrability in order to out-turn their opponents and weaken them constantly.
Their strength lies in their dodging capabilities, a single mistake could be fatal. If you find yourself in front of enemy cannons, I do not give much of your skin.
You will need the thrusters to be Top tiers and a great Power plant / Distributor to continuously shoot at your enemy. bi-weave shields are useful, but if they collapse, be sure to switch to silent mode so you do not take too much damage. Stay mostly in the blind spots of your targets; ie behind or where there are no weapons.
Master Fly Assist Off so you can reverse very quickly or perform translations to keep your enemy in front of you while you move. Here are the keys to an effective hunter.
|| Example: Viper or Imperial Courier. Bounty Hunting and assassinations ||
Interceptors are extremely fast ships with the aim of… surprise … intercepting targets and preventing them from playing the way they want!
Speed is the #1 priority of these types of gameplay, being untouchable and slippery.
To do this, interdict your target and attack them from afar, you have to be in their blind spots.
A good technique is to face your opponent while reversing your thrusters at high speed, to attack your target from a distance while it’ss trying to chase you.
|| Example: Krait Phantom or Mamba. ||
A special gameplay dedicated to alpha strikes with torpedoes. You have to quickly destroy a single target or at least disable it enough to make it flee the fight.
Launch torpedoes quickly with different effects in order to destroy the the target’s shield generator, then the power plant and finally the external modules.
To be used against slow ships, not aware of what’s awaiting them, because the torpedoes themselves are very slow at 250m/s.
|| Example: Anaconda ou Type 10 ||
These are ships that can offer various services to your wing, such as repairs, decontamination, shield regeneration, and weapons in turrets regularly characterize them.
|| Example: Gunship ou Type 10 ||
Power Management and Priorities
The Power Plant is the core module, your ship’s heart. It provides the energy needed to power your modules. The latter has a number of “health points” represented by a percentage, in the module panel, on the right. The lower the percentage, the lower the energy it generates. The danger becomes critical at 0% life: the energy generated will be 50% of the base value. There is also a small chance your ship will explode when the Powerplant is at 0% while your foe keep damaging it. Weapons with a high penetration value are very effective in destroying internal modules; The Power Plant is one of them.
If a module fails to work, a solution is to Repair/reboot. This process completely shut off your ship in order to try a reboot on some modules experiencing issues. You will find this option in the right-hand menu, last tab, at the bottom of the list.
Even with a reboot, it is still extremely important to manage your power, so you don’t experience any loss of power.
Management tips:
- Priority 5: Non-vital // Everything you do not need in standard flight
- Fuel Scoop, Interdictor, Cargo if you are a fighter.
- If your weapons are not deployed, they do not draw energy: you can therefore exceed your maximum energy available! Priority 5 modules will then deactivate if you deploy your weapons.
- Priority 4: Non-fight-essential and shields // First defenses
- The different Scanners, FSD if you are very fast (>450 m/s), Drones Modules, Repair System, Shields/Boosters/Cells.
- If you have taken that much damage to the Power Plant, your shields might already be broken or even destroyed, so you do not need to supply them. Same goes to the boosters and cells.
- Priority 3: Defensive modules // Last rampart before 50% energy
- Chaffs, Heat Sinks, Anti-Missile Turrets, Fighter Hangar, a weapon requiring a lot of energy.
- If you are at this point, you will probably already have used your Chaffs and Heat Sinks ammo: let’s disable them. A weapon like a Plasma Accelerator or a Beam Laser draws a lot of energy from your PP, it falls under priority 3.
- Priority 2: Combat Essentials // Last Chance
- Some Weapons, Power Distributor, 1 Anti-Missile Turret and 1 Chaff if you have multiple.
- If you can get your Fighter Hangar in there, perfect! It is a big threat to your foes and are both defensive and offensive: your last chance to kill your enemies, if your hull still holds.
- Priority 1: Essentials // Under 50% energy, fleeing
- Your Thrusters, Life Support, Sensors and FSD if it is not priority 4. The FSD is essential here if you have a relatively slow ship (<300 m/s).
- It’s time to flee with your high speed or by jumping to another system. Depending on your amount of energy, put as many important modules below 50%.
Pour vous mettre dans le bain, essayez de désactiver tous vos modules sauf les priorité 1. Vous devez normalement consommer la moitié de votre énergie maximum. Si oui, bravo, vous maîtrisez la gestion d’énergie de votre vaisseau ! Paufinez bien les priorités, que tout ne se désactive pas en même temps.

Tips and tricks
1) Target a subsystem when you attack. I see too many players targeting only the enemy ship. For maximum efficiency, aim for the default Power plant. If you only want to stop your enemy, you are free to choose the thrusters or the FSD for example.
2) Do you have Gimballed Weapons and your opponent uses Chaff to hide its thermal signature? Stop targeting him. Your weapons will automatically become Fixed and you will be able to continue shooting at it before resuming targeting. Note that you will need to select the subsystem again.
3) Fed up with receiving missiles at your ship? Think about equipping Point Defenses and placing them to the right and left of your ship, or below and above. If you have a big ship, a Electronic countermeasures module also does the trick.
4) The current meta favours very fast and nimble ships with Railguns. When you see a blue line going from front to back on the enemy ship, that means he’s trying to replenish his shields! You can reduce the amount of recharged shields with a Railgun mod called Feedback Cascade.
5) During Interdictions:
→ If you are the attacker do not exceed 75% of speed. You are looking for control. Once the enemy is interdicted, no more than 50% speed and NO boost! Search your enemy calmly with full points in the engines and shields. Once the enemy is engaged, go into attack mode and re-distribute your energy for that (engines and weapons).
→ If you are the defender, go for 100% speed. You seek to escape. If you do not want to fight, you can play the mini Interdiction game and get out of here, but if you feel you will not be able to counter the interdiction by playing the mini-game, cut your engines to 0; your FSD will recharge much faster than if you loose the mini-game. Then boost and fly away. If you want to engage the fight, cut your engines directly and once out of hyper-space, look for your enemy calmly with full points in the engines and shields. Once the enemy is engaged, go into attack mode and re-distribute your energy for that (engines and weapons).
6) Always deactivate your cargo in the list of your modules to save energy and better dissipate heat; unless you are a pirate and have cargo items.
7) The weapons you will use continuously will most of the time have to be on the top of your ship; the “secondary” weapons below. Why ? Just because the weapons on the top will have more often a view of your enemy, while those underneath will cause you to lift even more the nose of your ship to shoot. The very agile ships such as the Viper or the Eagle have however their best weapons below, it’s their gameplay as they can quickly face the enemy and move as they see fit.
8) When you scan ships with scanners (cargo, bounty, …), and suddenly your target comes out of your field of view, hold the scan! Thus it will slowly decrease until your target returns to the line of sight. If you let go of the scan, it will go back to zero.
9) Learn how to manage your SYS ENG WEP energy. This represents the amount of energy you allocate to your Systems (shields strength, shields speed recharge, systems, …), your Thrusters (speed, thrust, boost, …) and your Weapons to shoot during a longer time. There is no point in putting all the points in the bars each time. You need to know the needs of your ship.
On 6 available points, I use for example a 4ENG + 2WEP on my Stealthed Diamondback Scout, a 3ENG + 3WEP on my Python or a 3SYS + 1ENG + 2WEP on my tank ship. All of these configuration change depending on if I’m under fire, if I need more speed or shields strength. Basically, if you’re fired at, your should always have 4SYS.
10) Remember that the blue zone of your speed is the area where maneuverability is the best. It manages your speed forward AND backward as well.
11) Pirates, are you looking for a black market close to you? Enter your current system and Spytec will indicate your destination.
12) You can repair your cockpit / canopy with a repair module.
13) Master your Weapons Groups, this is very important in combat.

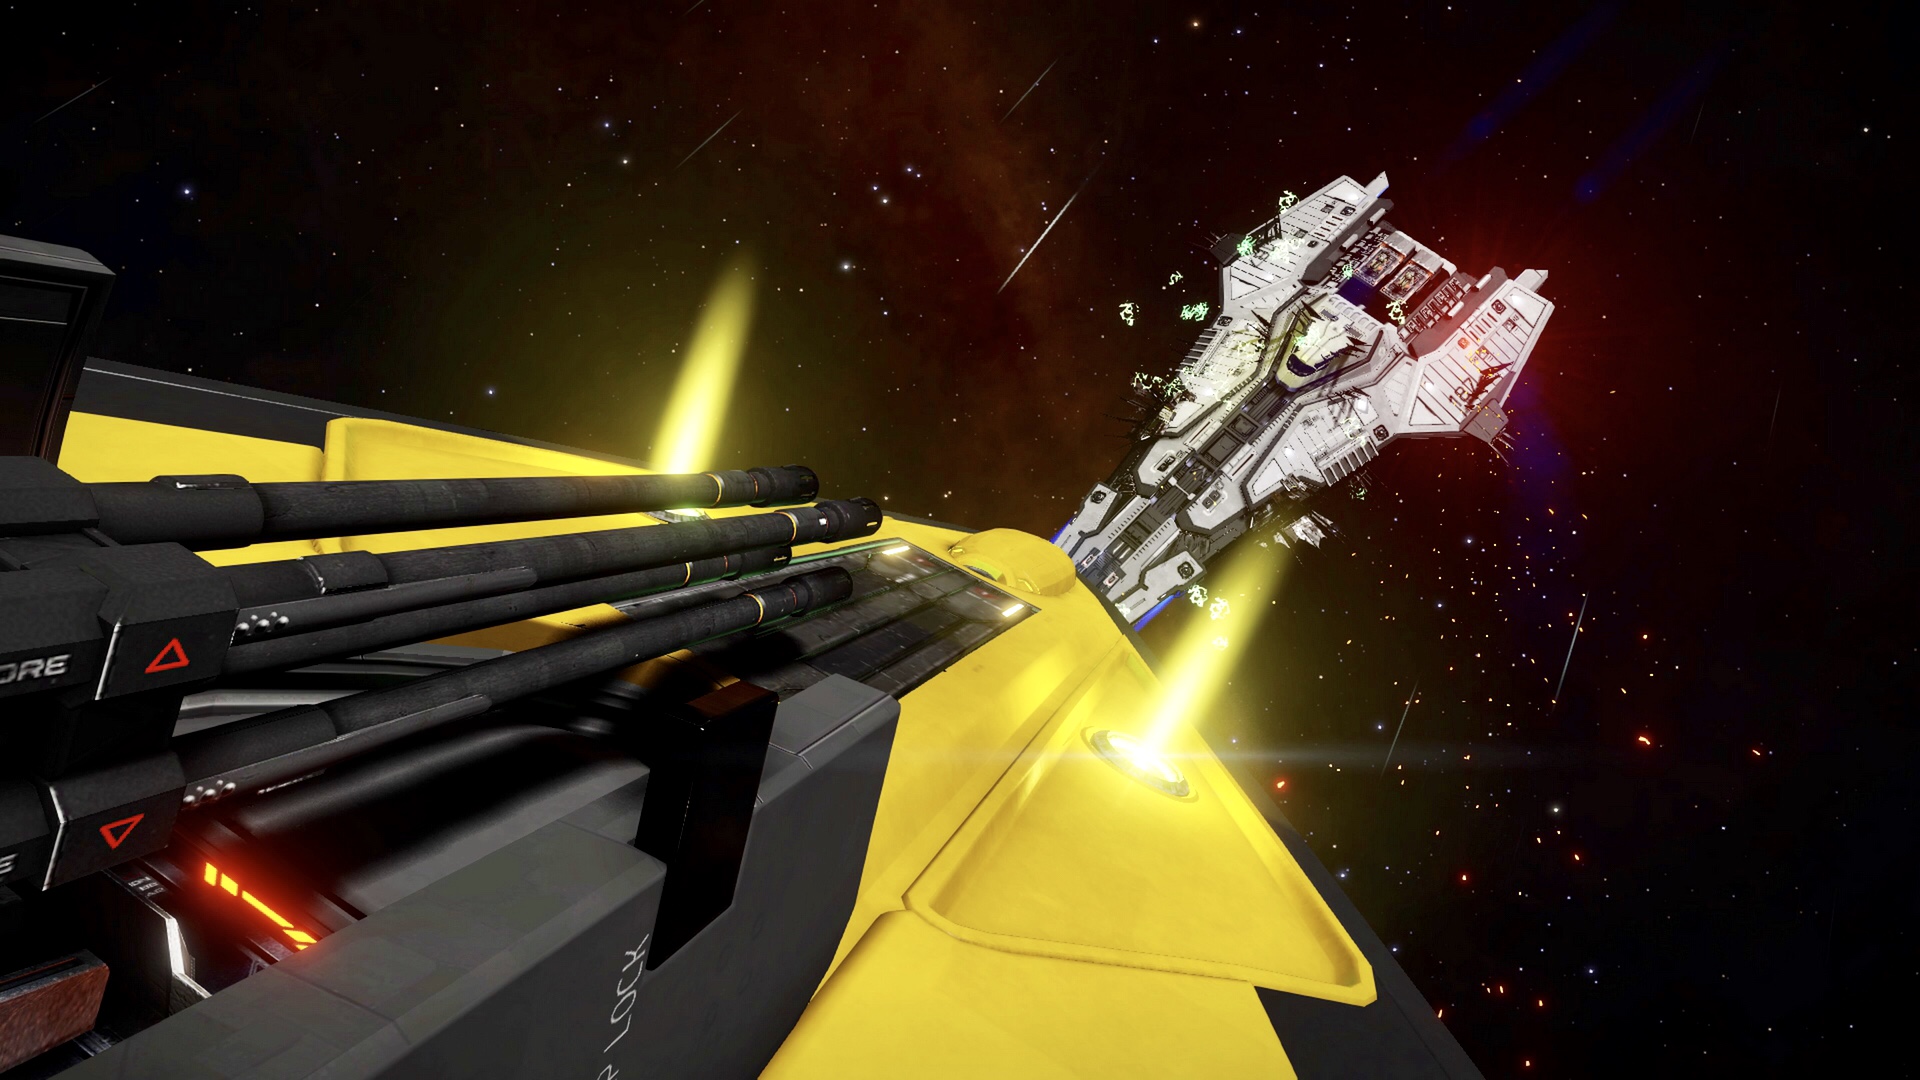
Any comments or tips on this fighter’s guide? Do not hesitate to share them with us.
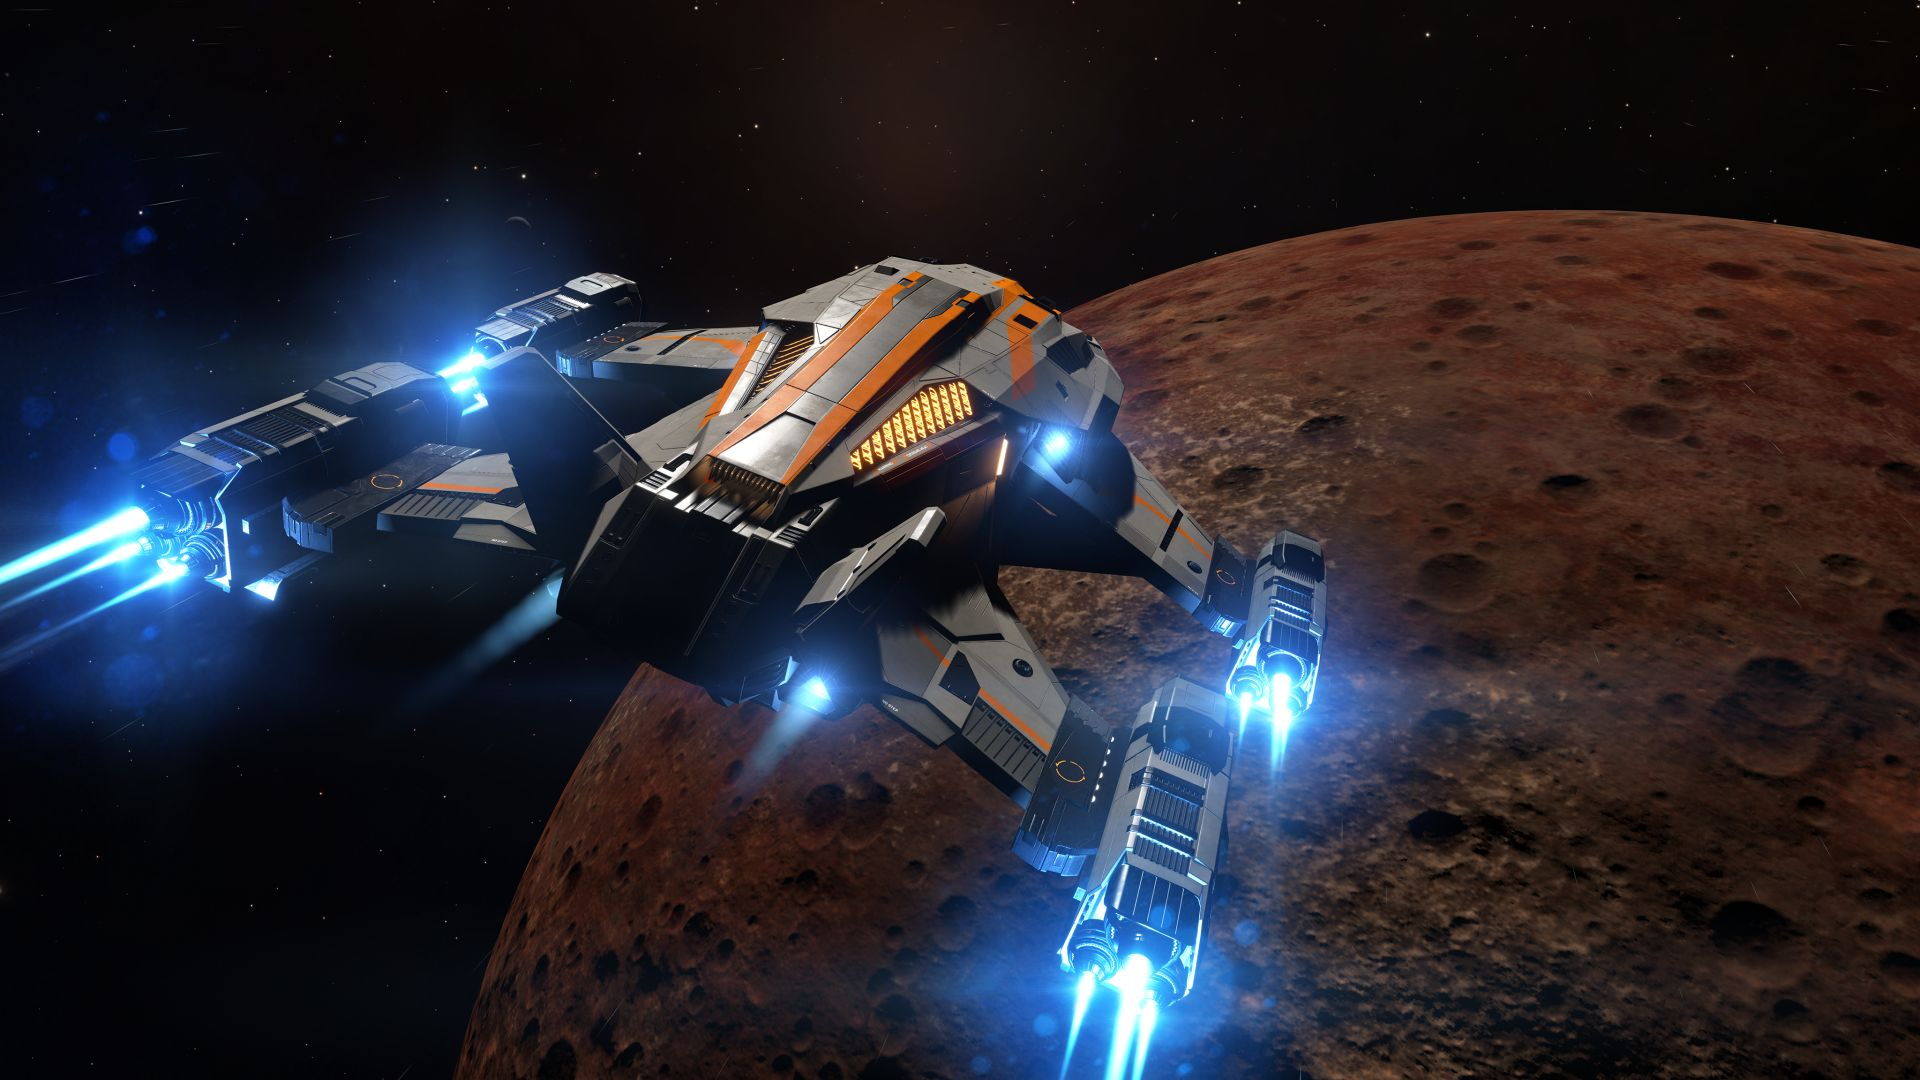
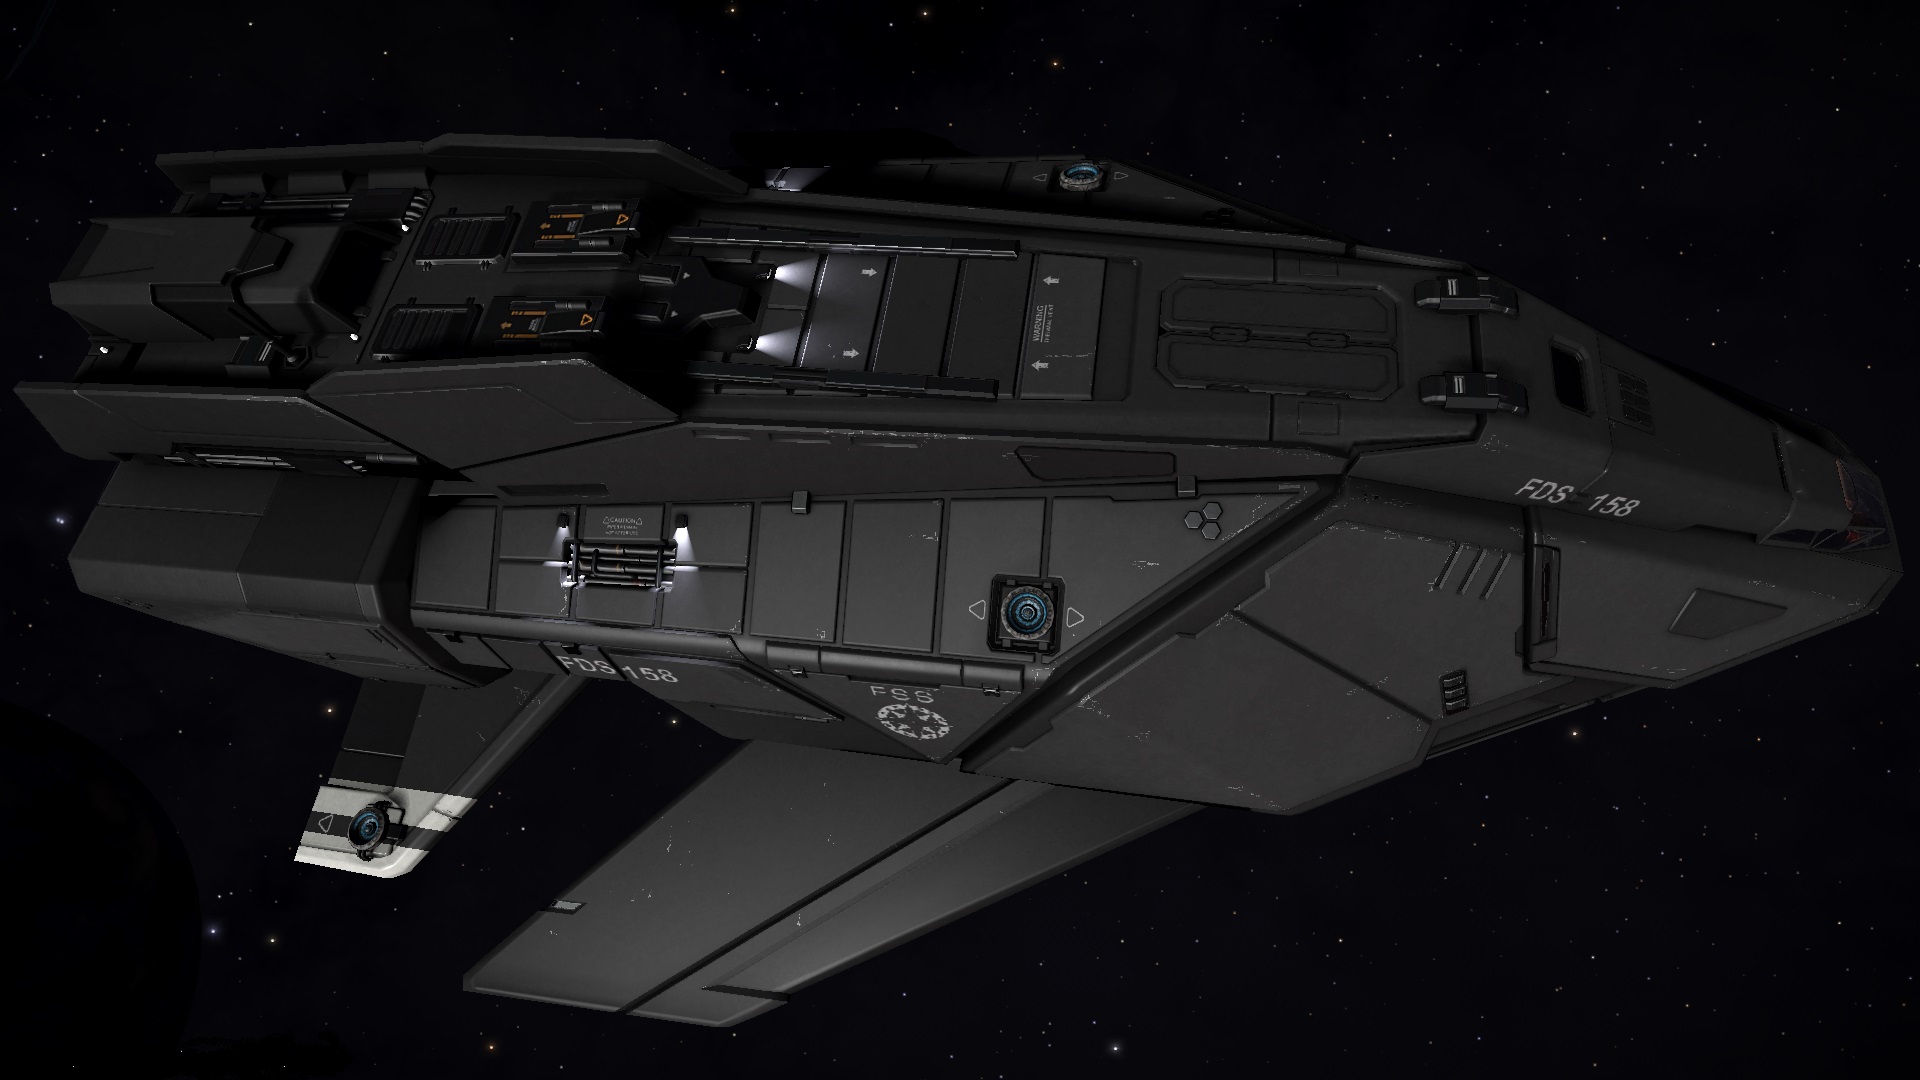
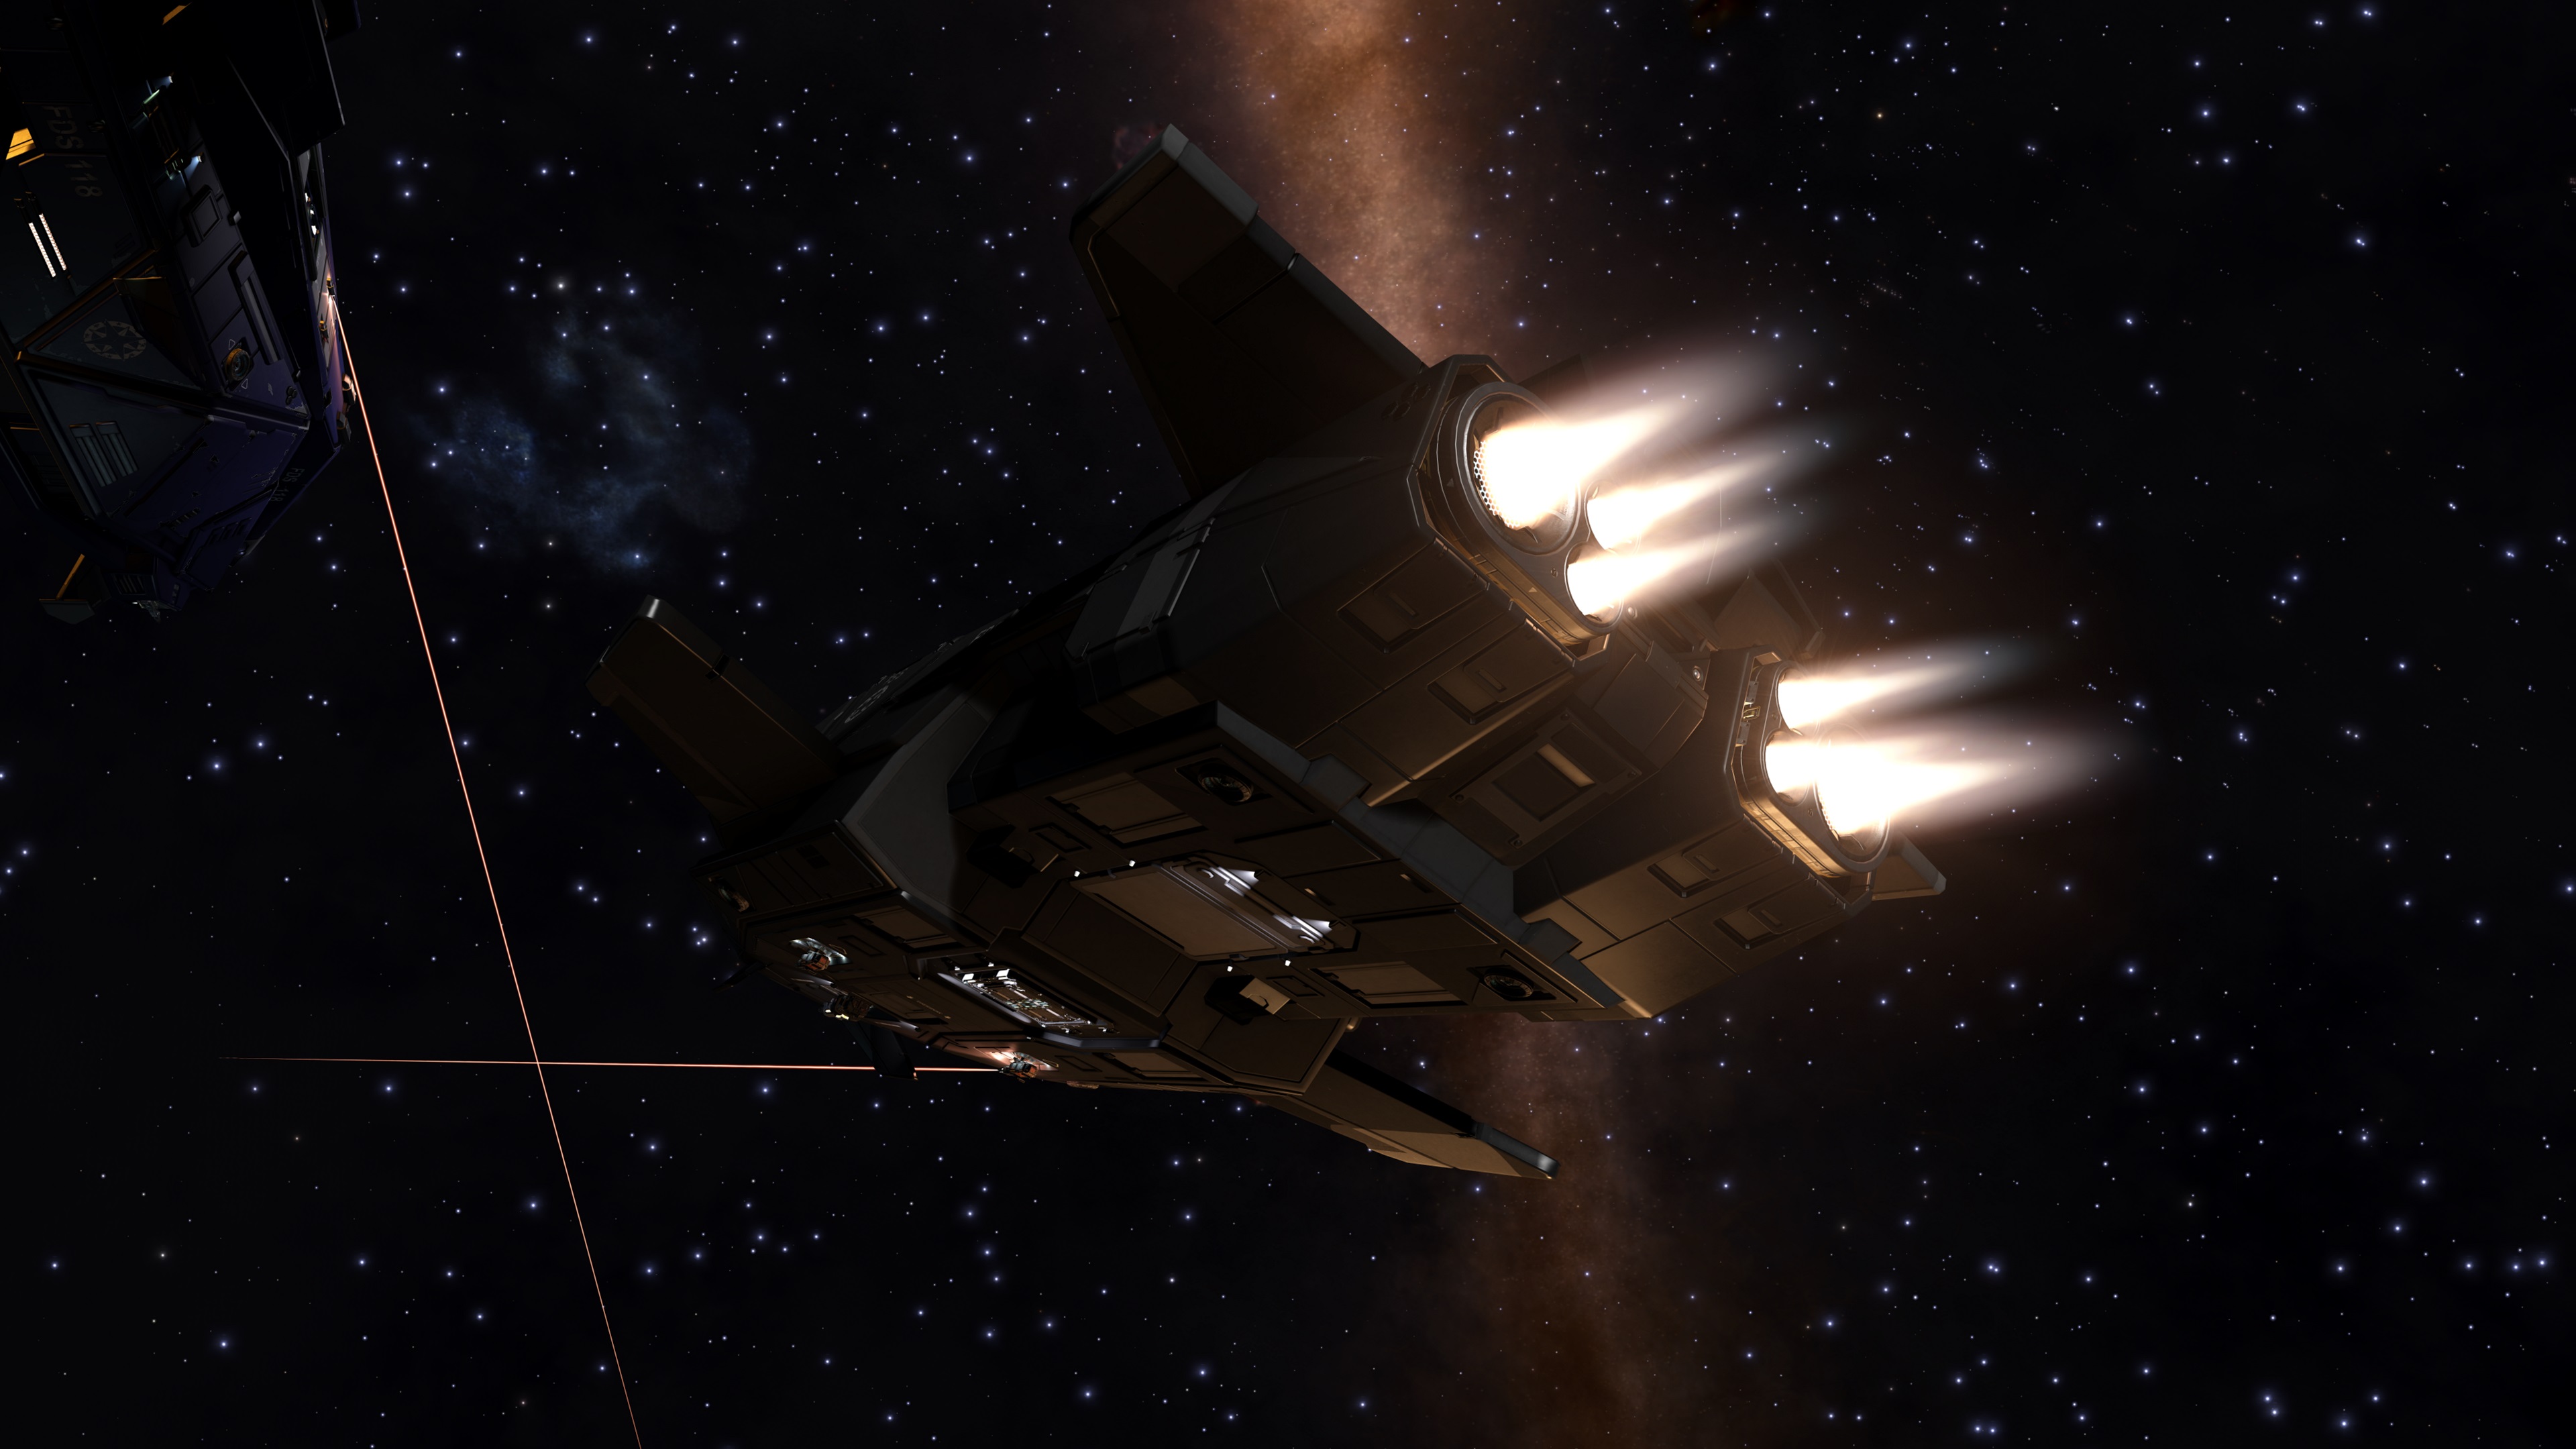
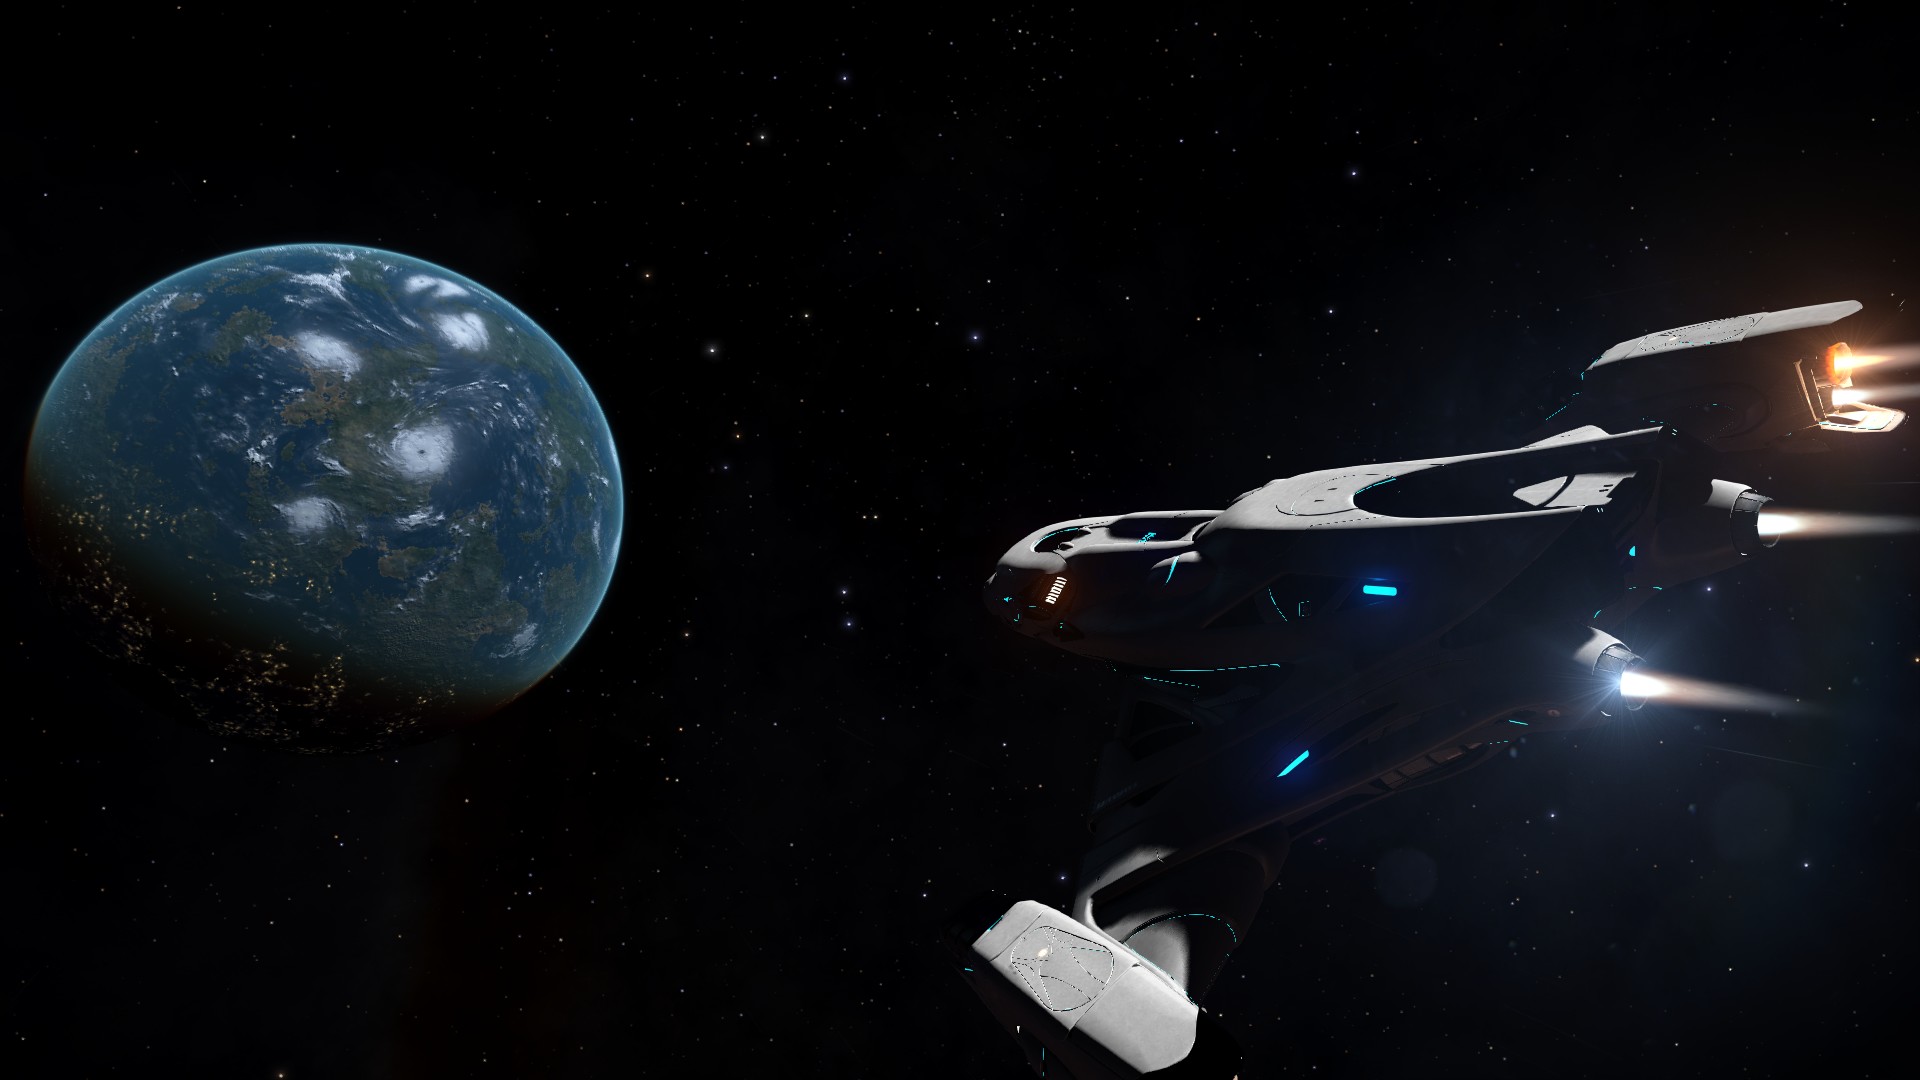
Thanks to the players who provided us with some pictures of their ships!