This post is also available in: Français (French)
![]()
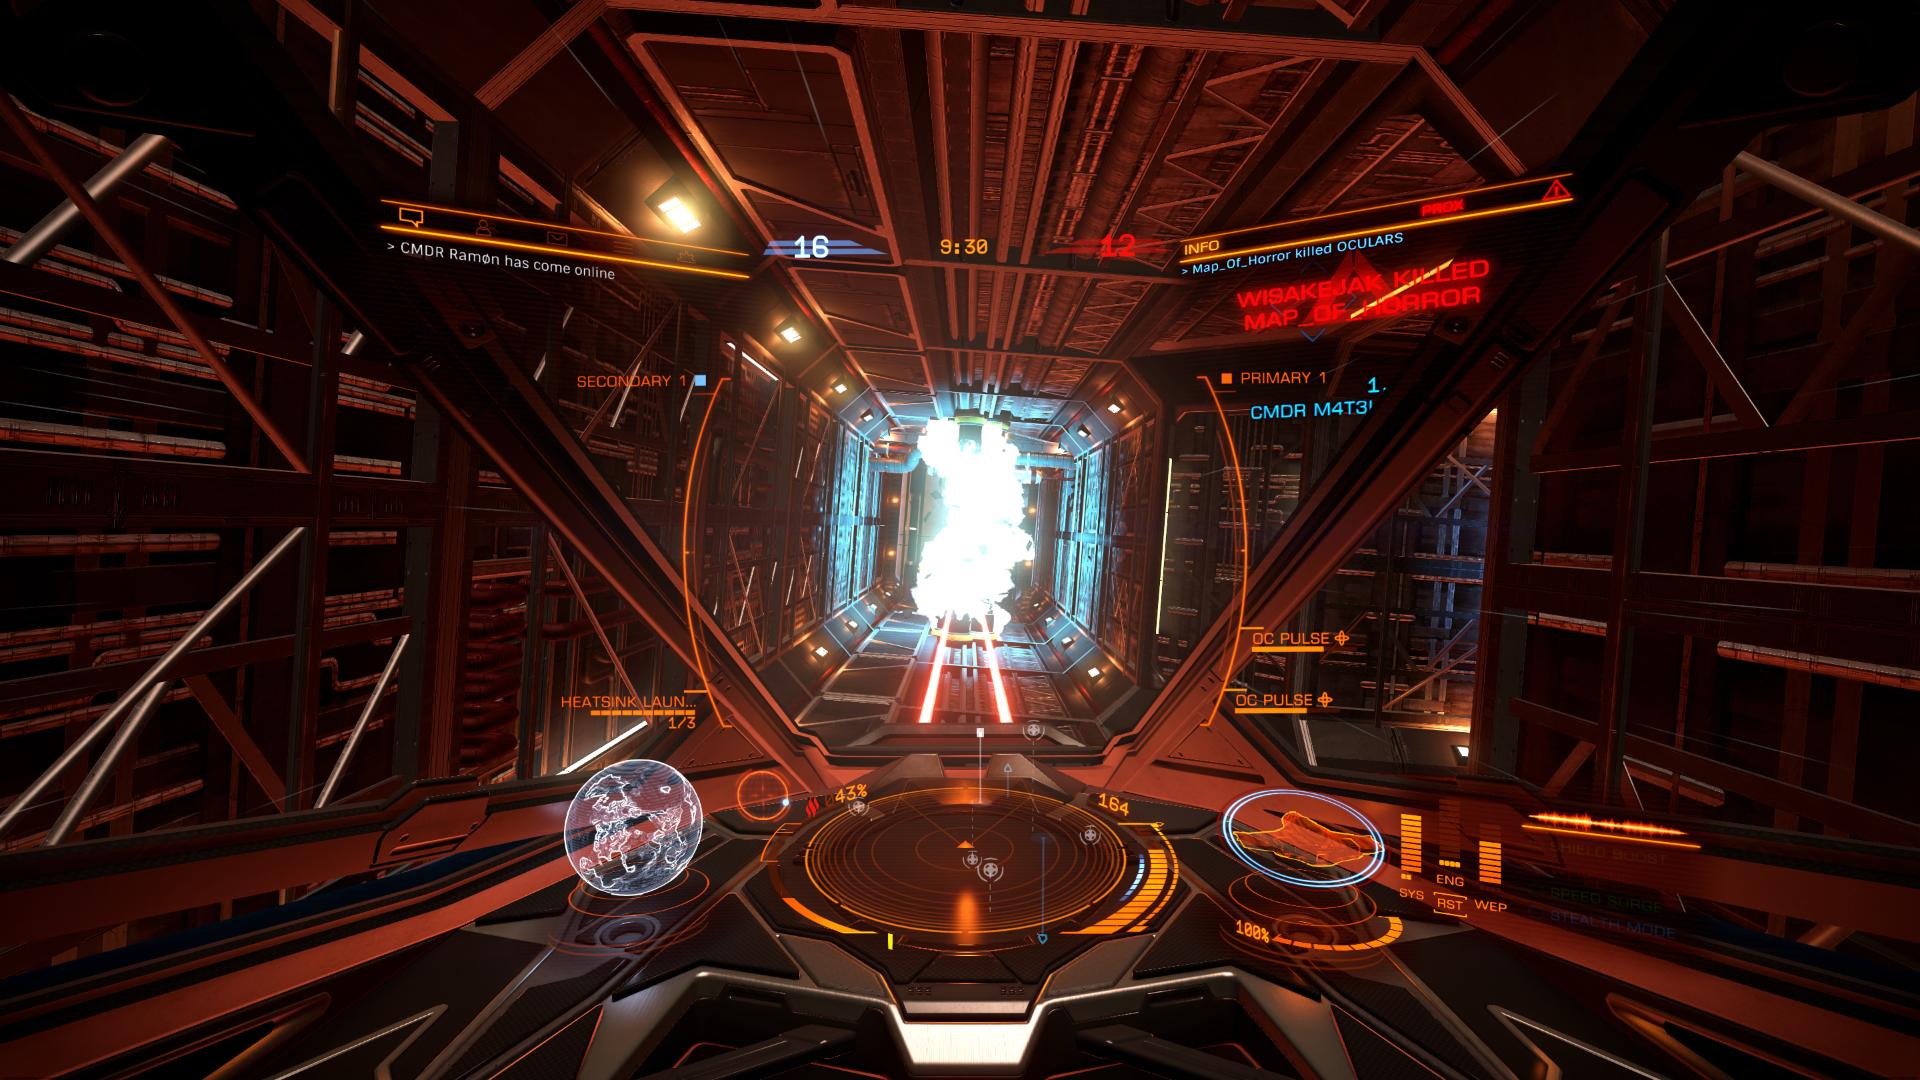
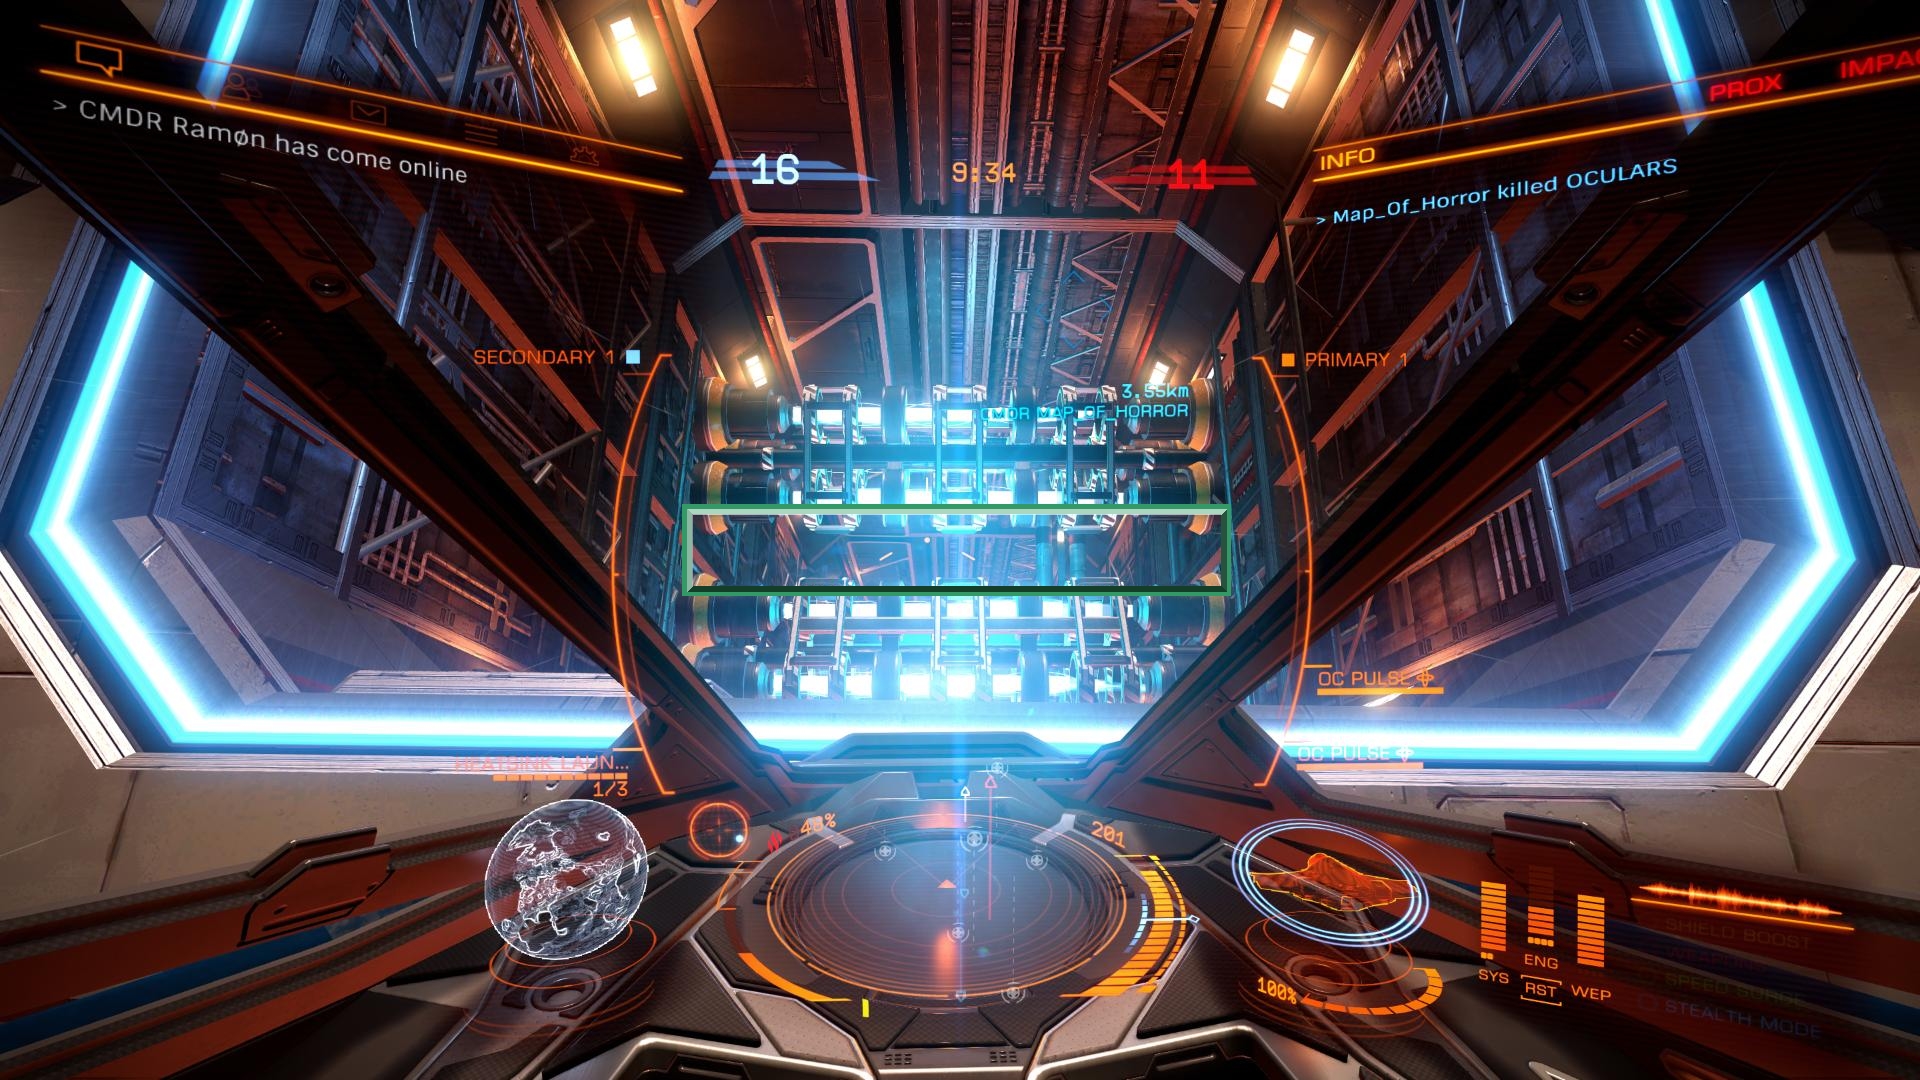
Elite: Dangerous CQC Arena was implemented as part of the Update 1.4.
The Close Quarter Combat Championships (CQC) is a tough place where pilots will have to be extremely focused to win the games. This guide will teach you how to choose your ships, equip them comfortably and analyze the map to achieve better performance!
Other guides: Fighter |Explorer | Miner | Trader | Pirate | Liner | AX Combat
Summary:
What is the Arena
The famous arena game mode from Elite: Dangerous is available to all players with at least the Elite: Dangerous base game.
It is often portrayed as a dead facet of Elite because of its lack of players… This is quite true in fact and Frontier aren’t developping the Arena as of yet… but you can still enjoy the games here and there if you bring friends to the game! The Arena CQC game has a huge potential and a simple story linking it to Elite: Dangerous. This is a training simulation created by the company Utopixx Entertainment, a Federal company recruiting the best pilots out there.
- 4 mythical ships:
- Sidewinder – a tank very well protected but slow and a not very nimble one;
- Eagle – fast and sturdy, this ship is excellent at dealing damage;
- Federal Condor – extremely fast and nimble, very effective in pursuit, fragile but very effective;
- Imperial Fighter – the smallest but most formidable, it is extremely nimble and difficult to hit but the most fragile of all four.
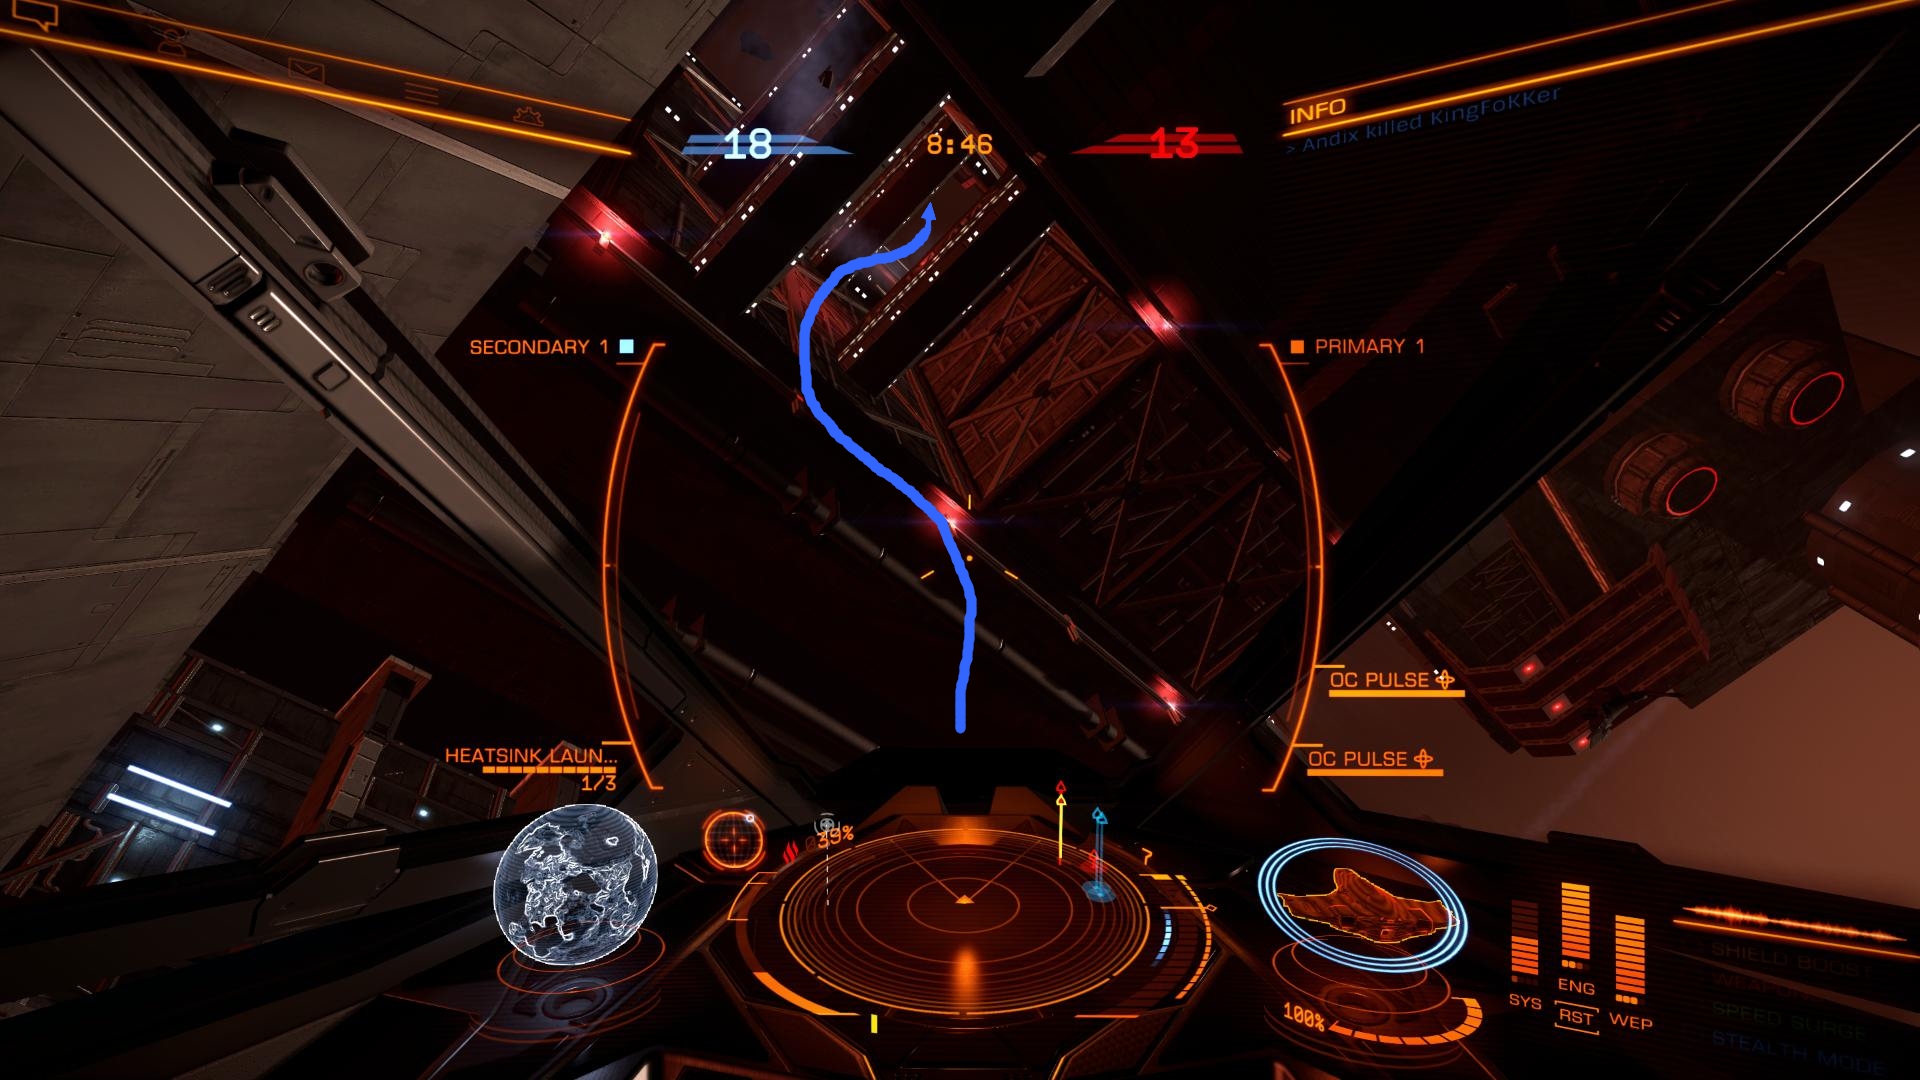
- Four CQC maps with destructible environments are available for the arena:
- Ice Field – A large field of ice asteroids
- Astoria Point – Tunnels and a main structure to prepare ambushes
- Elevate – The space elevator above the Earth!
- Cluster Compound – A vast industrial area and asteroids galore
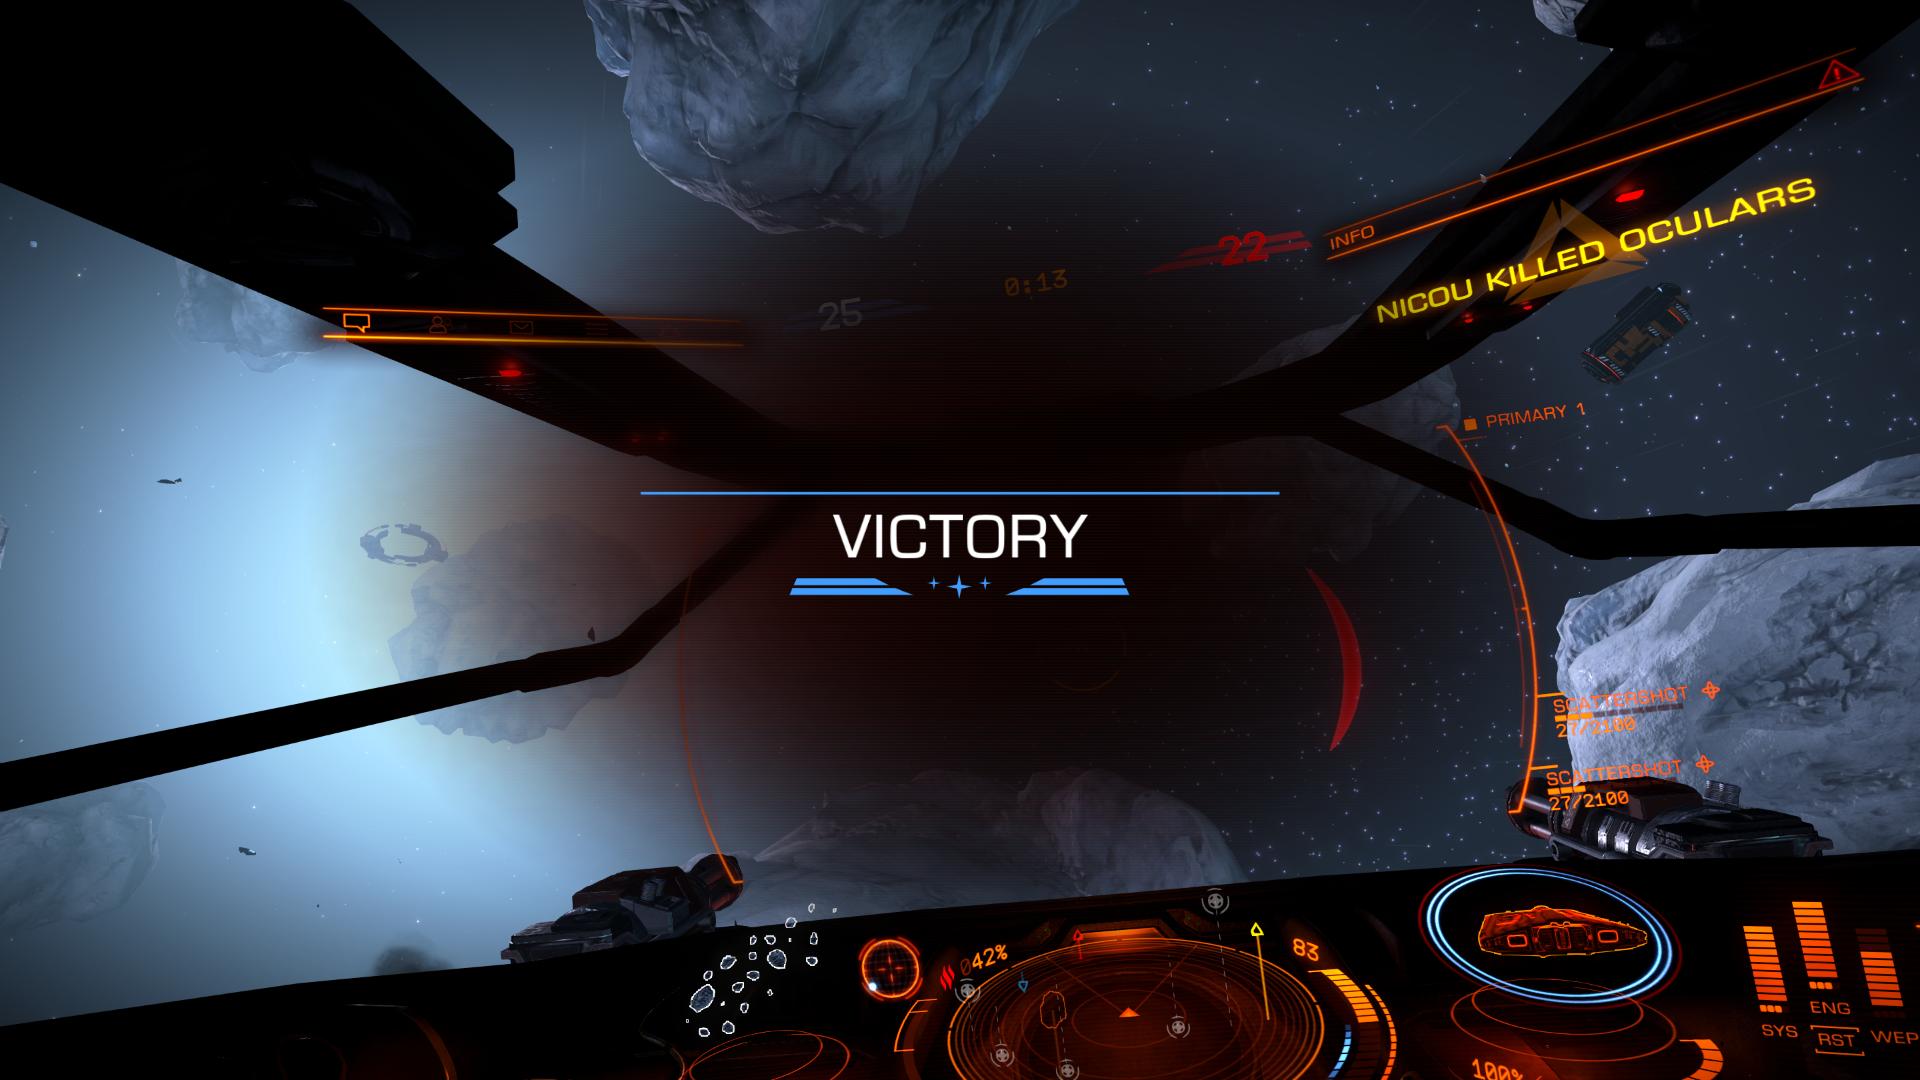
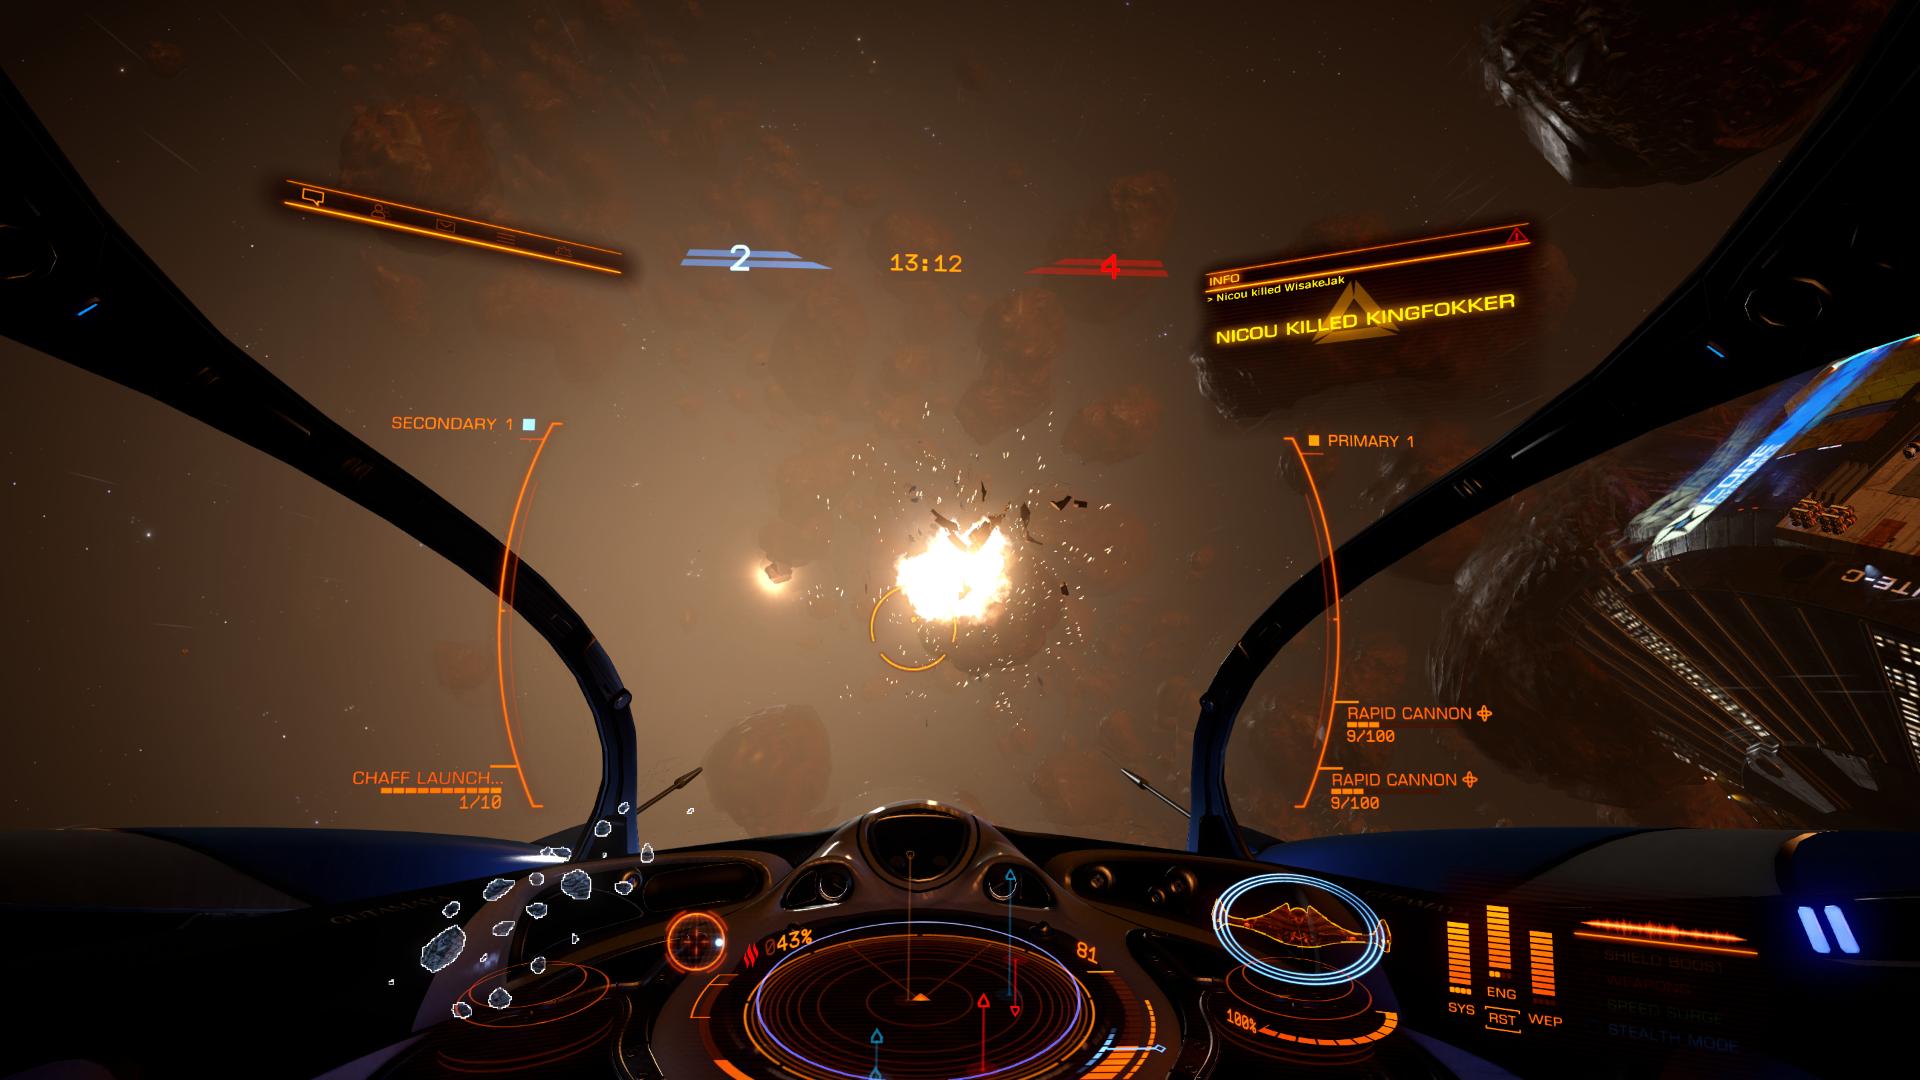
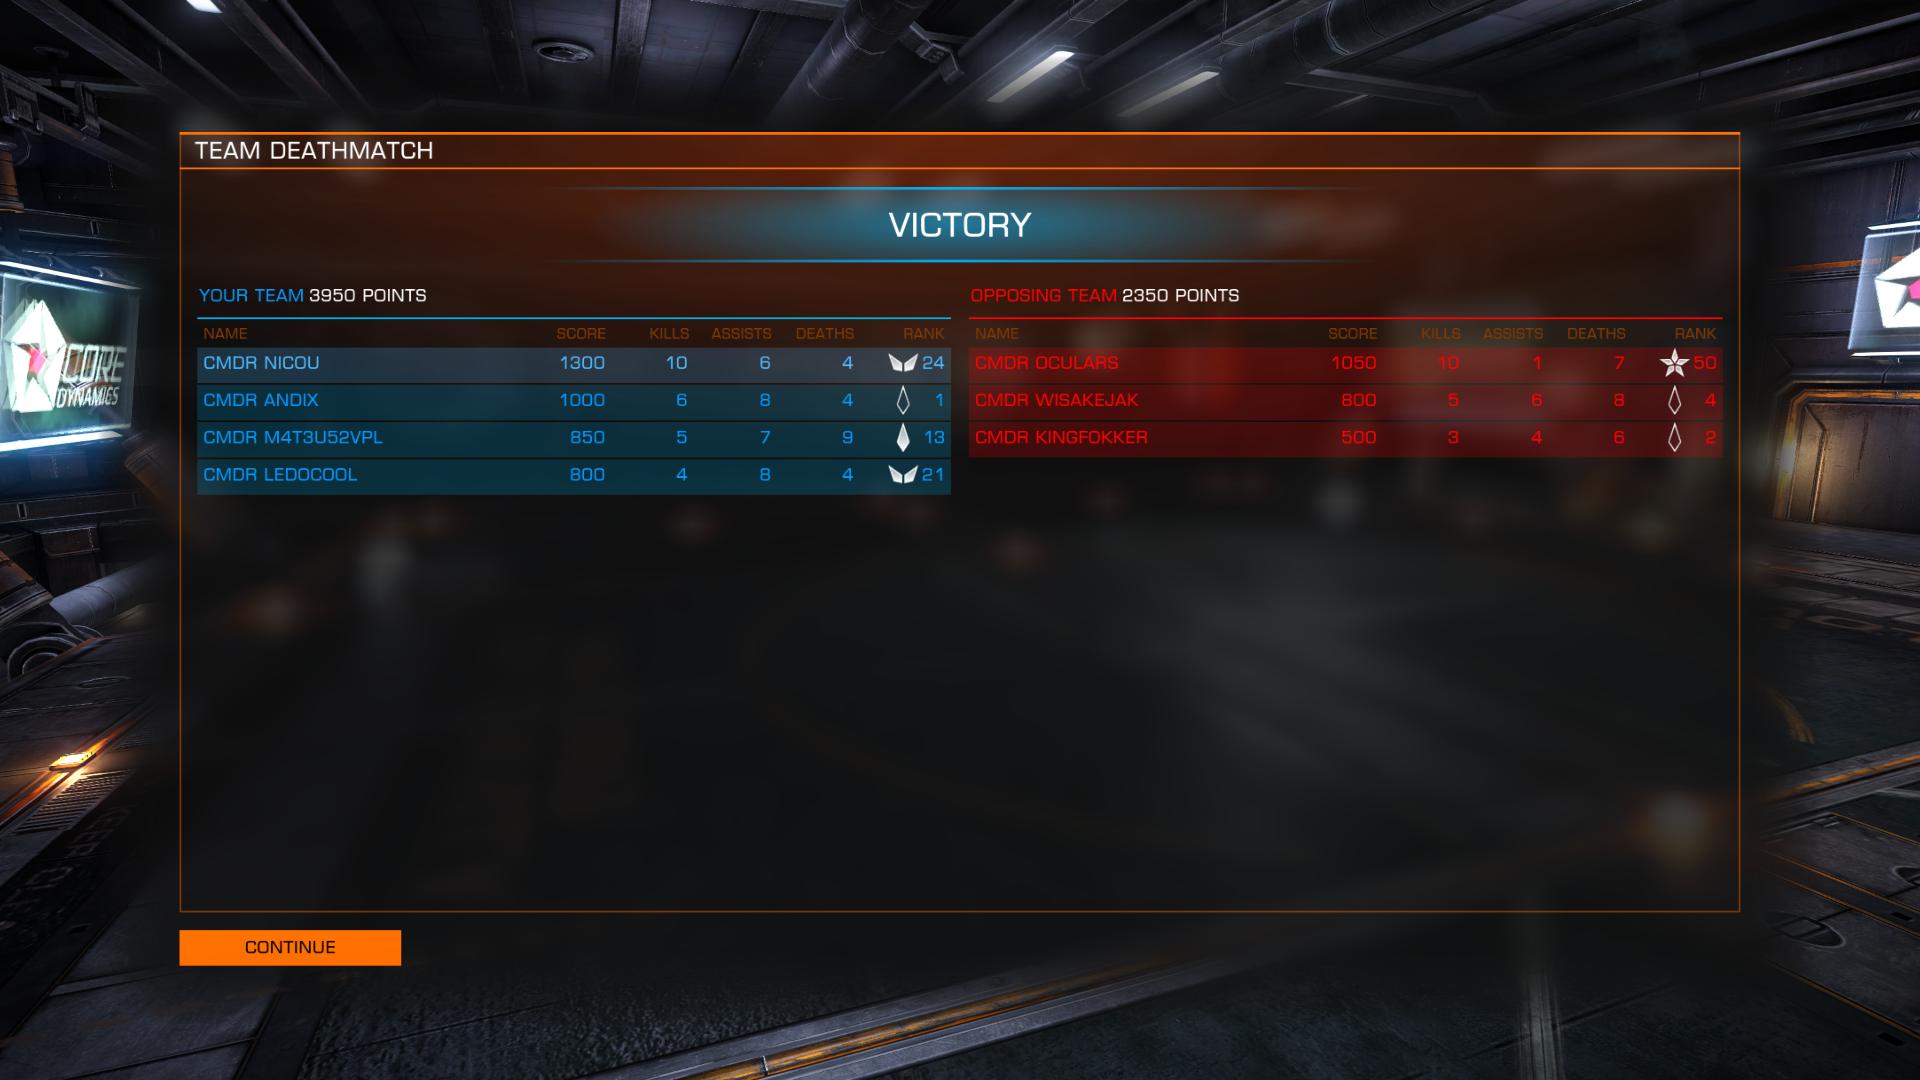
- Three game modes, each of 15 minutes:
- Deathmatch – 750 points to win. 1 kill = 100 points and 1 assist = 50 points
- Team Deathmatch – 25 kills or the team with the most kills at the end of the allotted time
- Capture the Flag – Bring back the flag from the enemy base to your base, but your flag must not be stolen in the meantime.
- 4 bonuses are available to momentarily improve your ship
- Your max speed (green)
- Your damage (red)
- Your shields (yellow) are overloaded by 30% and also recharge your shields
- Become invisible (blue) on enemy radar a few seconds
- Raise your arena rank to level 50 while unlocking new items as you progress. Once the maximum rank is reached, you can return to rank 1 using the Prestige option; all unlocked items will be lost but you will earn even more credits… which can be used in the main game! It’s not a lot, to be honest. You will be able to climb up to Prestige level 8 rank , if you do so you will be among the best CQC Elite players!
- Numerous modules and weapons are available to equip your ships as you wish and make them unique to your gameplay.
- Fun, concentration, skill because you can’t go from one target to another by pressing a button, you have to aim and lock. If you lose sight of your target, it disappears from the radar. Are you combat-ready?!
- Note that the charging shields go directly to 90% of their capacity, as opposed to 50% in the persistent universe.
Ships and modules
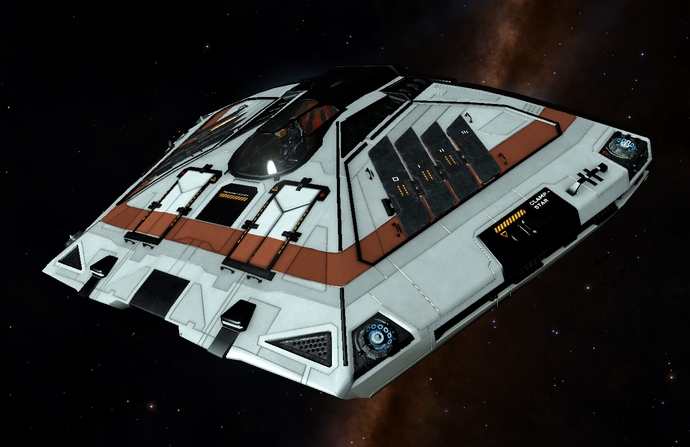
The Arena features only light hunters with one seat. Each of these ships can equip only two Class 1 weapons and one utility point that can be used in defense. I can’t give you specific equipments because the modules are unlocked as you rank up. Generally, the more you rank up in levels, the more the modules are interesting… then everything depends on the way you play of course.
Let’s detail these vessels.
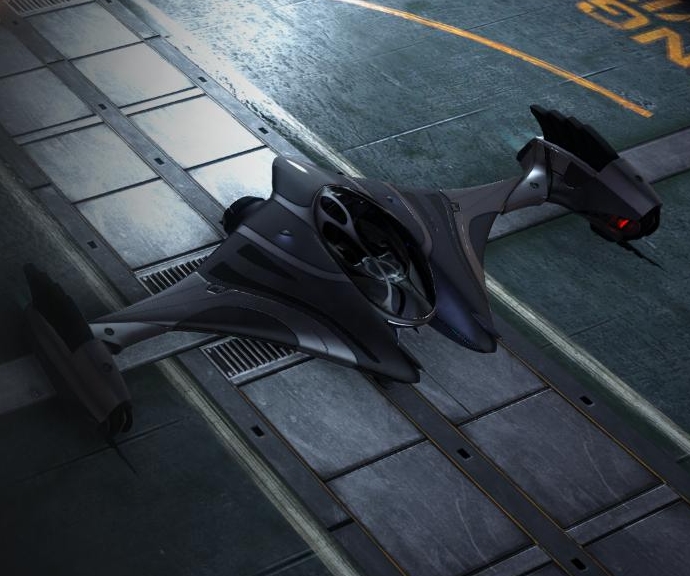
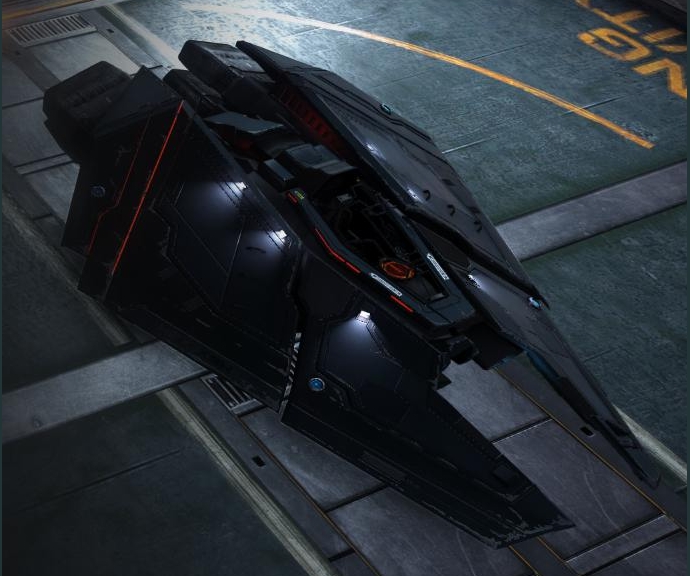
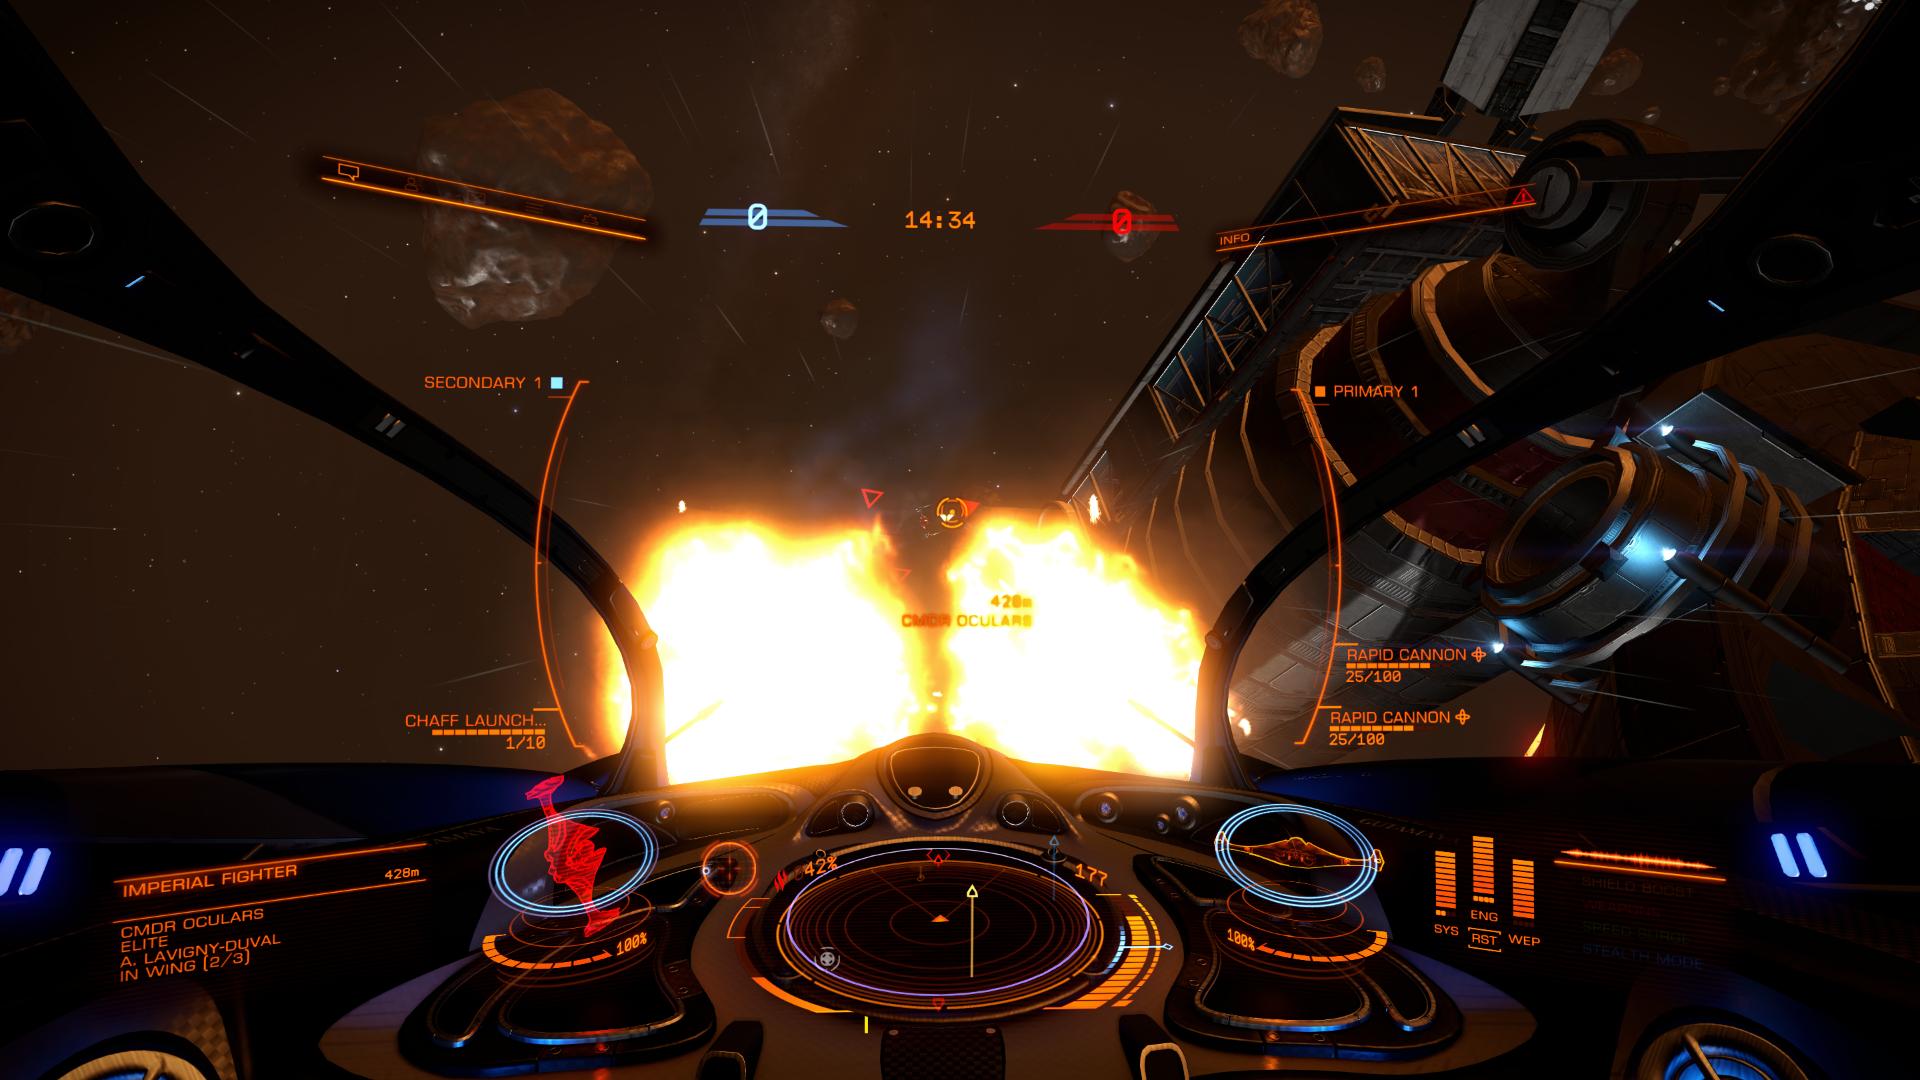
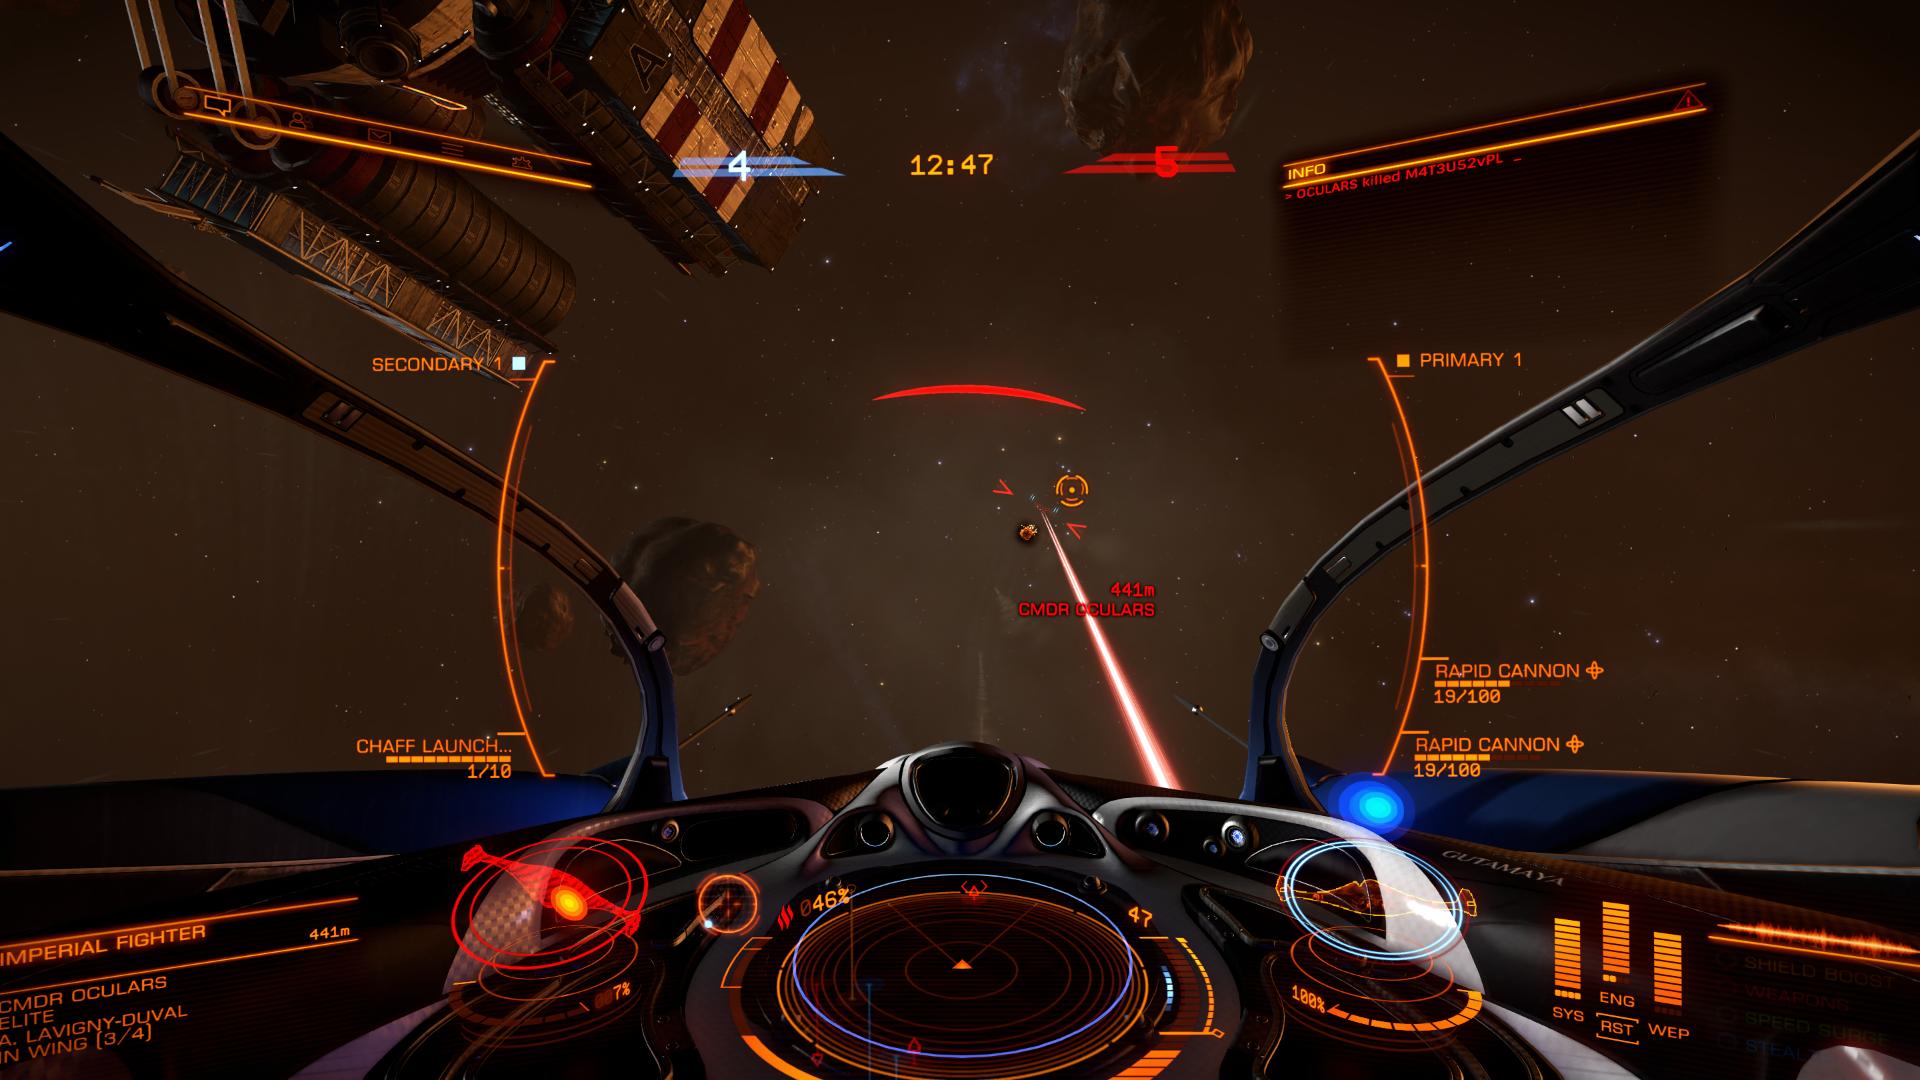
Imperial Fighter
- Description: The standard Empire fighter is extremely maneuverable and fast, offsetting his weak shields and armour. Its small size is perfect for dodging shots and sneaking into small structures. It also keeps a relatively powerful firepower for its size. Perfect for continuous damage.
- Max speed: 7 // Boost: 7
- Maneuverability: 9
- Shields: 4
- Armour: 3
- Tips: Rapid cannons become formidable weapons when shields fall. In addition, this kinetic weapon will allow you to focus your energy points in engines and shields. A Power Coupling distributor to maximize the potential of the vessel. Reinforced shielding and the best turbo will help you as well as overloaded shields. The Imperial fighter is well protected but slower than the Condor.
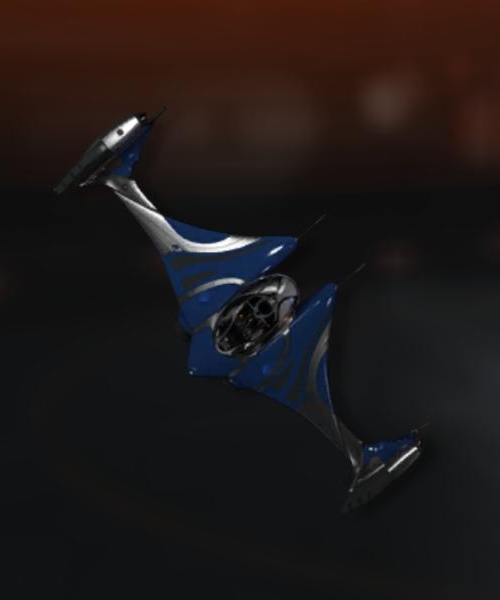
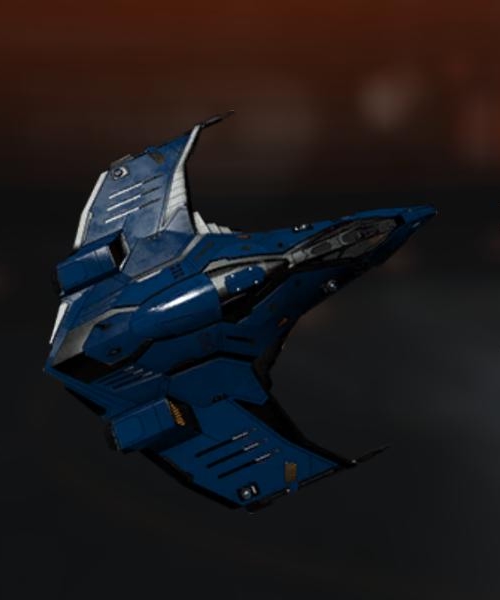
F63 Condor
- Description: From the Federation’s intervention fleet, it is very handy and extremely fast. His armour is slightly superior to the Imperial Fighter. Weapons are similar to the Imperial Fighter, the Condor shines in the pursuit of enemies and aerobatics.
- Max speed: 7 // Boost: 8
- Maneuverability: 8
- Shields: 3
- Armour: 4
- Tips: Rapid cannons and chaff to focus energy on engines and shields. The power coupling mod and the standard shielding partitions as players tend to use energy weapons. The best turbo module and quick charge shields make the Condor the fastest ship, yet less durable than the Imperial Fighter.

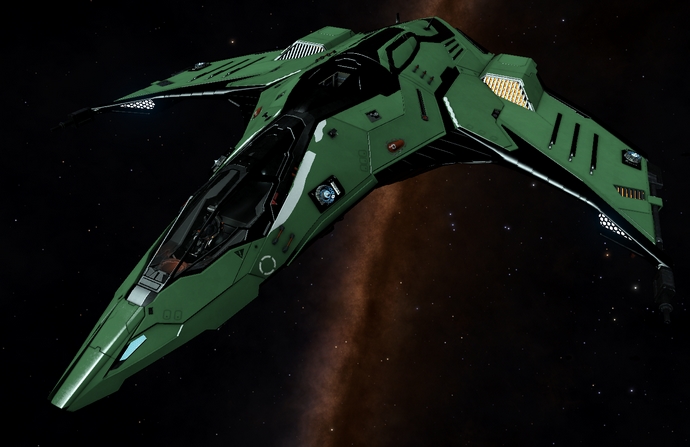
Eagle MkII
- Description: The Eagle is a fantastic craft designed to wreck havoc with very short but extremely powerful attacks. However, be careful as the Eagle generates a lot of heat that must be dissipated.
- Max speed: 6 // Boost: 7
- Maneuverability: 7
- Shields: 5
- Armour: 5
- Tips: Overloaded lasers and a heat sink ejector to mitigate the rise in heat of the ship. Standard partitions, The power coupling mod, maximum turbo distributor as well as shields with single cycle (otherwise, efficiency). For the Eagle you will have to change the Energy configuration very often, SYS when attacked, full WEP when you attack in burst before reloading your distributor, full ENG when you have to fly fast. At a higher level, aim for a stealth utility system.
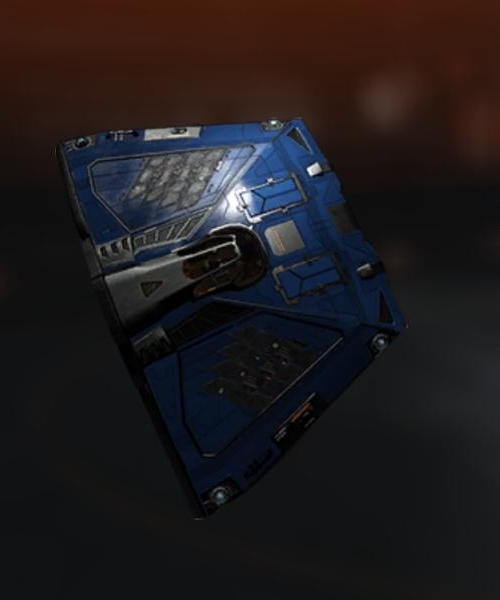
Sidewinder MkI
- Description: A compact fighter and a slow tank. The Sidewinder can dish out a large amount of damage as much on its shields as on its hull. It is also very good at penetrating the armour of its targets but it is not very effective to knock down the enemy shields. It may be difficult to shoot at his target because of the vessel’s weak maneuverability; think again before using a Sidewinder.
- Max speed: 5 // Boost : 6
- Maneuverability: 6
- Shields: 6
- Armour: 8
- Tips: Scattershot weapons, energy cell, balanced armour coupled with power systems, powerful turbo distributor and resilient / overloaded shields to tank the game! Stay in the fray to make the enemies taste your close range weapons. Everything in the SYS shields, the rest in ENG.
Fighting Tips and Tricks
1) Do not go to the center of the map as soon as you launch the game! Keep your distance, sideways, observe and focus on a poorly positioned target.
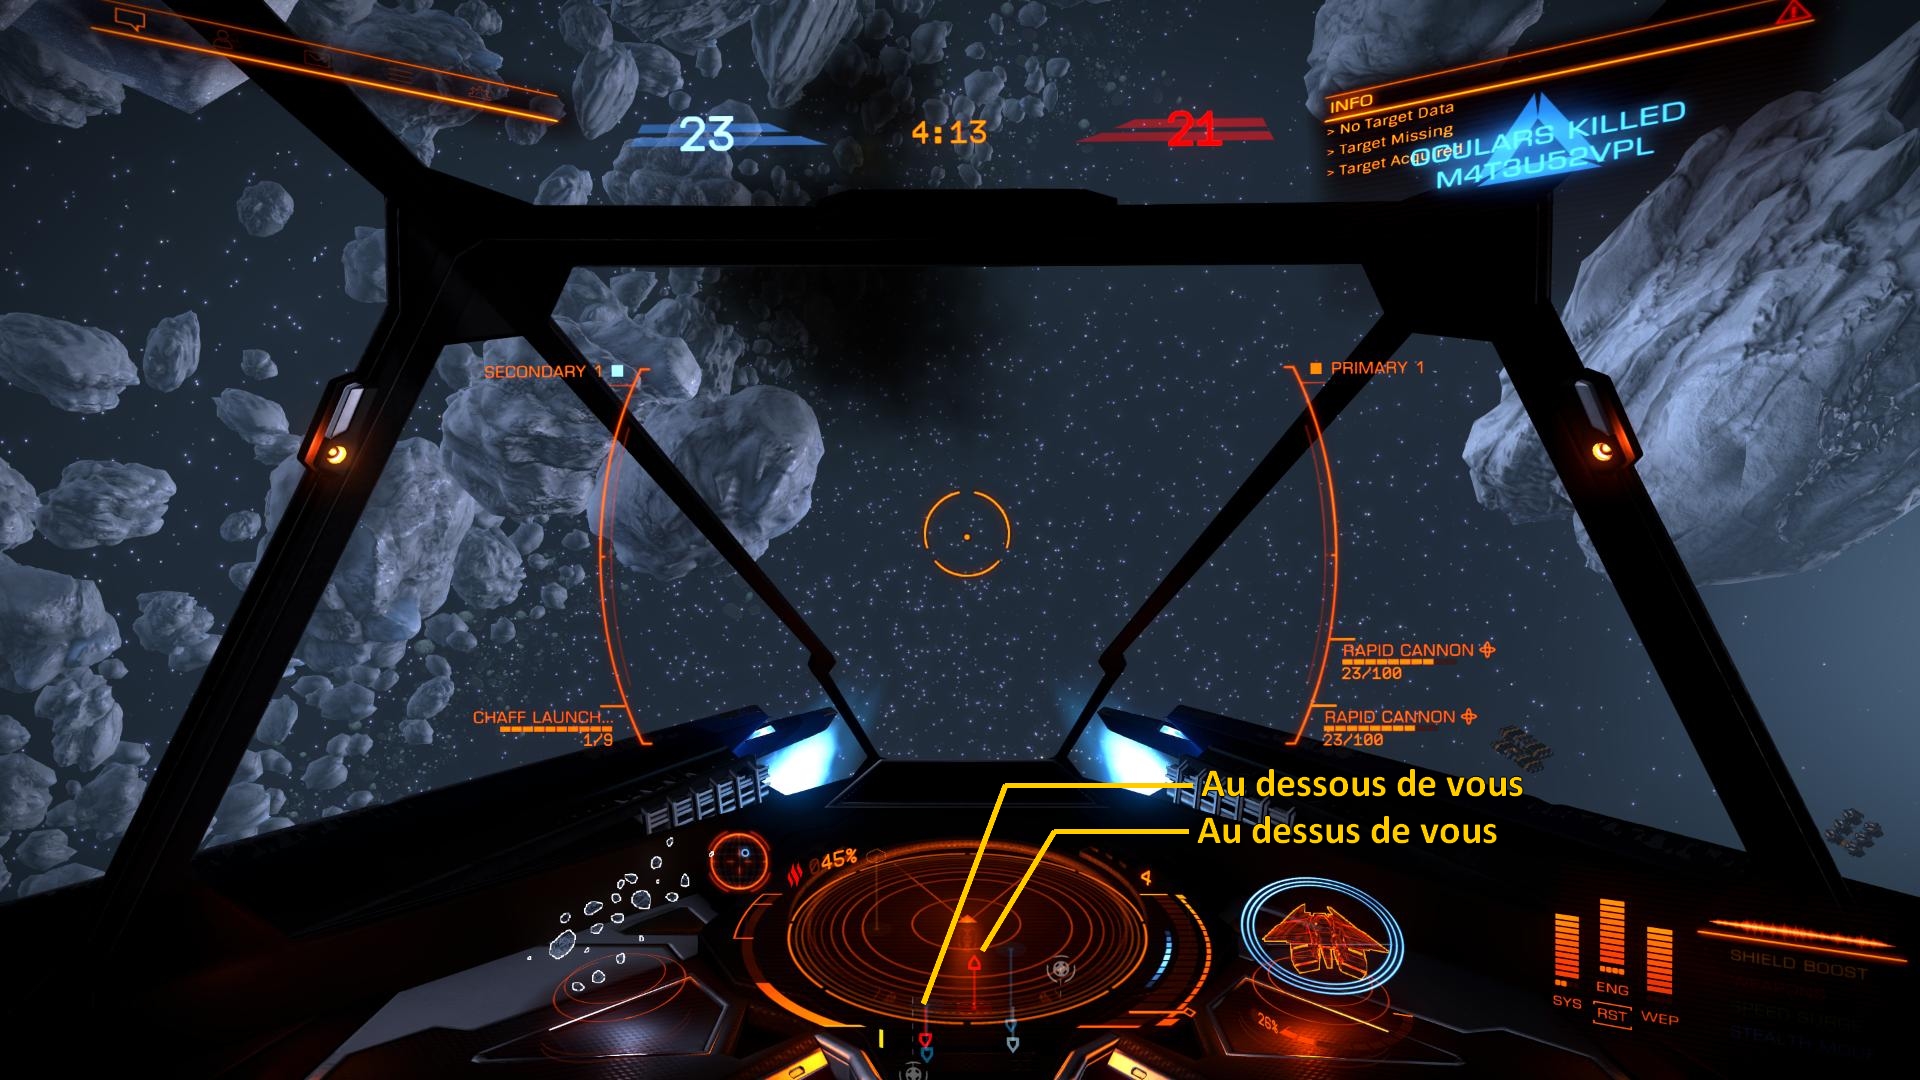
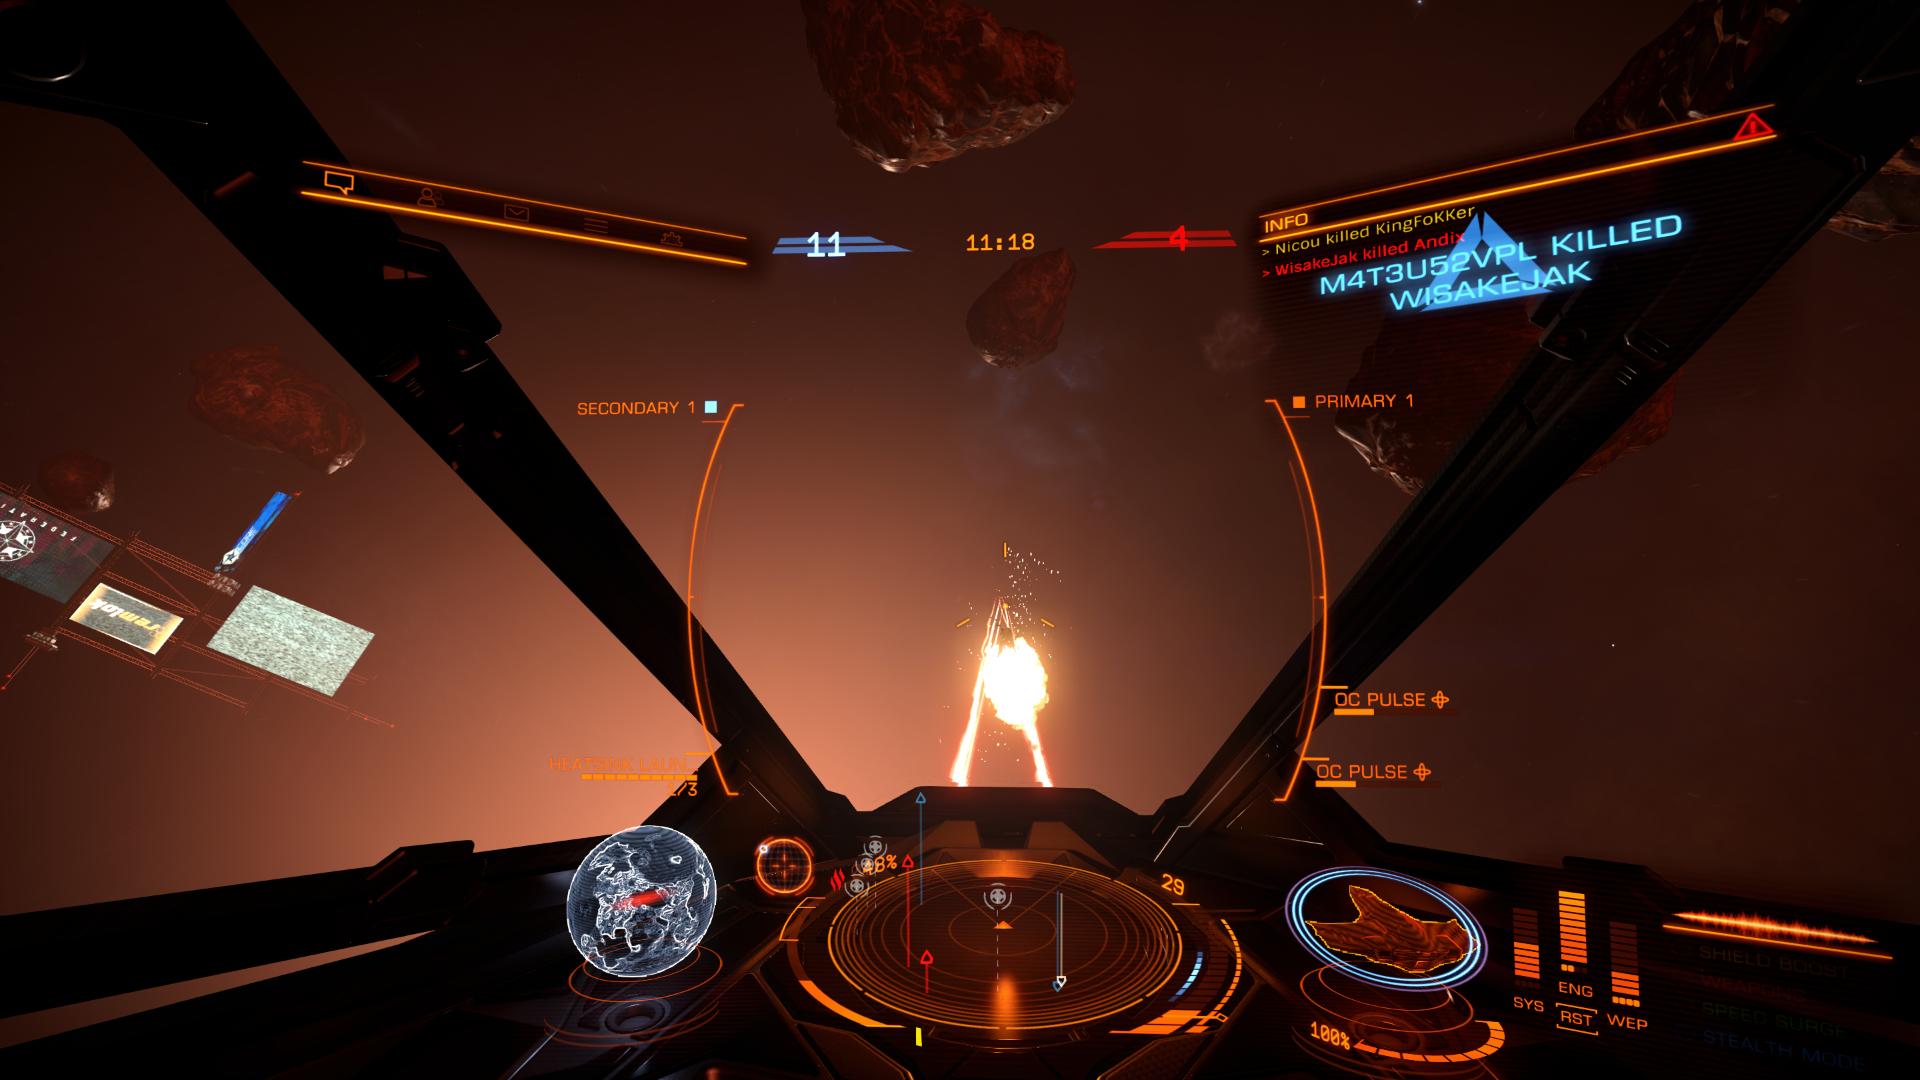
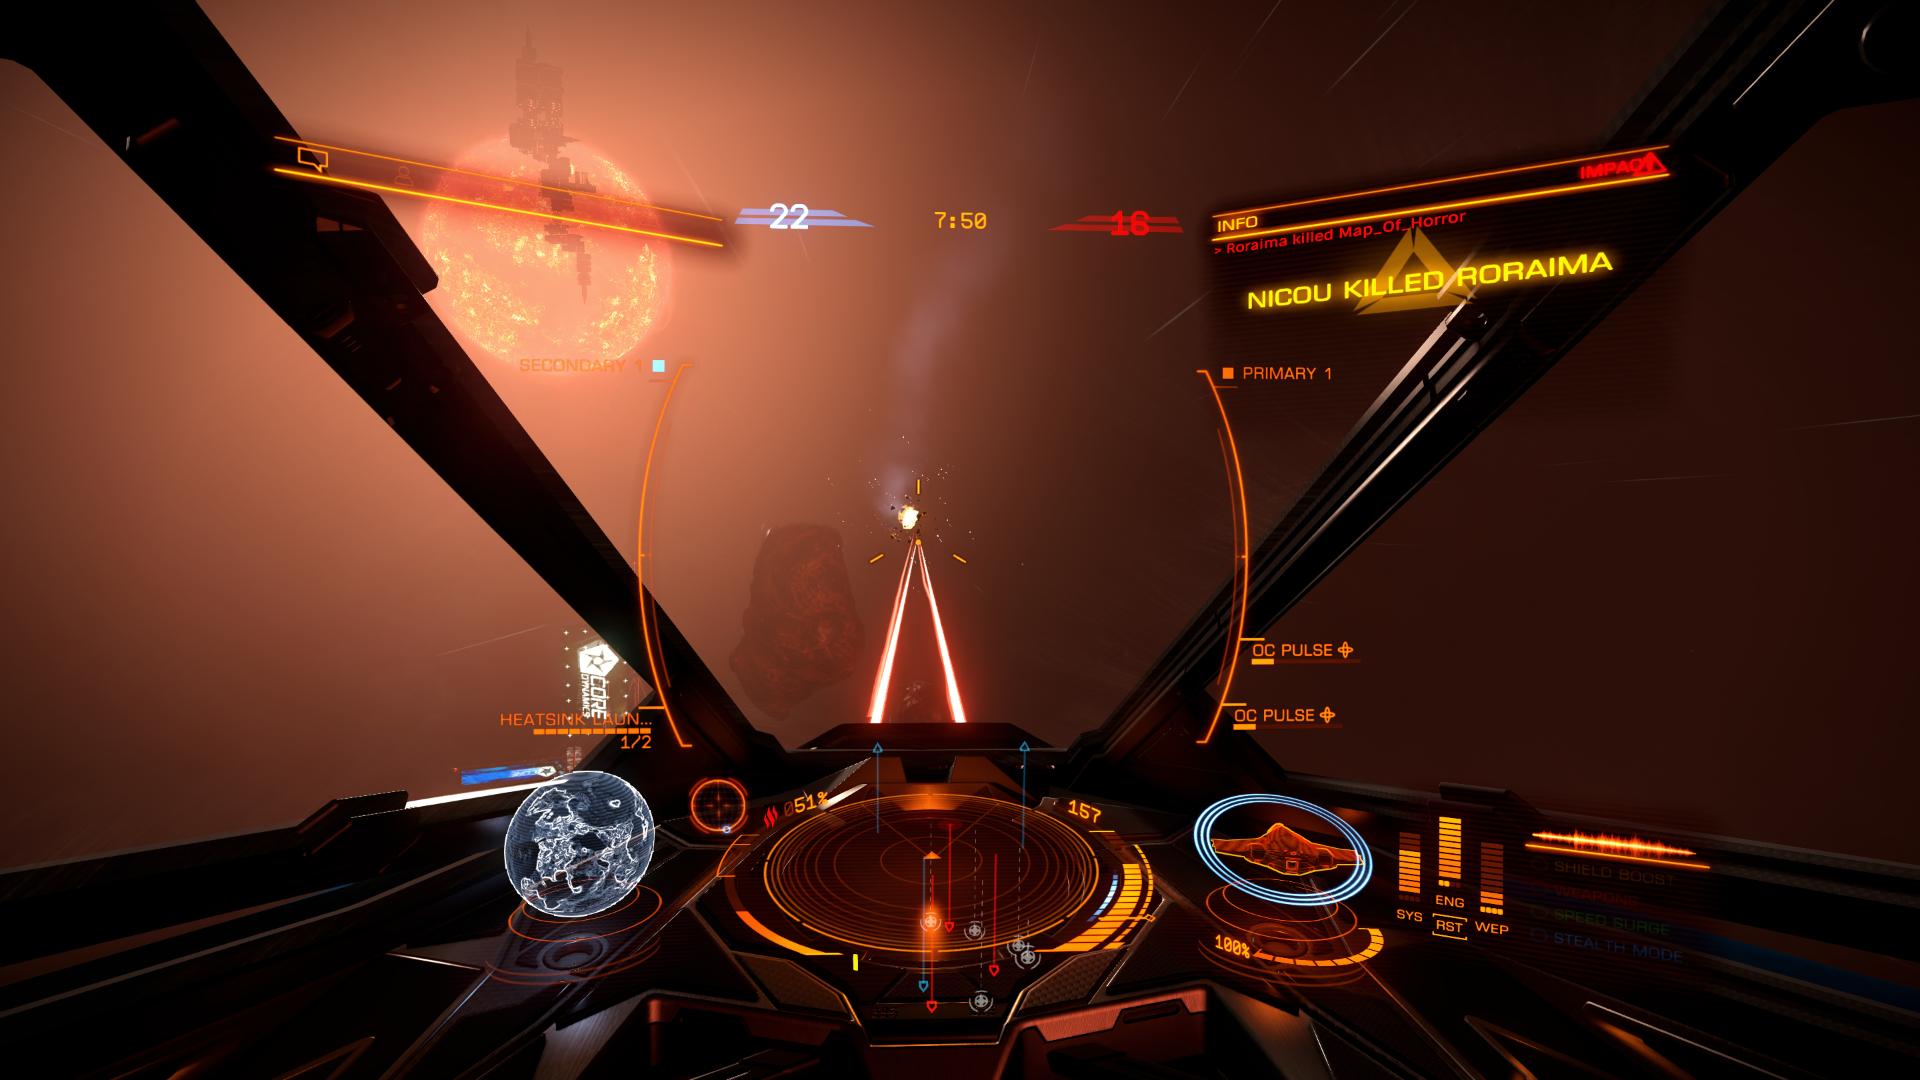
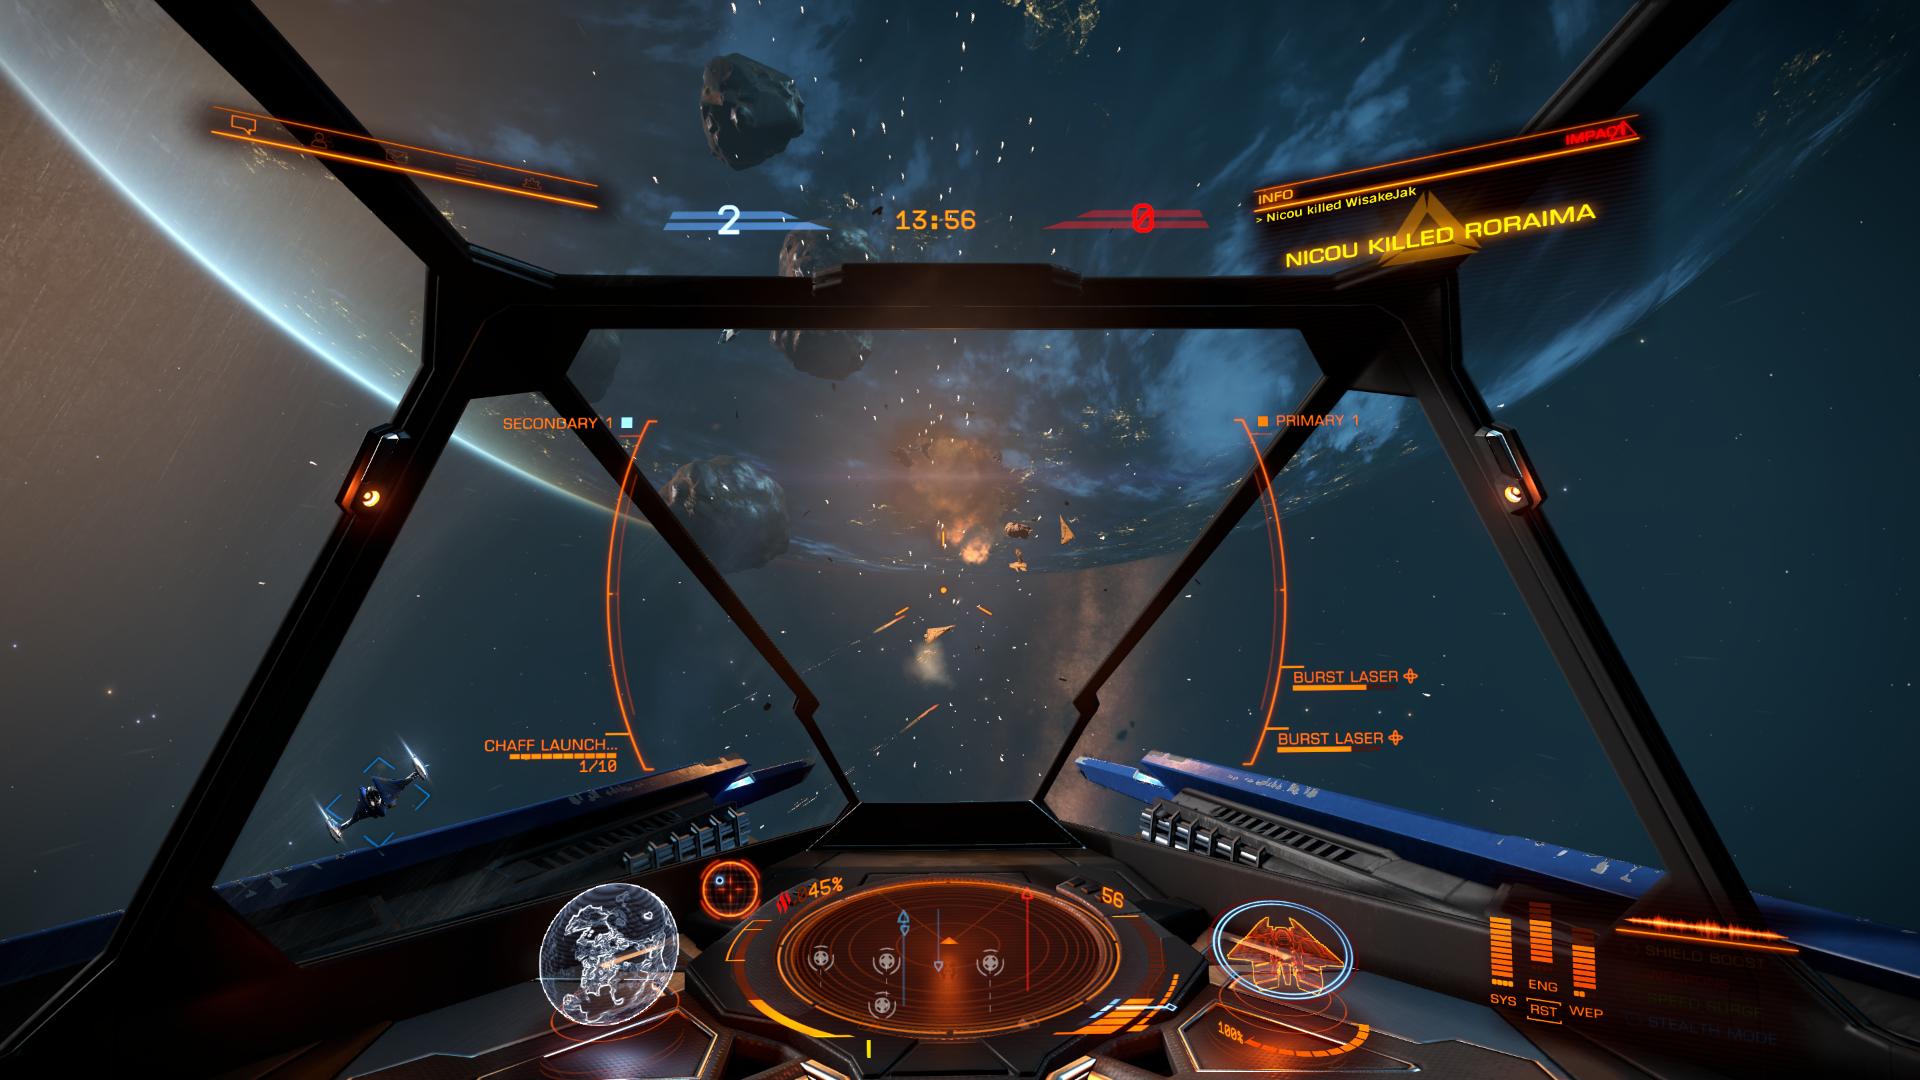
2) If you are attacked, change the target immediately for the attacker, do not continue on your current target or you will be shot down. In any case, you hit the target first and you’ll gain points for assistance, so switch target immediatly.
3) The chaff module is to use when your shields fall to 50% and you are on an open area, not as soon as you take a shot.
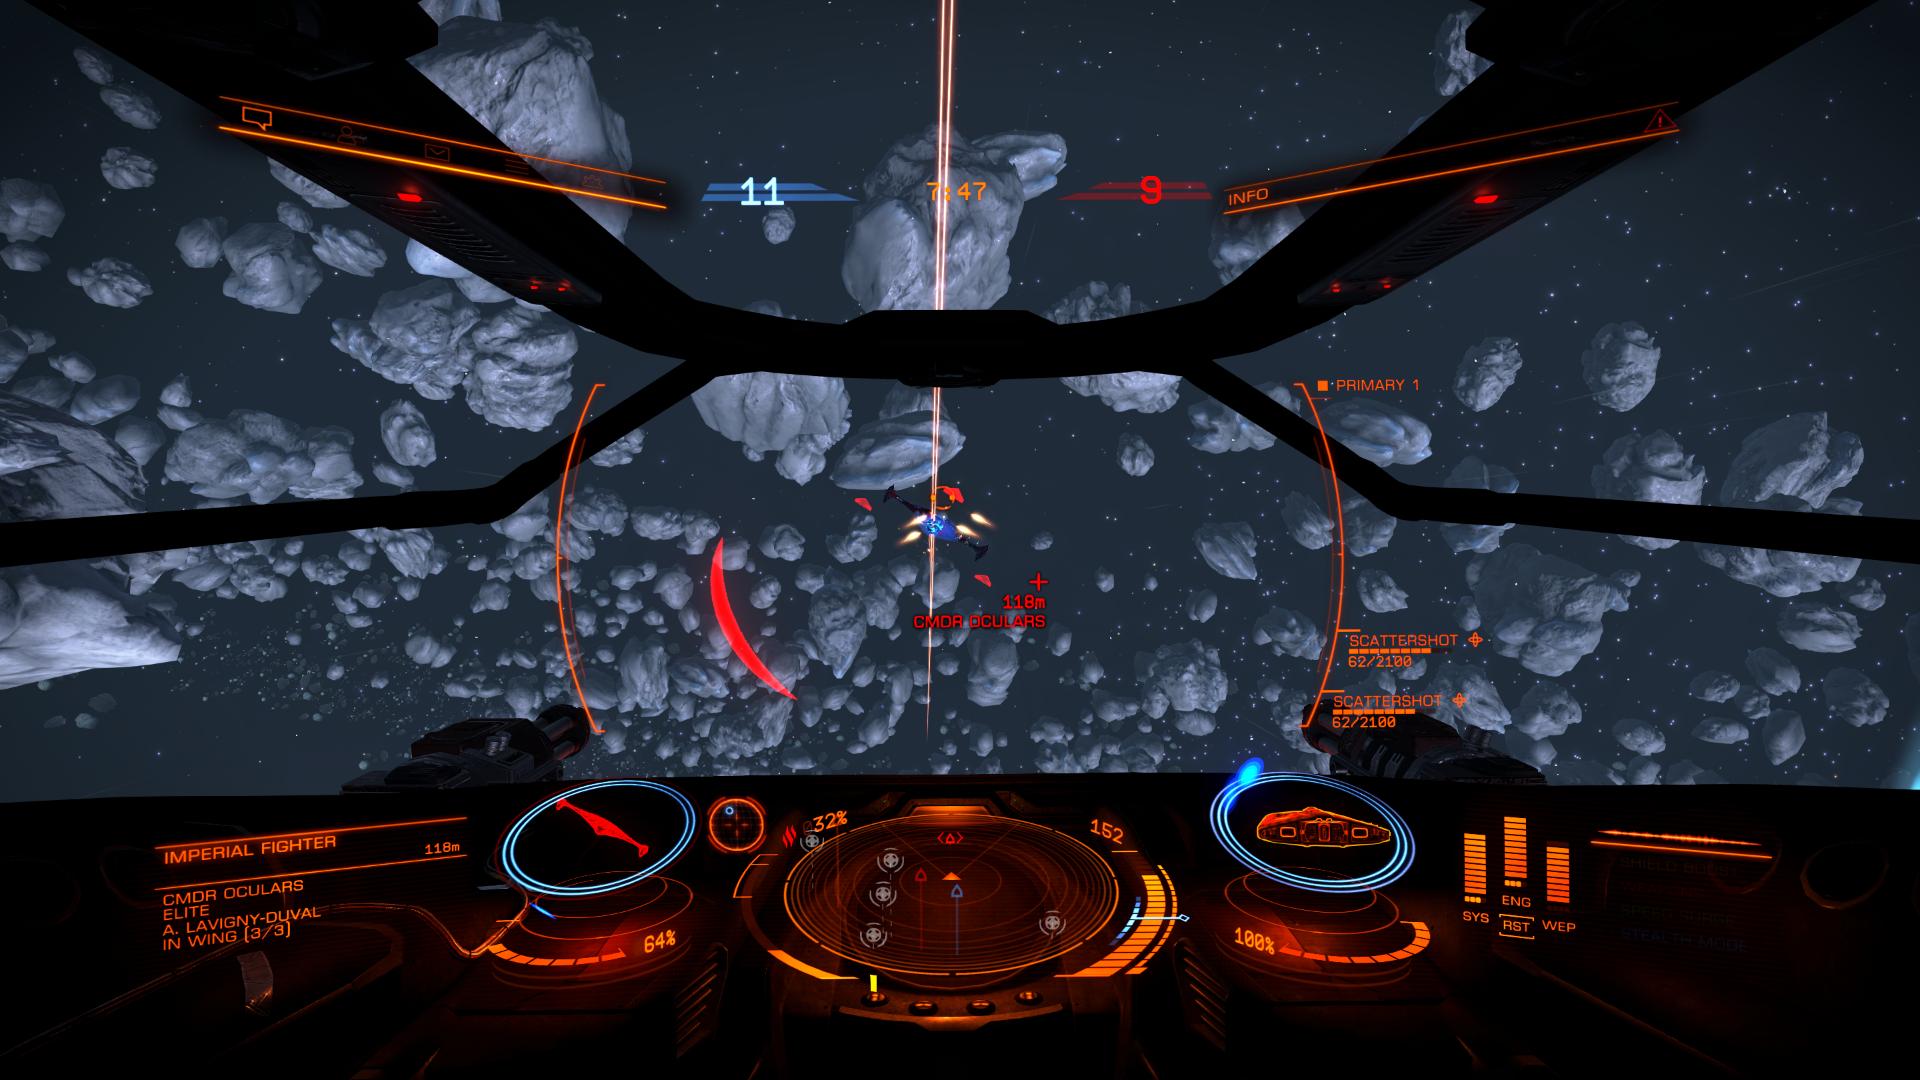
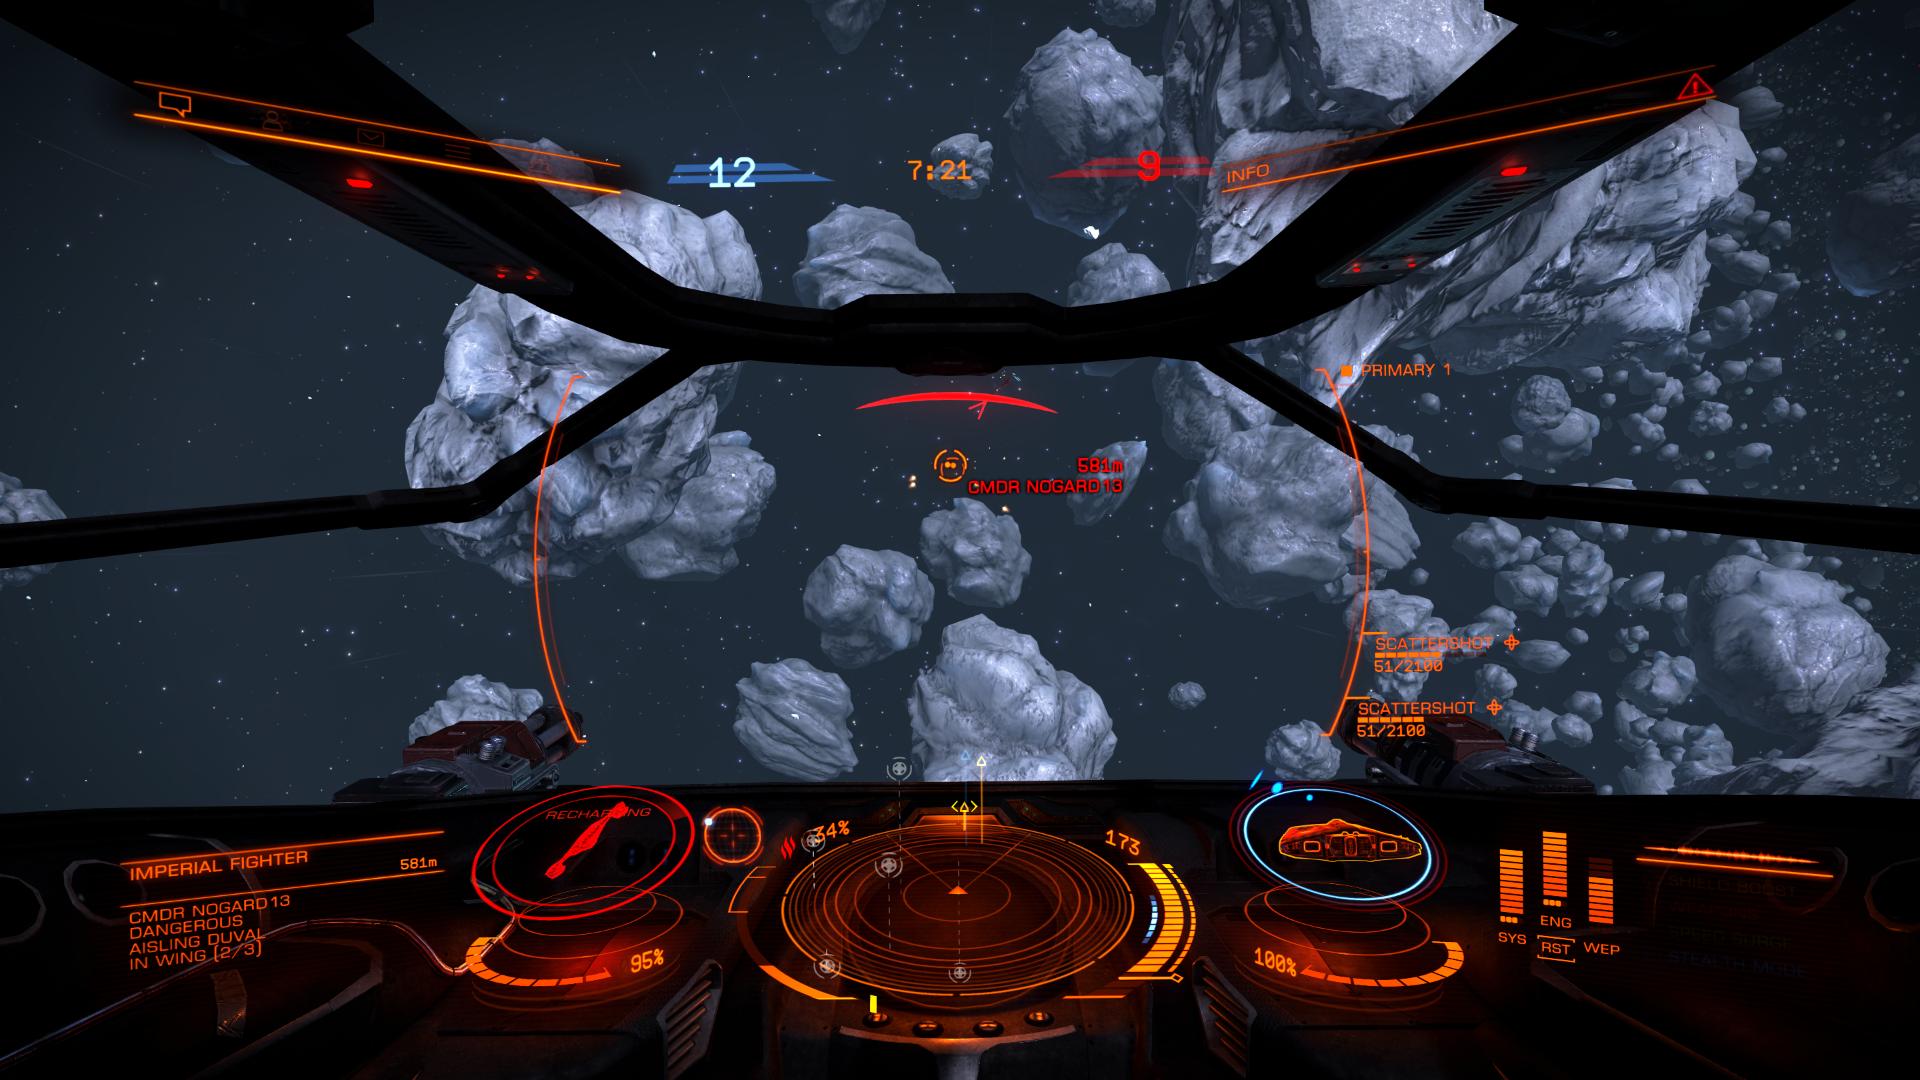
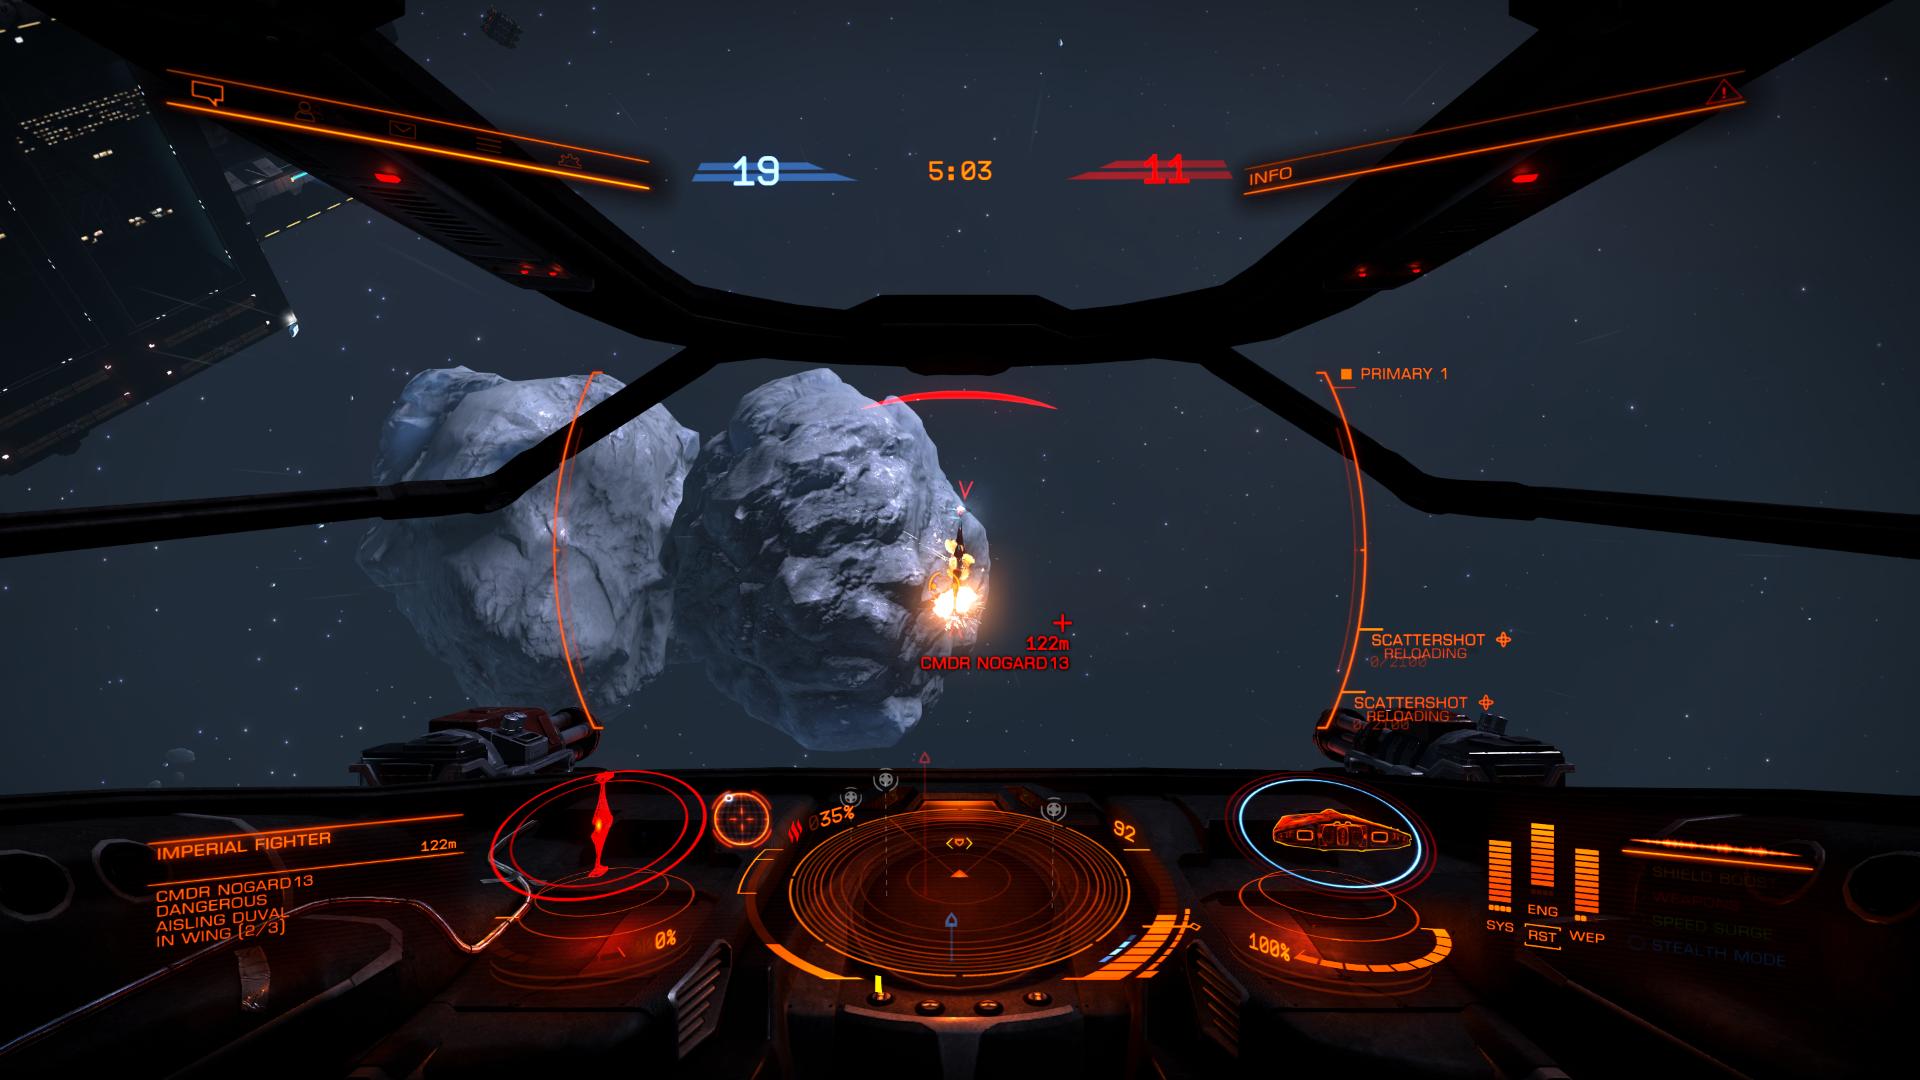
4) “Ramming“, the action of smashing your ship into an opponent can be a good thing if you have your shields ready! Don’t forget to get your 4 pips to SYS in order to reinforce your shields… and avoid doing this with your Imperial Fighter because the armour is also taken into account.
5) It is not mandatory to keep your energy points in the WEP all the time, remember to put some in the ENG for maneuverability if you are not attacked. Similarly if you take shots you must imperatively have 4 points in your SYS shields. It is necessary to play with these energy points all the time because they reinforce the difference parts of your ships. Note that WEP doesn’t increase the damage output, it refills the energy in your repartitor so you can keep on fireing.
6) If you must flee, please, do not fly in a straight line! Use your side and vertical thrusters, fly, do pirouettes, a salto, everything!
7) Use your speed boosts to perform tricky maneuvers like a tight turn for example.
8) Each of the bonuses are extremely powerful but not essential. Remember to use them at the right time or to deprive your opponent, but do not rush on it unnecessarily!
 Green – Mainly for faster flight or to pick up / return a flag. Sidewinder and Eagle like it a lot.
 Red – This bonus is short, about twenty seconds. If it is really is in front of you and there is no danger, take it.
 Yellow – Fully refill your shields and grant 30% overhead. Take it when you have to quickly get your shields back on.
 Blue – Your little ship becomes unvisible to the radar for about 30 seconds, and enemies can’t lock you! So remember to move a lot to avoid shots. It is for my taste the only bonus on which one can actually rush, it is overpowered.
9) A fight is never over until you are dead. Never give up ?


10) Use the environment to hide yourself and know where the enemies will appear when they try to hide. Do not hesitate to do some games without fighting, only to observe the map.
11) Check the curent game stats when you die and choose your target based on the 1st and 2nd player. This will bring them down to the rankings while making you go up.
12) You are not always forced to kill your target. Assistance also brings valuable points.
13) Your moves are extremely important. Avoid pursuing an enemy from behind but stand on the sides. If it disappears behind an obstacle, know where it will come out to prepare for your surprise attack as soon as it shows up again.
14) An ally is on the brink of killing an enemy for sure? Shoot for assistance points and change your target to prepare for the next maneuver.
15) Tunnels with obstacles are great for sneaking around, leaving your enemies in doubt. If on the contrary there is no obstacle inside or that these were destroyed… avoid them at all costs because you will be easily killed in there! The space is big, enjoy it.


16) In Standard Team Deathmatch, help your allies, you’re not alone! Remember to hide when needed, it’s part of the strategy. Your shields are broken? Fly safely and wait for it to recharge. If an easy opportunity is there, take it.
17) In Deathmatch, things can get complicated. Focus the attacking player immediately. You can not stay focused on a single target. Avoid large spaces and prefer to fly near walls or near asteroids. A target ? Do not throw yourself onto it! Analyze the situation quickly: is the fight already engaged with this target? Will it be able to fight back immediately? Are other targets close? If you start the fight, the others behind you will take you as the main target before attacking your target. Do not be afraid either, let’s go!
18) In Capture the Flag, go for a well-defined role. For me it’s like Quidditch (if you know Harry Potter. Not that guy! The wizarding book): A seeker, a keeper, beaters and chasers. The seeker must be a fast ship like the Condor to fetch the enemy flag // The keeper must stay near his cage to counter the enemy seeker. An Eagle is perfect for that // The beaters are Imperial Fighters who will relentlessly pursue the targets // The chaser will often be an Imperial Fighter or a Condor who will stay near the catcher to protect him. You can either act as a bait to get focused first or fly around to attack the ones who chase your seeker.