This post is also available in: Français (French)
WARNING, this guide isn’t up to date, read it [here] in English!
![]()
You voted for it on Twitter, my next four articles will be dedicated to the Unlocking of technologies from the Tech Brokers, the Roleplay on Elite: Dangerous, Voice Attack and the voice packs as well as a series of articles on the similar ships from different manufacturers. This may take some time because I also write in French, oui oui, and I am alone working on Remlok.
There will be three more articles on Upgrading your FSD jump range, as well as Theorycrafting about Shields & Armour, with the help of Commanders Lestin and Aweryth.
Let’s start with The Tech Brokers and their fantastic technologies! Ready, set, farm!
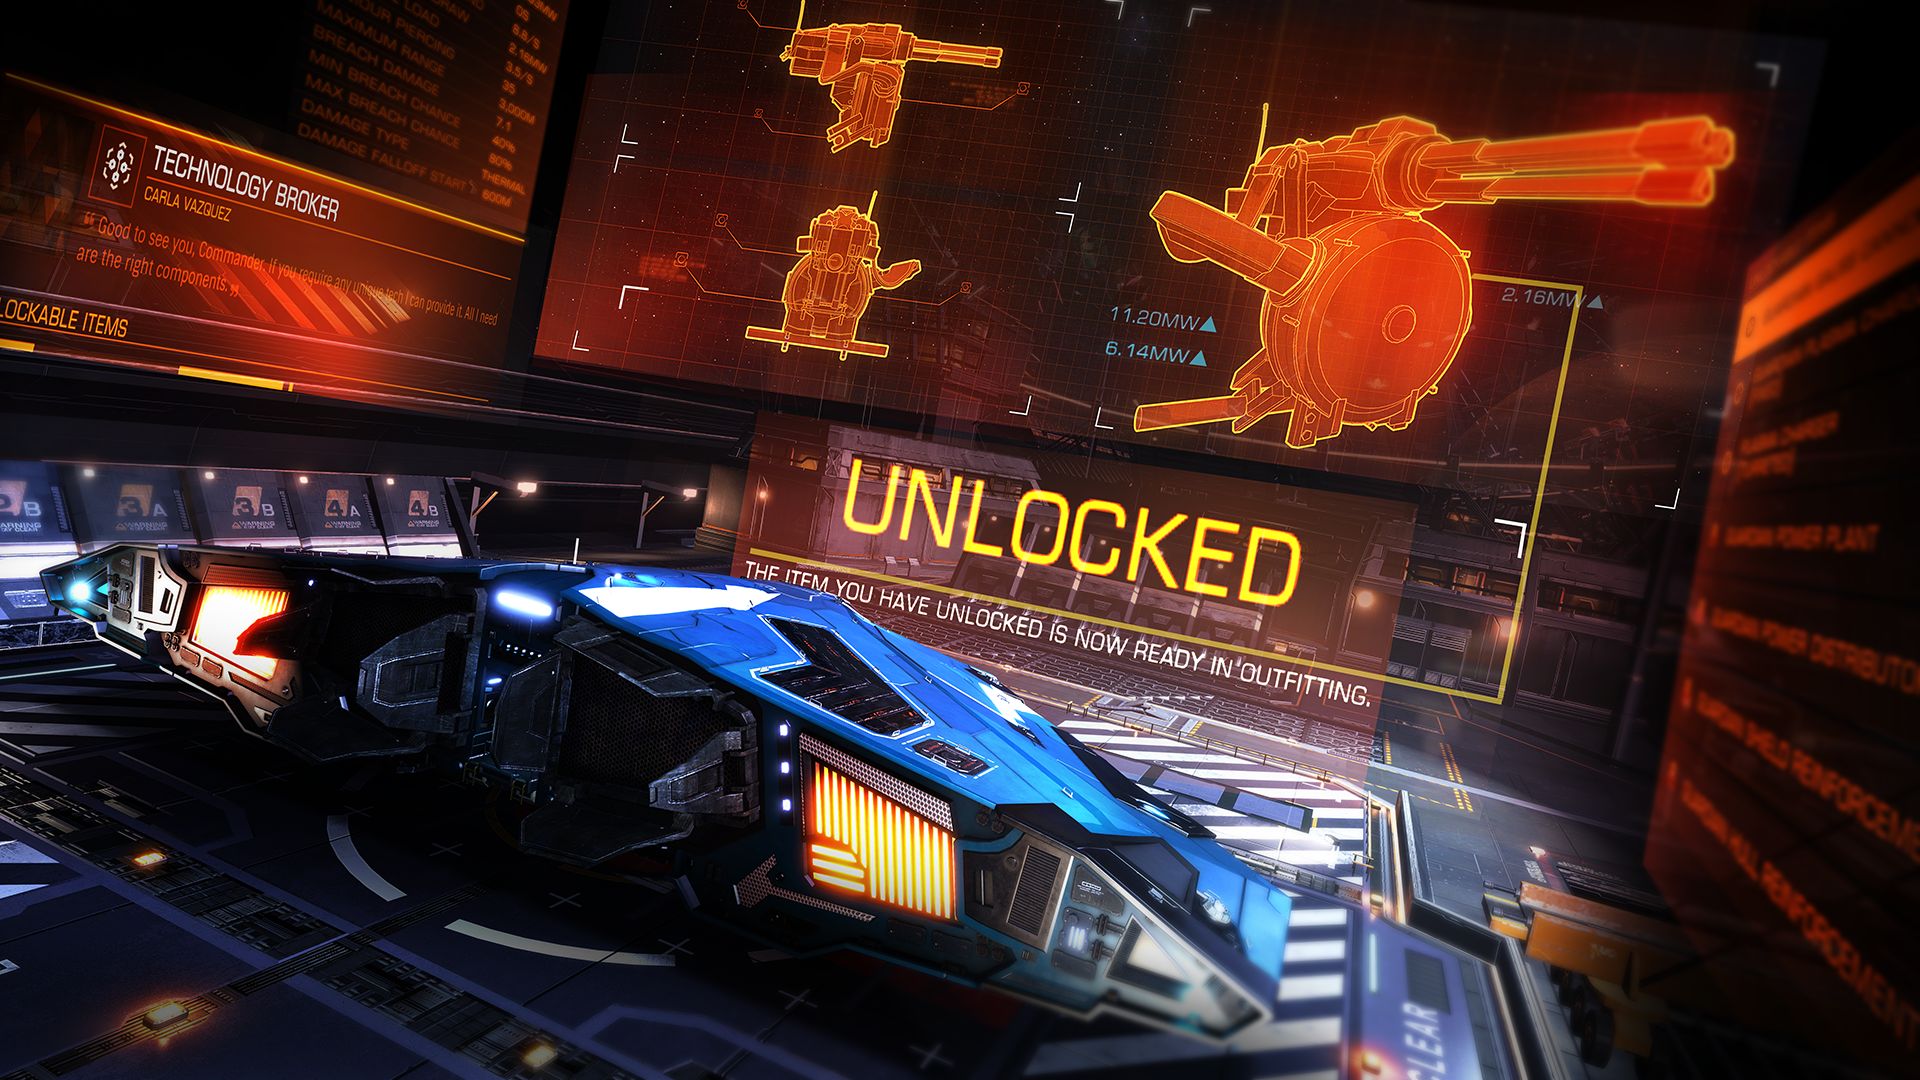
Tech Brokers
This feature launched with Elite: Dangerous Beyond, Chapter 1 , adding two types of Tech Brokers in the human bubble: Humans and Guardians.
These contacts appear in various stations across the known human space and can usually be found in highly populated systems with a high level of security. The addition of Technology Brokers and Materials Traders allows pilots to acquire new equipment faster based on their playstyles.
This combo Traders/Brokers will be very useful to unlock the new weapons and modules added to the game, you will have to farm a lot (and I mean it). Distributed everywhere in the human bubble, the Materials Trader are separated into three types such as Materials: Raw Elements, Manufactured, Encoded Data.
The Brokers will trade you technologies for materials of all kinds and even some commodities; There are many Tech Brokers in the human space and they all share the same techs; You just have to find one and begin unlocking your techs, humans or guardians.
Once unlocked, a technology can then be purchased in a station via the Outfitting services. Beware, not all the stations have all the technologies you unlocked… You’ll have better outfitting modules in high technology & industrial economies of large populations, or directly Shinrarta Dezhra for Elite players.
► This guide will tell you where to find materials and commodities to unlock technologies. An excel file is also provided so you can track your progress.
► If you have a third party tool like EDMC and it’s connected to Inara, you can also track the technologies you want to unlock. The Missing Components tool will tell you what you need to farm and where. We also have a Guide on where to find each elements, Materials List, with personal tips for an enhanced experience, now that’s time saved.
► If you don’t know how to farm your Raw Elements Materials on the surface, read our Surface Mining Guide (SRV).
→ [ED – Excel Courtiers Tech] ←
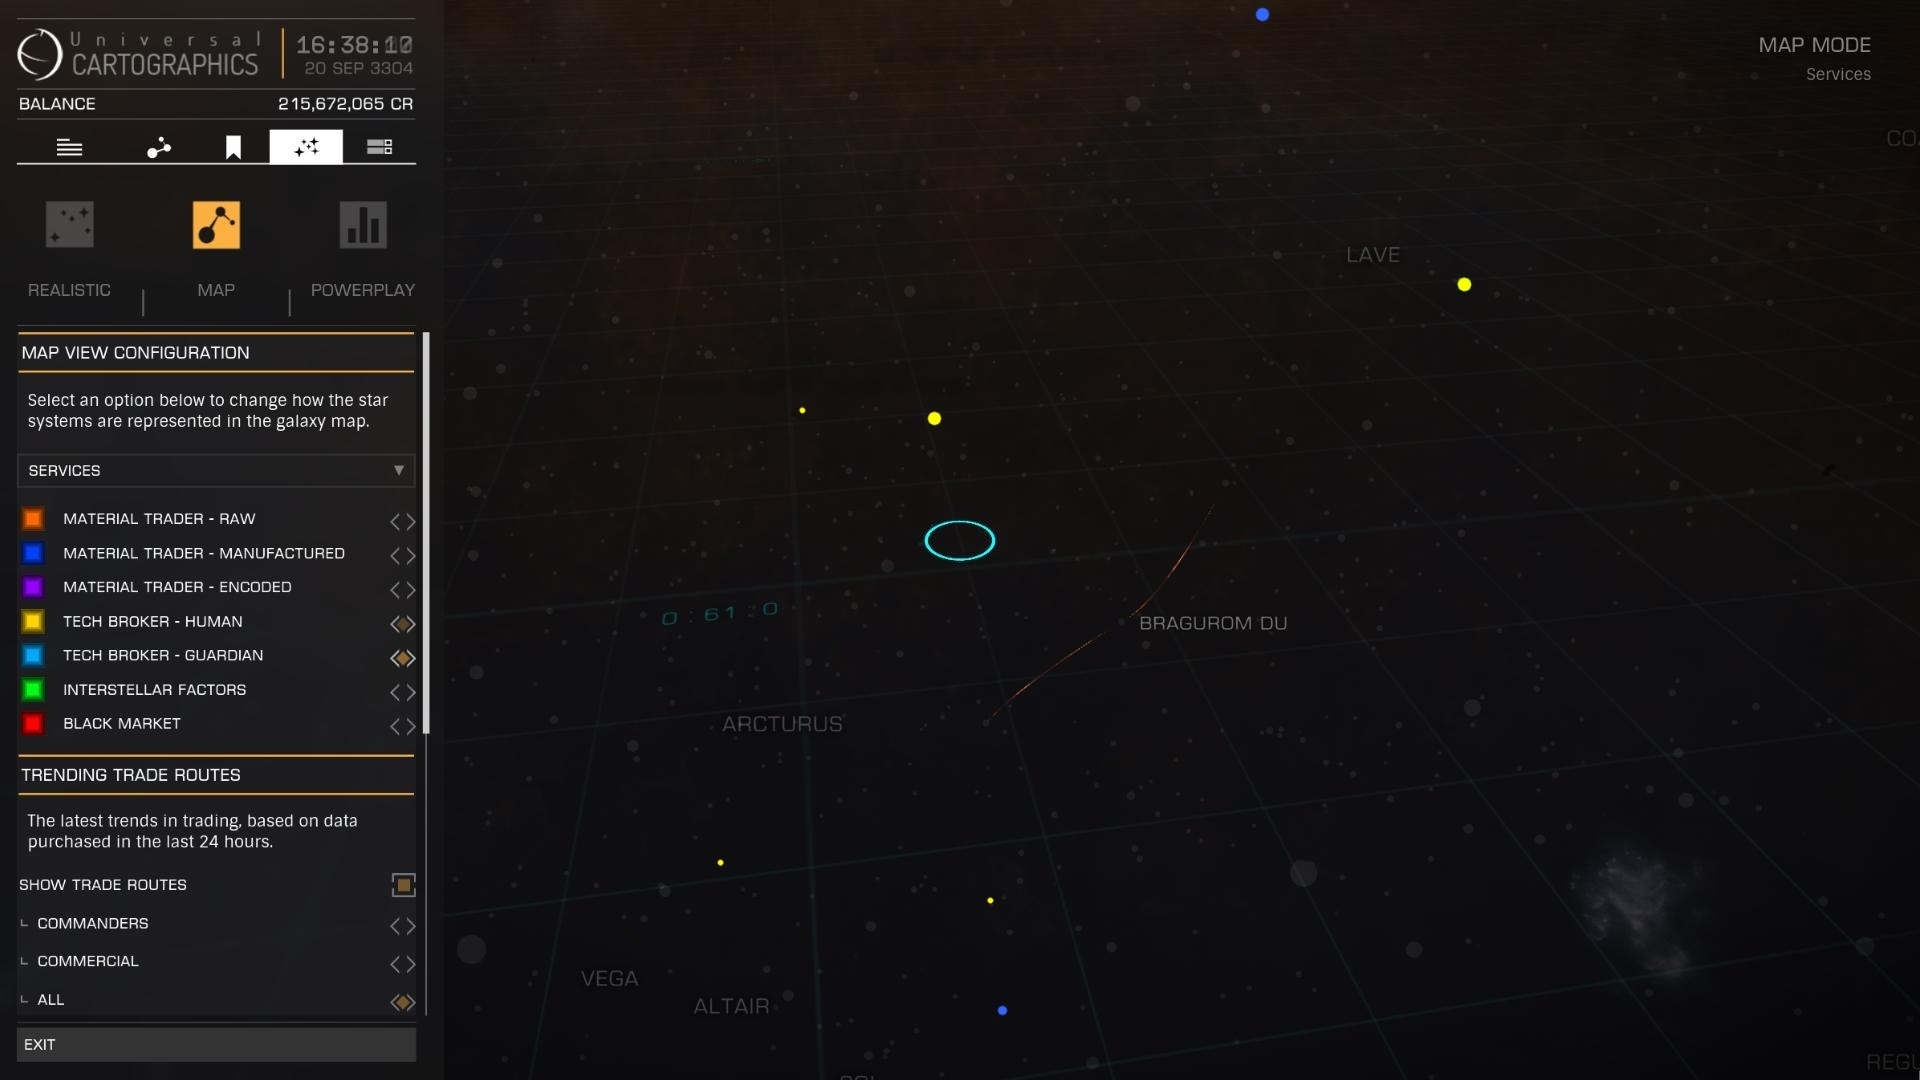

Example of Technology Brokers and Materials Traders around Bragurom Du.
Use the galaxy map, filters, then services, to find hot brokers near you!
![]()
◘ Humans
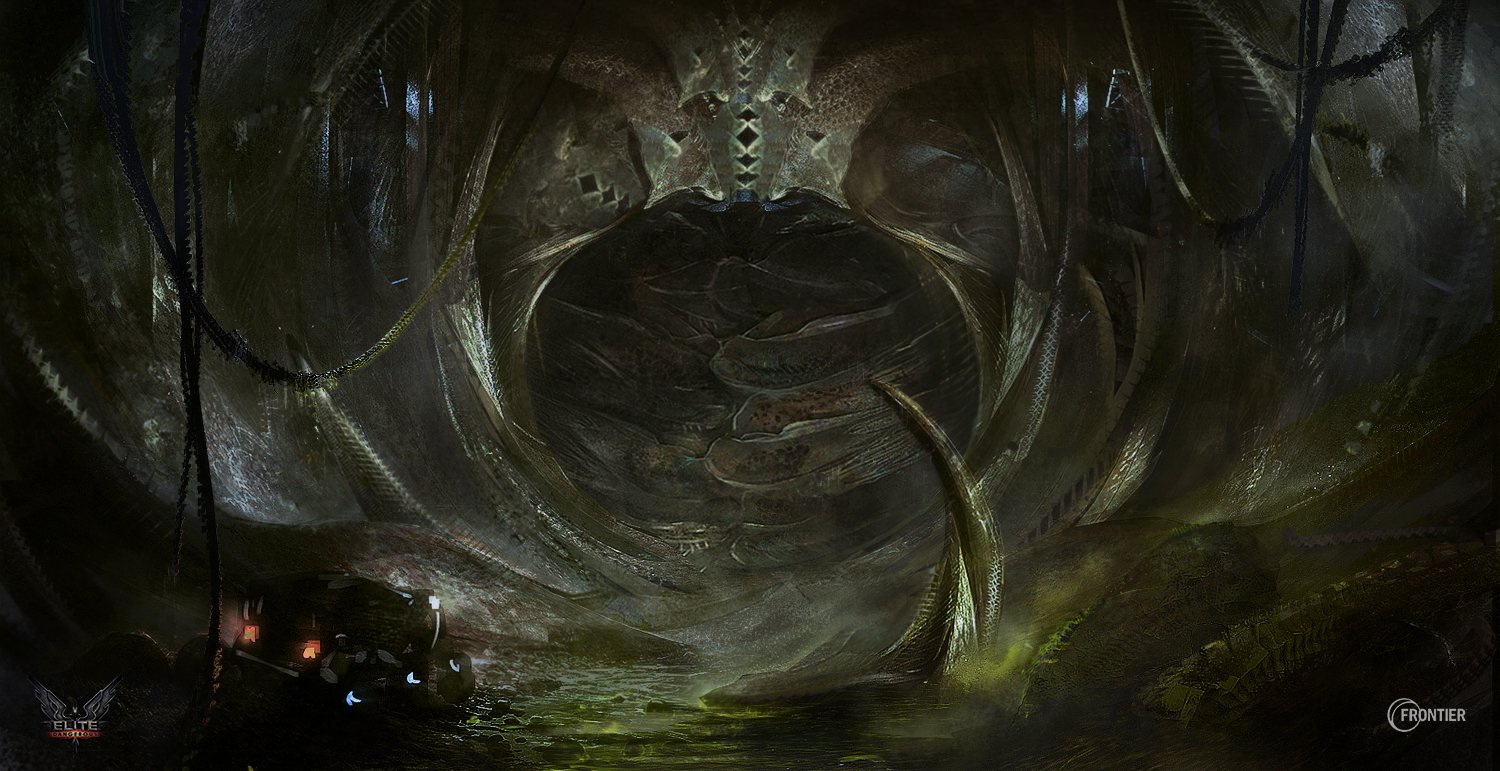
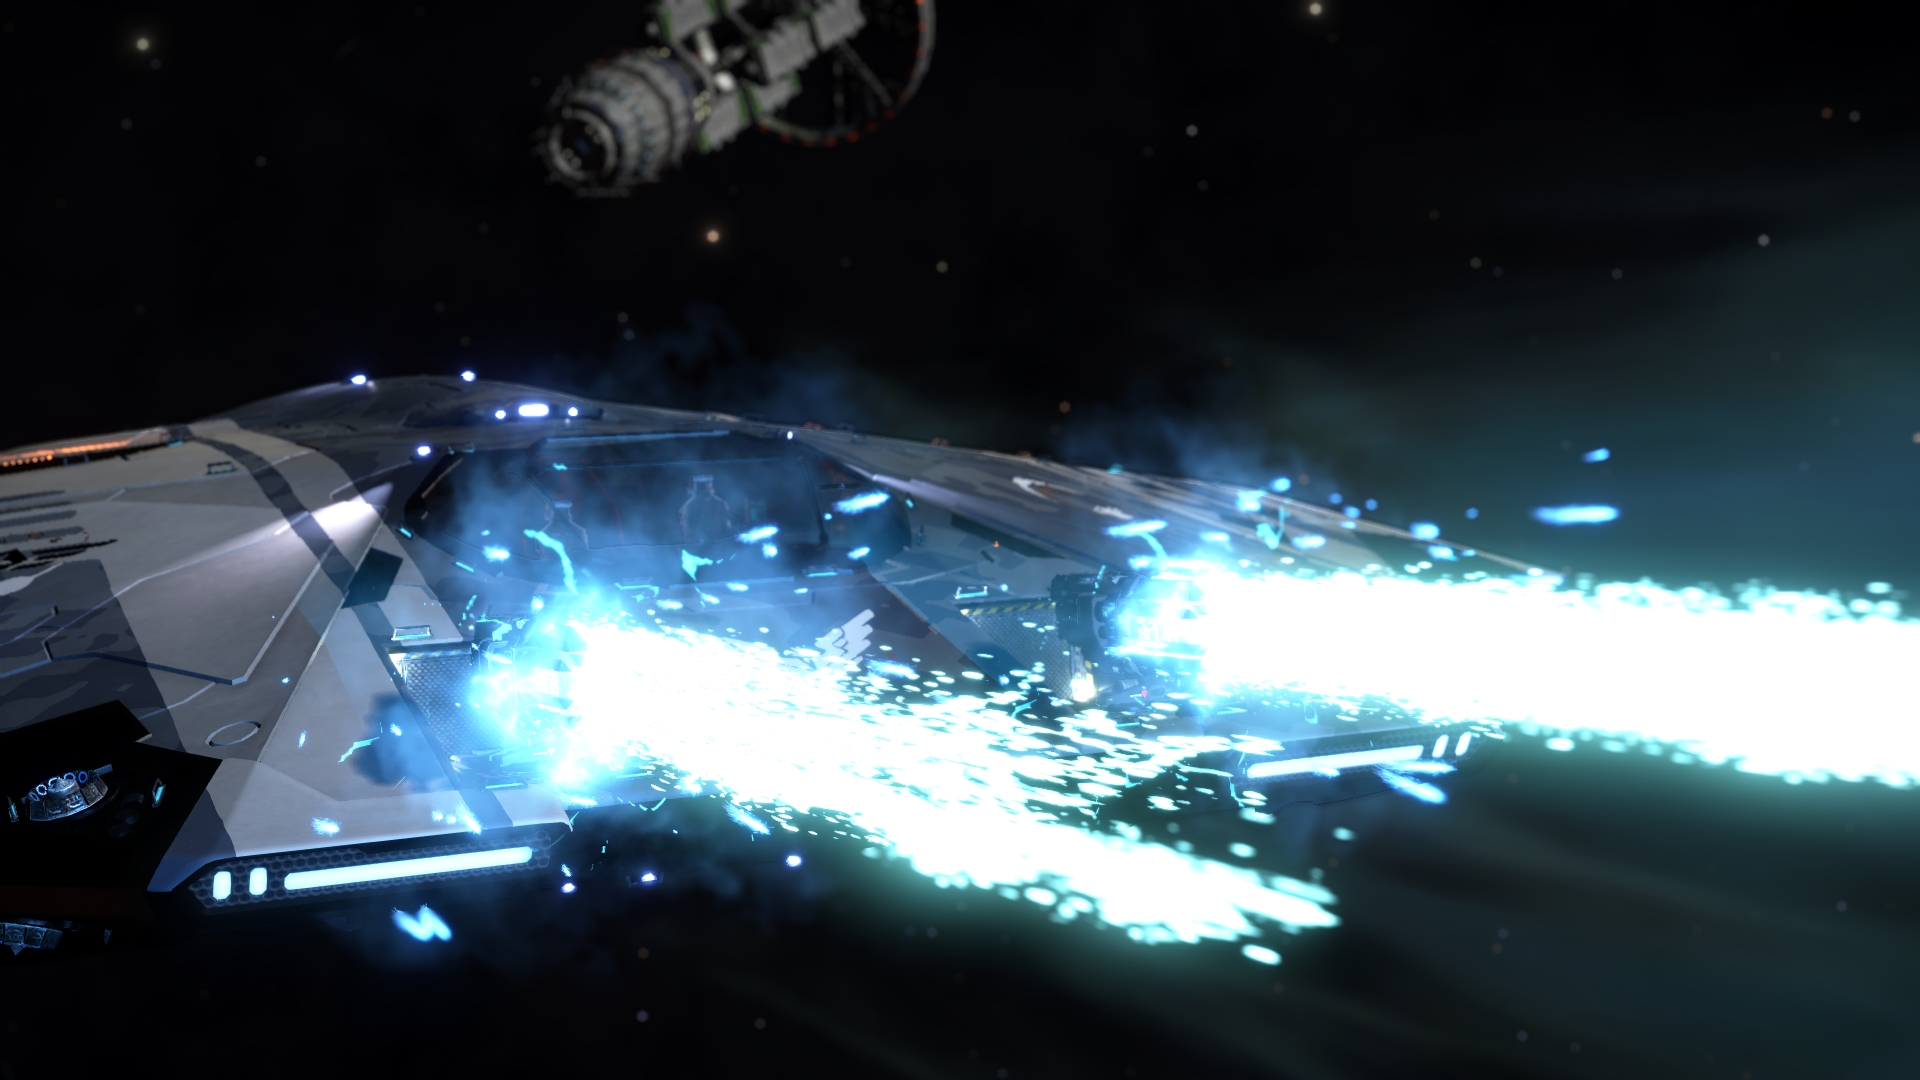
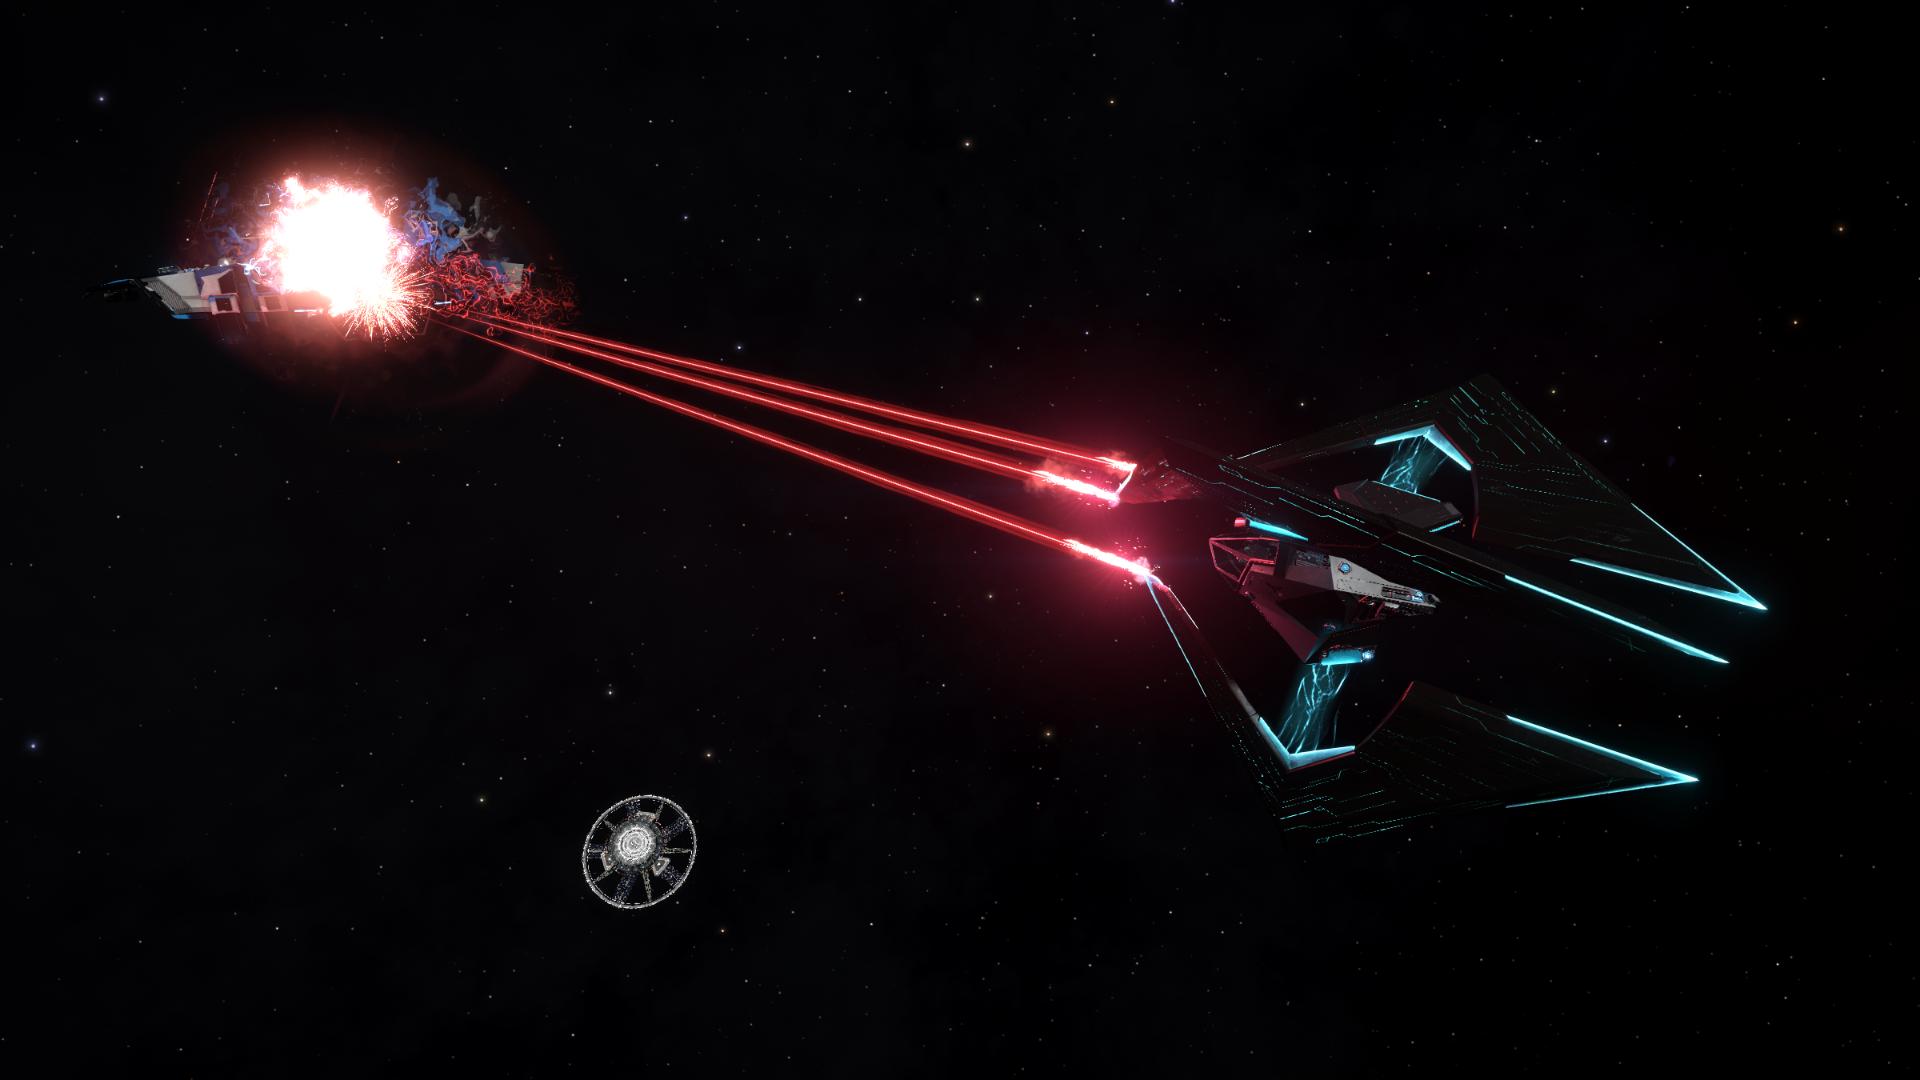
A mix of technologies from various civilizations and human powers, two modules and three new weapons promise anti-armour firepower and great modules. You’ll also be able to push Thargoid sciences further with special anti-corrosive cargo racks, a must-have for your adventures.
Interested in their stories? Read Thargoids – Details & Lore (WIP, Truth and Fiction at the moment), and also browse the Thargoids tab in the site’s menu bar.
Weapons
- Enzymes Missile Racks – Fixed Class 2. Non-seeker, this is a rocket going in a straight line. It will inflict damage over a period of 1 minute; Weapons preferred against light and medium ships because the Large ones will be quite resilient to the external caustic damage. I dealt 5% hull against a stock Anaconda and around 15% to 20% on a stock Python. It is good to add some damage over time, but do not empty your rack on your target. If you hit your target again with this missile, it will only reset the 1m timer of DoT. Knowing that the damage is spread over 1 minute, you could very well kill a target in seconds with other weapons. It is for a particular gameplay.
- Thargoid Energy Cell // Thargoids Structures, kill the Scavengers
- Thargoid Organic Circuitry // Thargoids Structures, kill the Scavengers
- Molybdenum // Surface, best between 1.8% and 3.0%
- Tungsten // Surface, best between 1.5% and 2.4% OR Orrere 2B, 43.81 / -173.97, 100% chance
- Radiation Baffle // Sopwith Arsenal, system Taevaisa
- Remote Release Flechette Launcher – Fixed Class 2. Intended to destroy the internal and external modules of a ship by ignoring the hull and shields. Not very powerful alone, however if you pack several of these nasty ones, it will be really destructive. Remember to hold the shot until the indicator turns red for best effects.
- Iron // Surface, best between 26.2% and 43.8%
- Molybdenum // Surface, best between 1.8% and 3.0%
- Rhenium // Asteroids. Better to use the Material Traders (Raw), it is Rank I so it’s easy to get.
- Germanium // Surface, best between 4.0% and 6.4%
- CMM Composite // Malzberg’s Folly, system MCC 686
- Articulation Motors // Only in Missions rewards, High Tech and Agriculture systems.
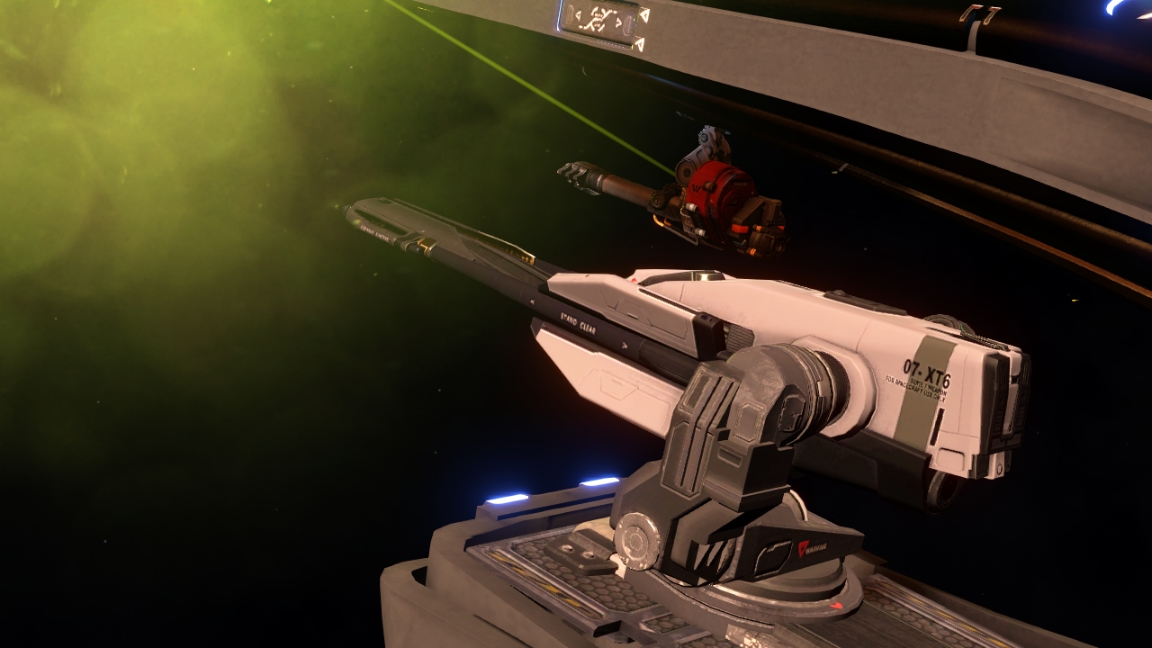
- Shock Cannon – Very powerful and available in Sizes 1, 2 and 3 and also in Fixed, Gimballed and Turreted. The clips are auto-loading new ammo and have a semi-automatic firing. The shock cannon is the holy mix between a cannon and a Multicannon, this weapon has a better DPS but also a greater heat generation.
- Vanadium // Surface, best between 26.2% and 43.8%
- Tungsten // Surface, best between 1.5% and 2.4% OR Orrere 2B, 43.81 / -173.97, 100% chance
- Rhenium // Asteroids. Better to use the Material Traders (Raw), it is Rank I so it’s easy to get.
- Technetium // Surface, best between 0.9% and 1.5%; Shoujeman 1 for example, go round the little mountains in the big craters. You need to find Metallic Meteorites, they usually appear in a cluster of three, so keep your eyes peeled.
- Power Converteur // Whitson Hub, system Meliae
- Ion Distributor // Stevens Orbital, system Hip 18327
- Power Transfer Bus // Haignere Orbital, system Wuthawchu


Modules
- Meta Alloy Hull Reinforcement – Increase your hull from 99 to 351 + Caustic resistance 3%, available in sizes 1 to 5.
- Focus Crystals // Combat ships’ wrecks + high security signals
- Aberrant Shield Pattern Analysis // Combat ship scan
- Configurable Components // Transport ships’ wrecks + low security signals
- Meta-Alloys // Synthetized on Darnielle’s Progress, system Maia. Or in the ripped Barnacles, for example in Pleiades Sector JC-U B3-2 1 2.41 / 23.55, planet B 2
- Reinforced Mounting Plate // Wyeth Station, system Egeria
- Focus Crystals // Combat ships’ wrecks + high security signals
- Corrosion Resistant Cargo Rack – Essential to any players doing Thargoids science, you can store corrosive commodities such as Probes or Sensors for example. Available in sizes 1 and 4 for 2 to 16 capacity units.
- Iron // Surface, best between 26.2% and 43.8%
- Chemical Manipulator // Transport ships’ wrecks + high security signals
- Meta-Alloys // Synthetized on Darnielle’s Progress, system Maia. Or in the ripped Barnacles, for example in Pleiades Sector JC-U B3-2 1 2.41 / 23.55, planet B 2
- Radiation Baffle // Sopwith Arsenal, system Taevaisa
- Neofabric Insulation // Only in Missions rewards, High Tech and Military systems.
![]()
◘ Guardians
The ancient Guardians technologies were more advanced than ours, with their millennia of development.
Interested in their stories? Read The Guardians – History, and also navigate to the Guardian tab in the site’s menu bar. Specialised in weapons and energy modules like plasma, electromagnetism and shields, the Guardians deploy great defenses and weapons power at the cost of a ridiculously low armour.
Weapons
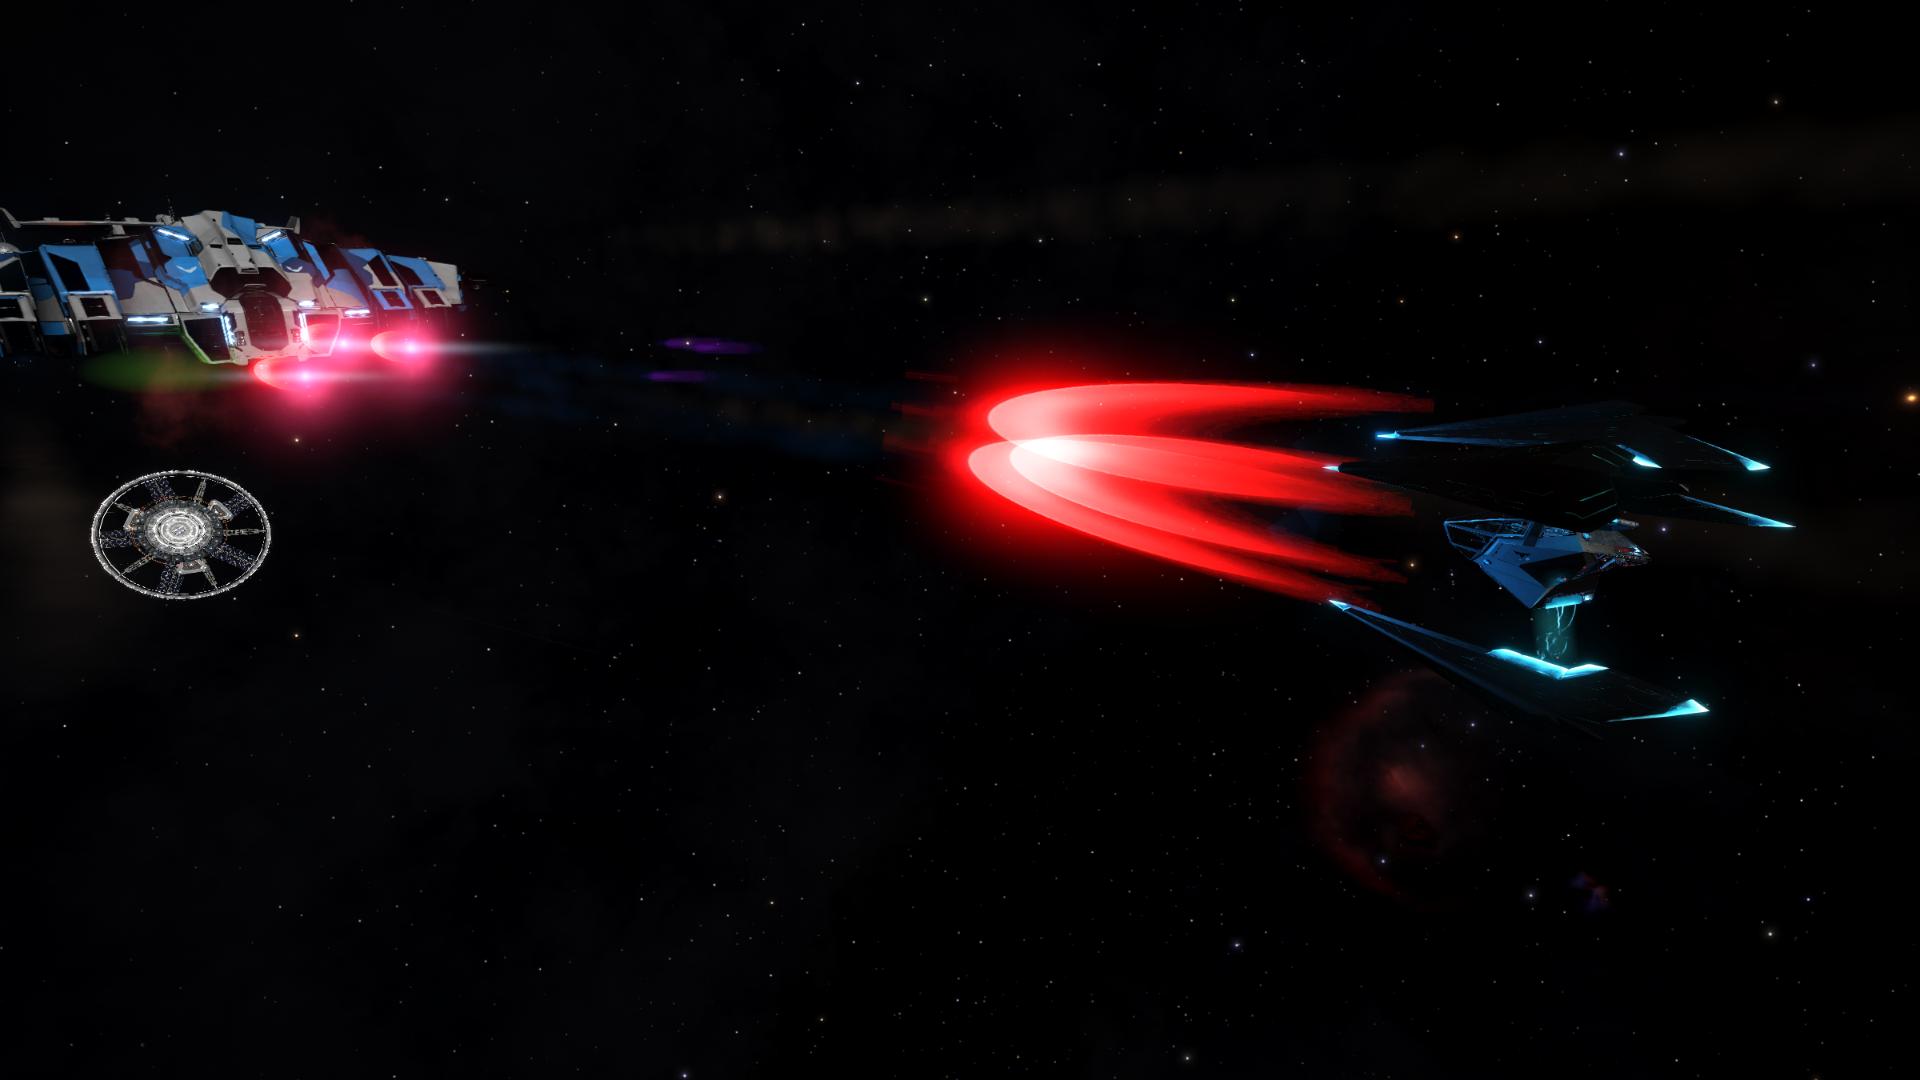
- Plasma Charger – Available in sizes 1 to 3 and in Fixed & Turreted types, these weapons will allow you to charge your shots to cause maximum damage. The charge is variable depending on how long you hold the trigger, thus causing more or less damage and thus consuming more or less energy from the capacitor. Note that a fully charged shot generates as much heat than a non charged shot. The damage is absolute and therefore ignore all resistances in addition to a high armour penetration (65 to 95).
- Weapon Blueprint Segment // Guardians Structures, Synuefe EU-Q C21-10
- Power Conduit // Guardians Structures
- Sentinel Weapon Parts // Guardians Structures
- Chromium // Surface, best between 11.0% and 18.3% and pristine icy asteroids
- Micro-Weave Cooling Hoses // Only in Missions rewards, Industry and Military systems.
- Power Cell // Guardians Structures
- Technology Component // Guardians Structures
- Articulation Motors // Only in Missions rewards, High Tech and Agriculture systems.
- Gauss Cannon – Available in sizes 1 and 2 Fixed types only. A railgun with gigantic penetration (140 against 100 for human versions). Thermal damage, these Gauss cannons can precisely target parts of the opponent’s ship for concentrated and instantaneous damage. However, a maximum modded human Railgun will be more interesting to use against a human target because you don’t need overpenetration and it cost less while generating less heat as well.
- Weapon Blueprint Segment // Guardians Structures, Synuefe EU-Q C21-10
- Power Cell // Guardians Structures
- Technology Component // Guardians Structures
- Manganese // Surface, best between 10.3% and 17.1%
- Magnetic Emitter Coil // Lorrah Station, system Haritana
- Power Conduit // Guardians Structures
- Wreckage Components // Guardians Structures
- Sentinel Weapon Parts // Guardians Structures
- Shard Cannon – Available in sizes 1 to 3 and in Fixed & Turreted types, this is the Guardian Fragmentation Cannon. The thermal damage consumes very little energy per shot and is perfect for a massive DPS in melee.
- Weapon Blueprint Segment // Guardians Structures, Synuefe EU-Q C21-10
- Wreckage Components // Guardians Structures
- Technology Component // Guardians Structures
- Carbon // Surface, best between 13.4% and 26.8%
- Microcontroller // McClintock Gateway, system LHS 2260
- Power Transfer Bus // Haignere Orbital, system Wuthawchu
- Sentinel Weapon Parts // Guardians Structures
- Power Conduit // Guardians Structures

Modules
- Hull Reinforcement Package – Improve your hull from 100 to 488 + 5% caustic resistance, available in sizes 1 to 5. Why is it more powerful than the Reinforcement Meta-Alloy? Just because it consumes a lot of energy from your Generator while the Meta-Alloy reinforcement consumes nothing. If you have energy to spare, go for it!
- Module Blueprint Segment // Guardians Structures, Synuefe GT-H B43-1
- Wreckage Components // Guardians Structures
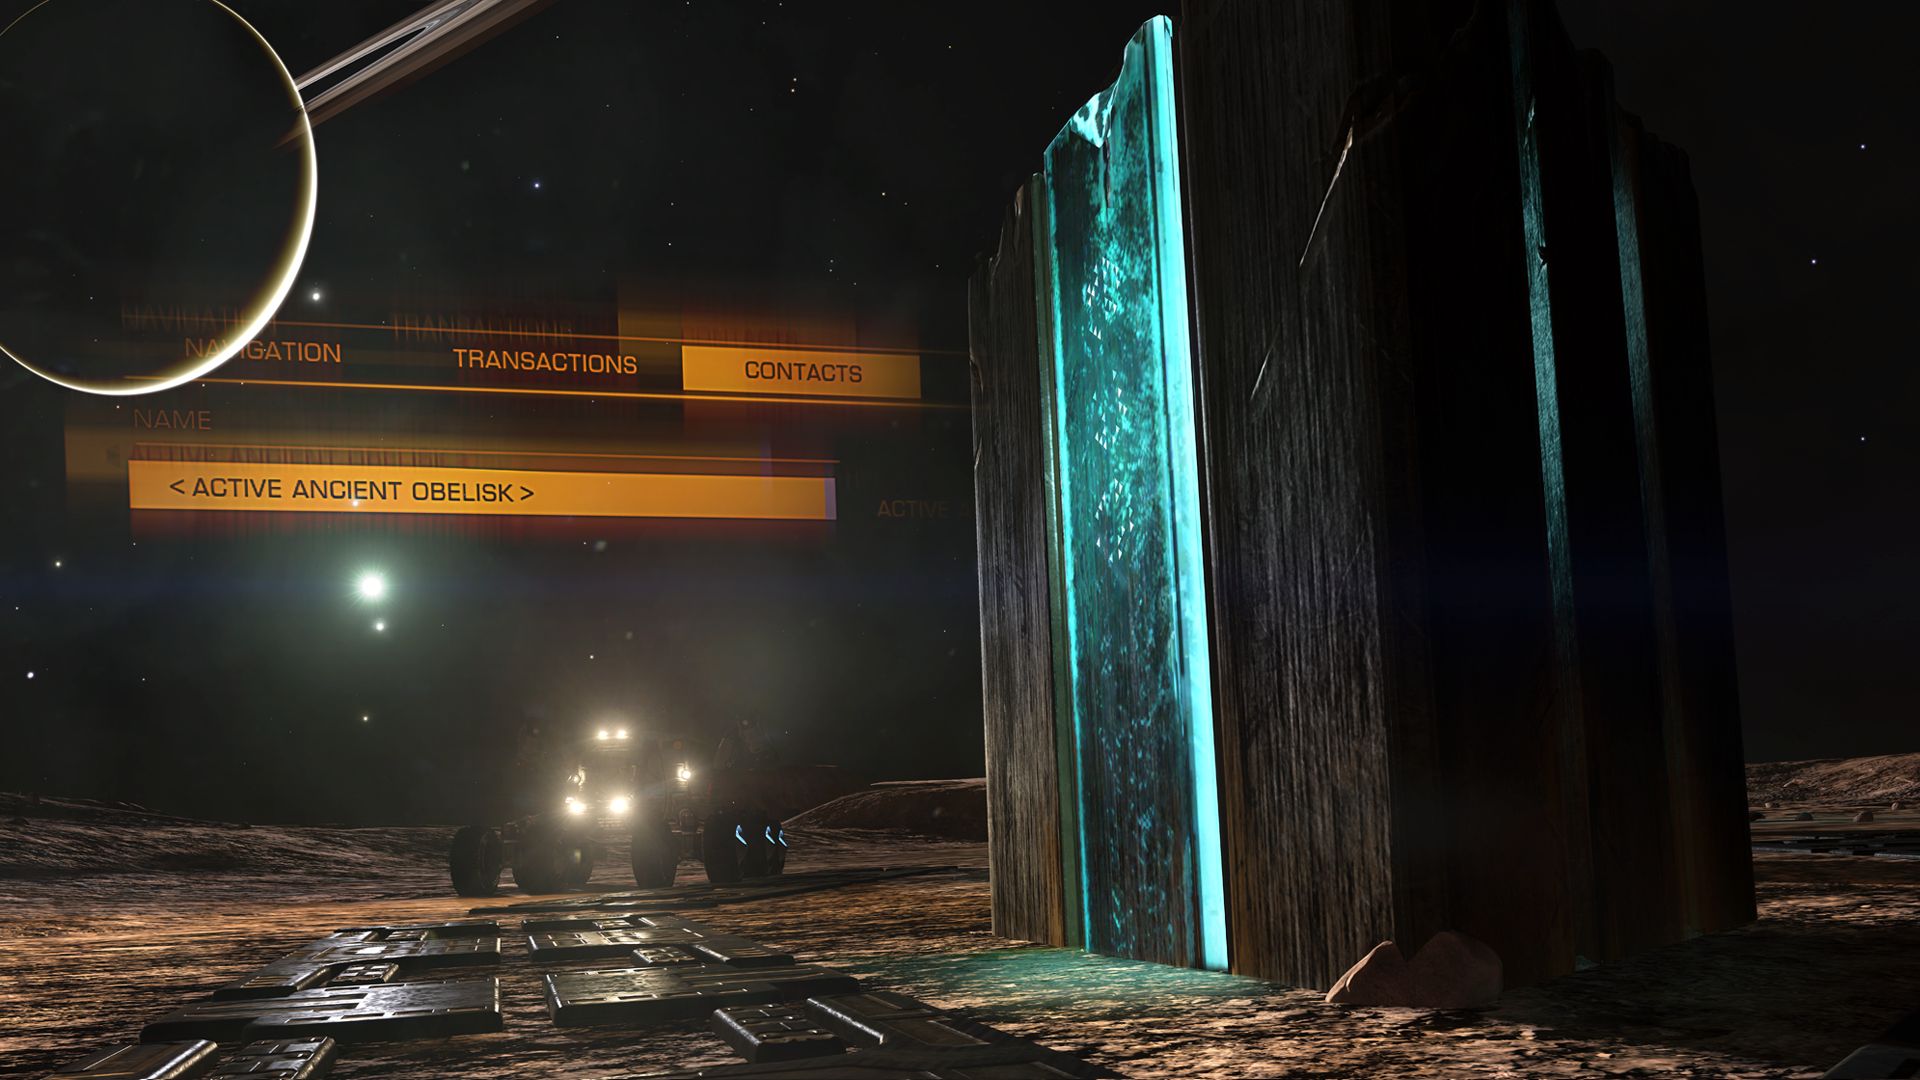
- Pattern Beta Obelisk Data // Prefer farming these in the Ancient Sites, on the many active obelisks
- Pattern Gamma Obelisk Data // Prefer farming these in the Ancient Sites, on the many active obelisks
- Reinforced Mounting Plate // Wyeth Station, system Egeria
- Modules Reinforcement Package – Reduce the damage taken on your modules by 30 to 60% by consuming energy. This Guardian module also protects you from short-range Thargoids lighnings that can shut down your engines. It does not look like much, but it’s very important.
- Module Blueprint Segment // Guardians Structures, Synuefe GT-H B43-1
- Wreckage Components // Guardians Structures
- Pattern Epsilon Obelisk Data // Prefer farming these in the Ancient Sites, on the many active obelisks
- Power Conduit // Guardians Structures
- Reinforced Mounting Plate // Wyeth Station, system Egeria
- Shield Reinforcement Package – Improves the total power of your shields by an additional 44 to 215MJ, added after booster calculations. This is interesting if your gameplay is oriented shields, but do not forget to add resistances to your shield strength 😉
- Module Blueprint Segment // Guardians Structures, Synuefe GT-H B43-1
- Power Cell // Guardians Structures
- Technology Component // Guardians Structures
- Pattern Delta Obelisk Data // Prefer farming these in the Ancient Sites, on the many active obelisks
- Hardware Diagnostic Sensor // Kanwar Gateway, system Xiripa
- Frameshift Drive Booster – Consumes a very large amount of energy but boost from 4 to 10.50 AL your jump range! Available in sizes 1 to 5.
- Module Blueprint Segment // Guardians Structures, Synuefe GT-H B43-1
- Power Cell // Guardians Structures
- Technology Component // Guardians Structures
- Focus Crystals // Combat ships’ wrecks + high security signals
- HN Shock Mount // Bacigalupi Terminal, system LHS 2482
- Power Plant – A kind of Guardian Power Plant that would be modded rank V Overload. Compared to the human version of the same class in A, you will generate 32% more energy but also 25% more heat. The module is also 17% heavier than the human one.
- Module Blueprint Segment // Guardians Structures, Synuefe GT-H B43-1
- Power Conduit // Guardians Structures
- Pattern Epsilon Obelisk Data // Prefer farming these in the Ancient Sites, on the many active obelisks
- Heat Resistant Ceramics // Military and Authority ships’ wrecks
- Energy Grid Assembly // Good Enterprise, système BD-15 447
- Power Distributor – Available in sizes 1 to 8, this Guardian Distributor has a fast recharge of weapons/systems/engines capacitors against a lower total capacity than their human versions. It also add +4% total power in your ship for a maximum of 104% power. Note that your heat generation will also be higher.
- Module Blueprint Segment // Guardians Structures, Synuefe GT-H B43-1
- Pattern Alpha Obelisk Data // Prefer farming these in the Ancient Sites, on the many active obelisks
- Power Cell // Guardians Structures
- Phase Alloys // Combat ships’ wrecks + low security signals
- Heatsink Interlink // Gresley Enterprise, system LHS 3980
Fighters
- XG7 chasseur Trident – A Guardian/Human hybrid fighter equipped with a plasma autocanon. Slightly less maneuverable than a GU97 Imperial Fighter, slightly slower than an F63 Condor, the weakest hull of all the fighters but the most powerful shields of them. Effective for medium-range combat.
- Vessel // Guardians Structures, Synuefe EU-Q C21-15 A 1
- Power Cell// Guardians Structures
- Pattern Epsilon Obelisk Data // Prefer farming these in the Ancient Sites, on the many active obelisks
- Pattern Beta Obelisk Data // Prefer farming these in the Ancient Sites, on the many active obelisks
- Technology Component // Guardians Structures
- Vessel // Guardians Structures, Synuefe EU-Q C21-15 A 1
- XG8 chasseur Javelin – A Guardian/Human hybrid fighter equipped with a shards launcher. Slightly less maneuverable than a GU97 Imperial Fighter, slightly slower than an F63 Condor, the weakest hull of all the fighters but the most powerful shields of them. Effective for melee-range combat.
- Vessel // Guardians Structures, Synuefe EU-Q C21-15 A 1
- Power Cell // Guardians Structures
- Pattern Epsilon Obelisk Data // Prefer farming these in the Ancient Sites, on the many active obelisks
- Wreckage Components // Guardians Structures
- Technology Component // Guardians Structures
- Vessel // Guardians Structures, Synuefe EU-Q C21-15 A 1
- XG9 chasseur Lance – A Guardian/Human hybrid fighter equipped with a focused gauss cannon. Slightly less maneuverable than a GU97 Imperial Fighter, slightly slower than an F63 Condor, the weakest hull of all the fighters but the most powerful shields of them. Effective for long distance combat.
- Vessel // Guardians Structures, Synuefe EU-Q C21-15 A 1
- Power Cell // Guardians Structures
- Pattern Epsilon Obelisk Data // Prefer farming these in the Ancient Sites, on the many active obelisks
- Sentinel Weapon Parts // Guardians Structures
- Technology Component // Guardians Structures
- Vessel // Guardians Structures, Synuefe EU-Q C21-15 A 1


![]()
Thargoids
Nope! But admit that it would be great to deploy Thargons, fire with lightning at short range, use their energy guns and all! 😉